Back 2 Basics
Inspection
AEROSPACE
The basics rule, no matter how much technology evolves
Leak Test 101:
These best practices are relevant whether the right leak test for your application is pressure/vacuum decay, mass flow, or tracer gas.
By Gordon Splete
Times change, technologies change, but the fundamentals of leak testing remain the same – the reliability and repeatability of your test results depend on how well you understand and compensate for testing variables.
The basics matter. They always have and always will. Sure, we now have technical capabilities, digital sensors, and control mechanisms that make it possible to measure, monitor, and tweak with far higher resolution and sensitivity than ever before. But these technologies should not be relied on to compensate for a poorly designed test equipment, or an uncontrolled variable like temperature.

First, the basics
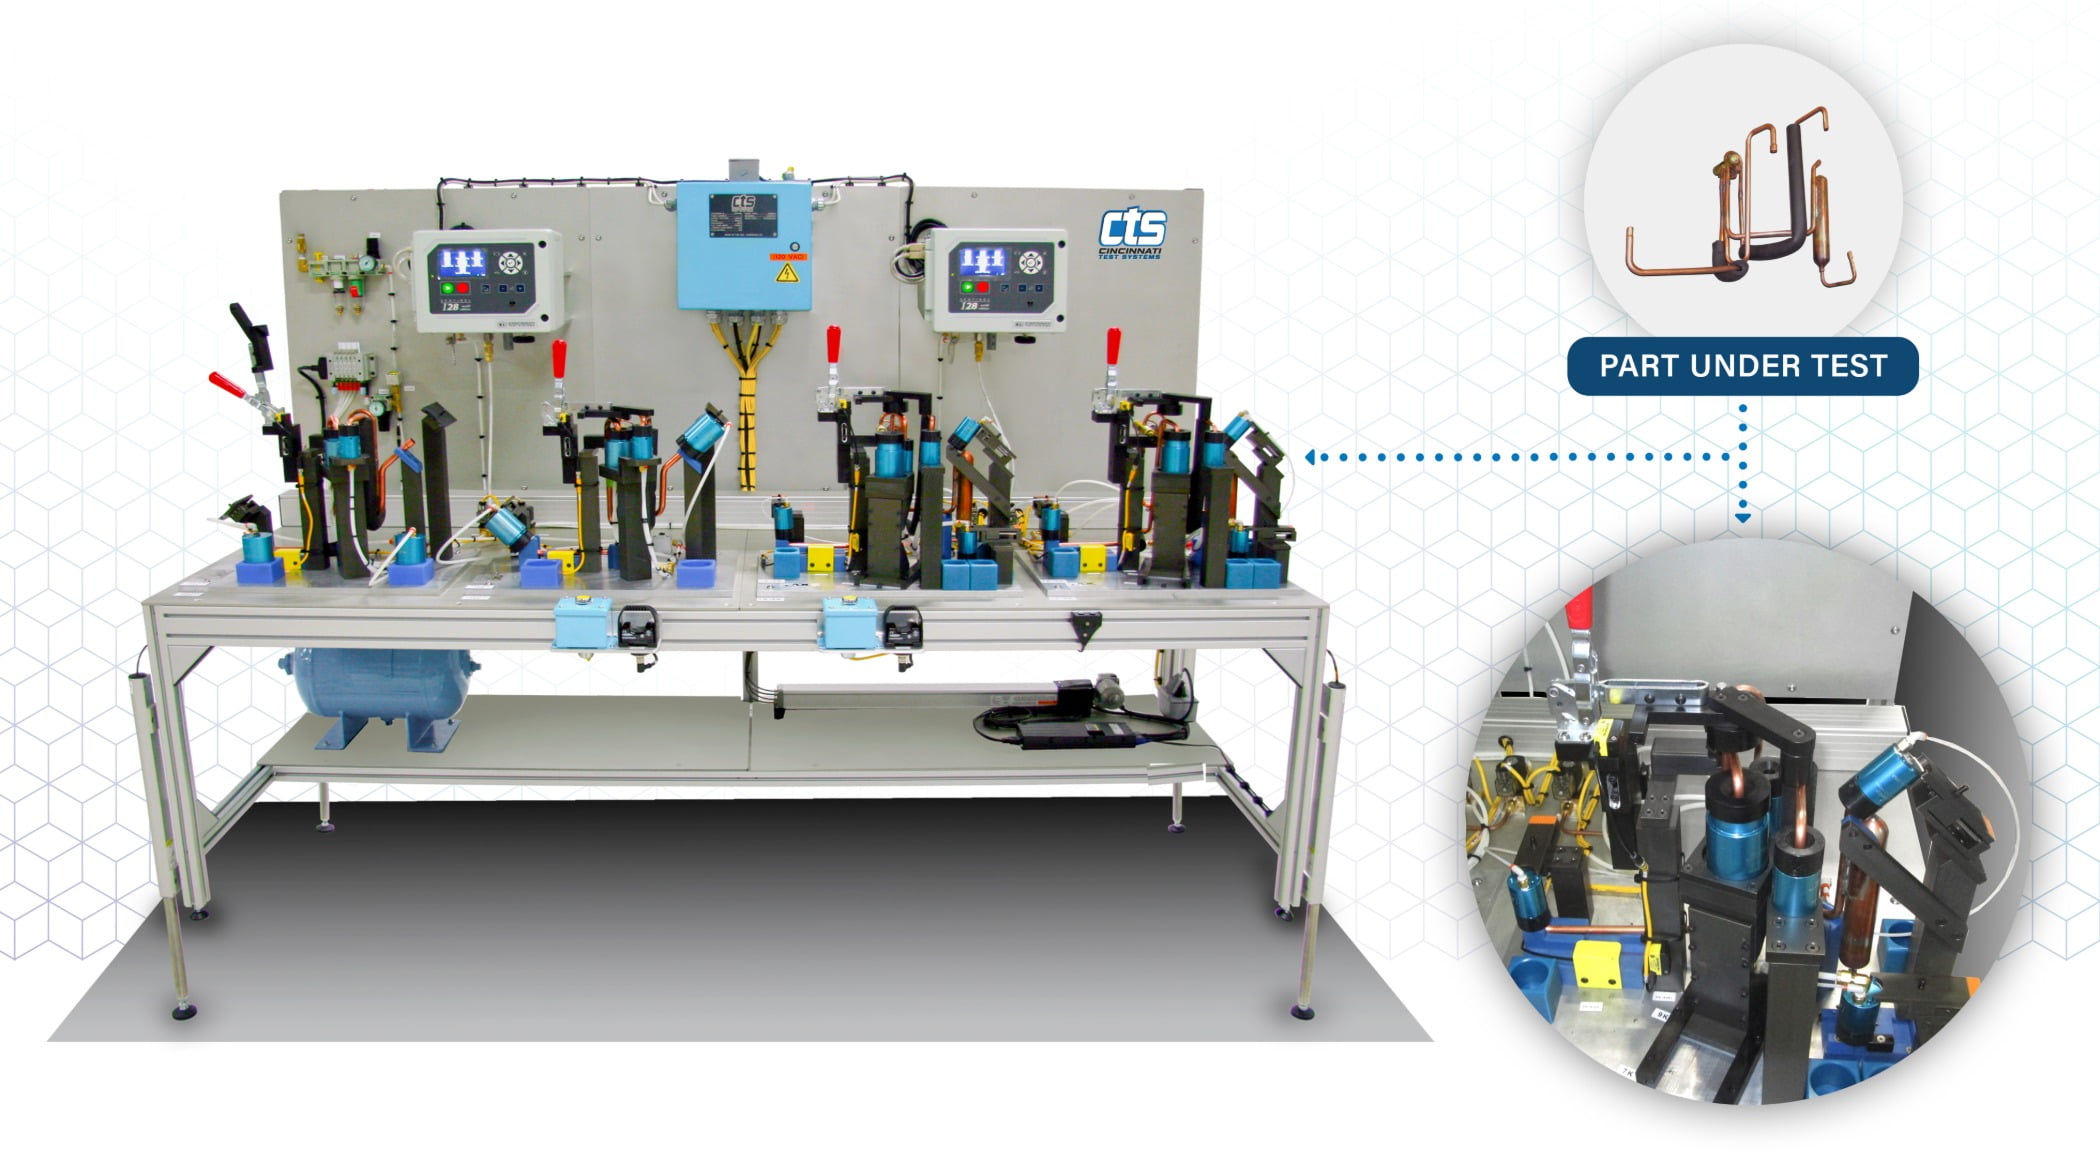
Plumbing – The more hoses, valves, and connections you have, or the greater the distance between the test station and the test instrumentation, the greater the likelihood of repeatability problems. Keep the setup simple and keep the distances as short as possible.
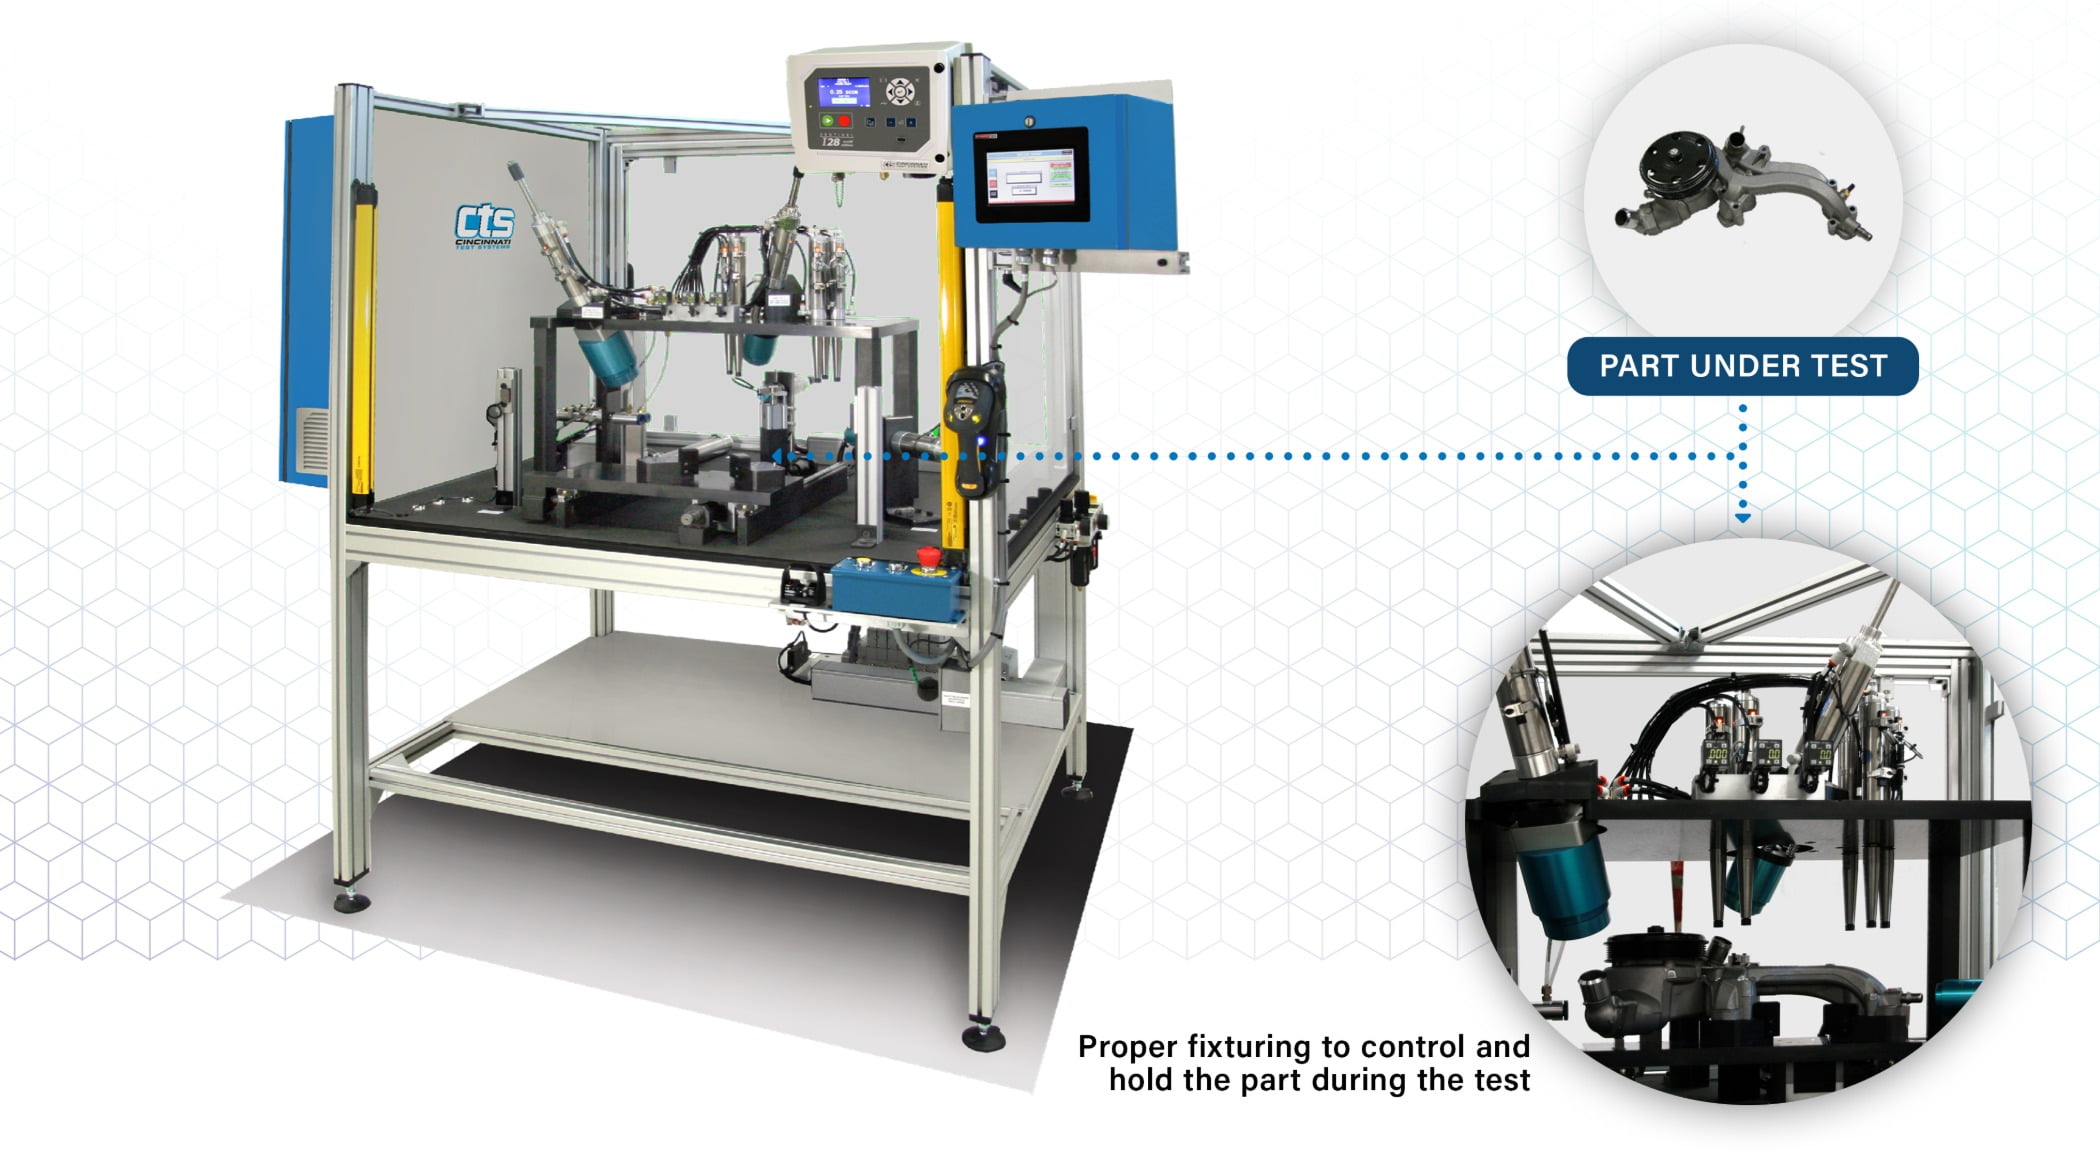
Orientation and sealing – A test part must be positioned and sealed correctly. Fixturing can have clamping and alignment issues. Seals can wear. Depending on test setup and test pressure, the best seal might be mechanical, pneumatic, or bolted. The ideal durometer, or hardness, of a seal material will vary depending on the test scenario and sealing surfaces.
Test pressure – Fluctuating test pressure leads to unreliable results. Even slight pressure changes can have dramatic effects.
Temperature – This is the bane of quality engineers everywhere. Warm parts just come from a wash, cold parts just brought in from a truck, loading bay doors opening and closing, HVAC systems cycling on and off – these all introduce variance that affects test results. Even the test station operator running their own personal fan to keep cool, or placing their warm hand on a test part, can have an impact. I have seen many instances where the cause of a test repeatability problem is fluctuations in test air temperature due to the tortuous route that a supply line takes from the air tank to the test station.
It’s far easier to identify and eliminate a temperature variance than it is to try and compensate for it with technology. It may be as simple as adding seconds to the test cycle to allow a part’s temperature to stabilize or adding a regulated accumulator tank at the test station.
Water and dust – Any moisture or dust in test air supply will accumulate in the test instrument’s manifold valves and skew test results. Moisture within the test part will atomize into vapor with the introduction of test pressure – this will change air density and again introduce repeatability issues. Filters and external exhausts are key.

Now enter the digital technology
Once all these environmental and mechanical factors have been addressed to the extent possible, we can employ modern digital technology to manage measurements.
Manufacturers have plenty of options today for digital electronics and low noise circuitry that can control and measure test pressure and the flow, for a faster and more accurate pass/fail decision.
Adding intelligence to the test station with data analytics software is also critical. Such software enables you to achieve better pressure regulation, or to measure with greater accuracy to smaller increments. Trending this data over time can help to identify and remedy test station performance problems before they lead to downstream quality issues.
Next, the master part
A master part is a proxy for the actual production parts that will be tested at this station. This should be a “good” production-intent part with a known acceptable leak rate.
I don’t say zero leak rate, because everything leaks. Any part or sub-assembly will have a pressure change associated with it under controlled test conditions. The key is understanding what degree of leakage is acceptable given the conditions under which the part will be used in an end product.
To that point, it’s best to calibrate with a known flow source versus a known leaking part for better repeatability. Use an actual production part with a leak standard built into it for calibration, versus any kind of designed replicant part.
This ensures all the distinct characteristics of an actual production part’s design, materials, and methods of assembly that can potentially impact test reliability and repeatability are factored in, to tare out the normal test variables.
Also bear in mind that a master part must be properly maintained. Few parts retain the same characteristics over time. Plastic parts cure over time – this changes their elastic limit and impacts the stabilization period of the test. Porosity may plug with debris or possibly unplug a leak in the part. Seals will harden over time.
It’s therefore crucial that test results of each master part be databased and tracked over time. This ensures that proper maintenance is scheduled as the master parts degrade and a test failure isn’t wrongly attributed to the leak test system.

Verifying the test station set up
A master part isn’t the only aspect of a leak test that can drift over time.
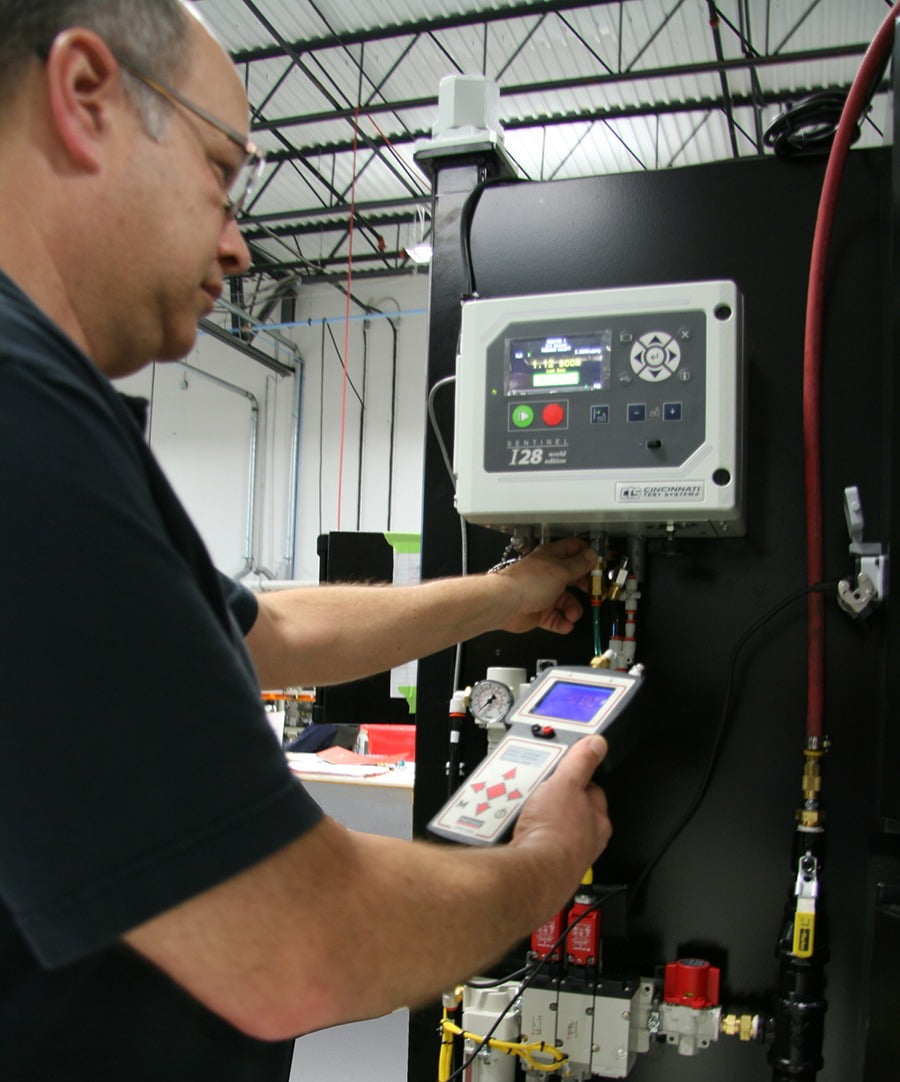
The overall health of the test station – including the leak tester, part seals, fill ports, and connection hoses – should be periodically checked. This validates that there are no leaking seals or hoses and that any leak measured in a part is correct. If a leak is measured, seals can then be individually checked to find the failure.
The most common external check for leak test instruments is a calibrated flow orifice, which is designed and certified to flow a set amount of air at a set pressure. These leak standards are a robust, cost-effective way to verify that the leak tester is reading the proper flow rate. But accuracy of standards can vary depending on the style of the orifice. Ambient temperature variations must also be accounted for to ensure accurate measurement.
In conclusion
I have provided a high-level overview of the basics and best practices that are relevant whether the right leak test for your application is pressure/vacuum decay, mass flow, or tracer gas.
Regardless of the technical sophistication of the tools at our disposal today, the more variables you have, the more expensive, complex, and potentially unreliable the test will be. Start first with the basics that have governed good leak test practice since the days when analog technology was a quality engineer’s only option.
Ian R. Lazarus is president and CEO of Creato Performance Solutions, providing leadership development, training, and solutions to support operational excellence.
Gordon Splete is the global product manager at Cincinnati Test Systems. He has partnered with CTS customers for 26 years to provide technical leak test solutions for all industries and leak testing techniques (dunk, pressure decay, flow, and trace gas applications). Contact him at GSplete@cincinnati-test.com.
Jim L. Smith has more than 45 years of industry experience in operations, engineering, research & development and quality management.


