Inspection SERVICES
NDT
When evaluating welded tubes.
By Michael Moist
The Advantages of Phased Array Technology
Ultrasonic technology has been used for testing ERW welded pipe at various points in the manufacturing process for many years. ERW pipes are manufactured by cold forming a strip of steel into a cylindrical shape using forming rolls, and then having a high frequency electrical current pass between the strip edges increasing the temperature of the steel to its melting point. The strip edges are forced together until the molten metal is forced out of the joint forming a weld bead. The bond is created without filler material. This longitudinal weld seam differentiates it from seamless pipe. During the welding process, the inner diameter and outer diameter weld flash is removed. At this point in the process, a variety of defects can occur, and ultrasonic inspection is well suited for identifying process problems in the weld zone.
Weld Bead Removal Inspection
After welding, the outer and inner diameter of the weld bead is removed during the weld process when the weld is still molten. Monitoring of the OD removal tool has the advantage of being visible to the operator. The inner diameter tool cannot be seen and needs to be evaluated to prevent large quantities of pipes from being manufactured without the weld bead being adequately removed. Ultrasound is used at this point to verify this process. Ultrasound can be transmitted into the weld and will measure the thickness of the weld at the point of the sound entry. Single element, or monolithic ultrasound, has one transducer transmitting and receiving the sound into and from the pipe. The single element transducer has a sound beam of approximately ¼” and needs to be mechanically scanned (oscillated) across the weld area to constantly monitor the process.

Echomac® PA TW phased array test system inspecting ERW pipe. Insert shows the Test Head with its quick change test shoe to accommodate different diameters. Robot accurately positions the head for testing. Source: Magnetic Analysis Corporation
Unlike single element traditional ultrasound, phased array technology uses a 3” wide array with 128 small transducers that are electronically pulsed together to make multiple sound beams covering an area of several inches. This allows the entire weld area to be covered without any mechanical movement. Utilizing phased array technology with a water gap between the array and the pipe allows the outer diameter to be monitored by measuring the change in the water path, while also monitoring the inner diameter by measuring the pipe thickness. The ability of phased array to electronically scan the length of the array results in several advantages:
- No mechanical movement of the transducer results in simpler mechanics without the need for maintenance or operator intervention.
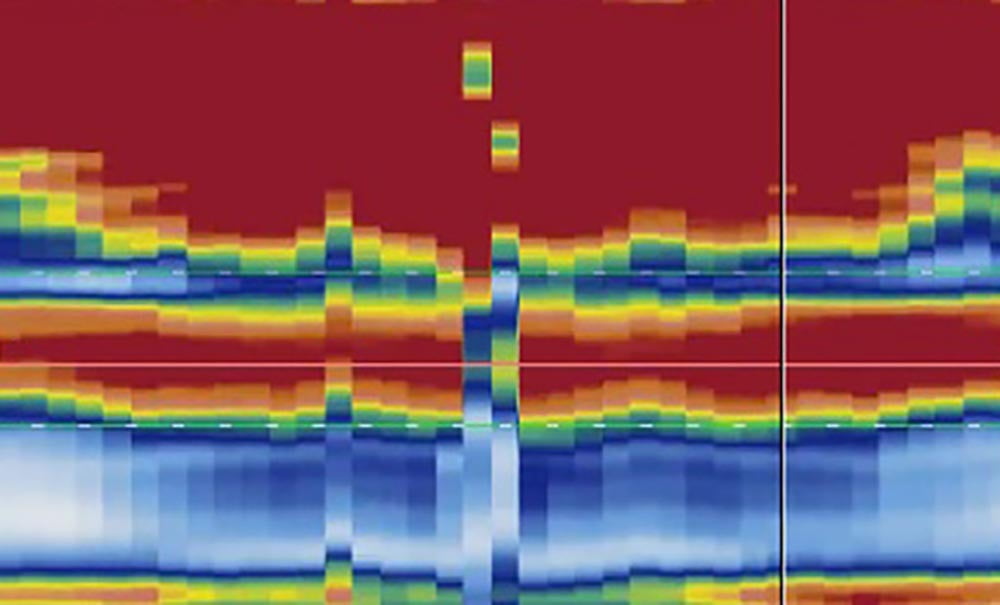
- Measuring the outer diameter and inner diameter with the same sound beam allows the measurements to be displayed with easy to interpret images showing a cross sectional view of the weld dimensions. The operator is quickly notified of a broken tool or a tool that is cutting too deep or not deep enough to make a smooth transition with the parent material.
- High-speed phased array inspection can achieve thousands of measurements per second ensuring that the weld profile is 100% covered. Additionally, the same measurement that is monitoring the weld seam can test for lamination defects in the heat-affected zone. Performing this test with a single element oscillating transducer would result in poor coverage leaving most of the weld not inspected.

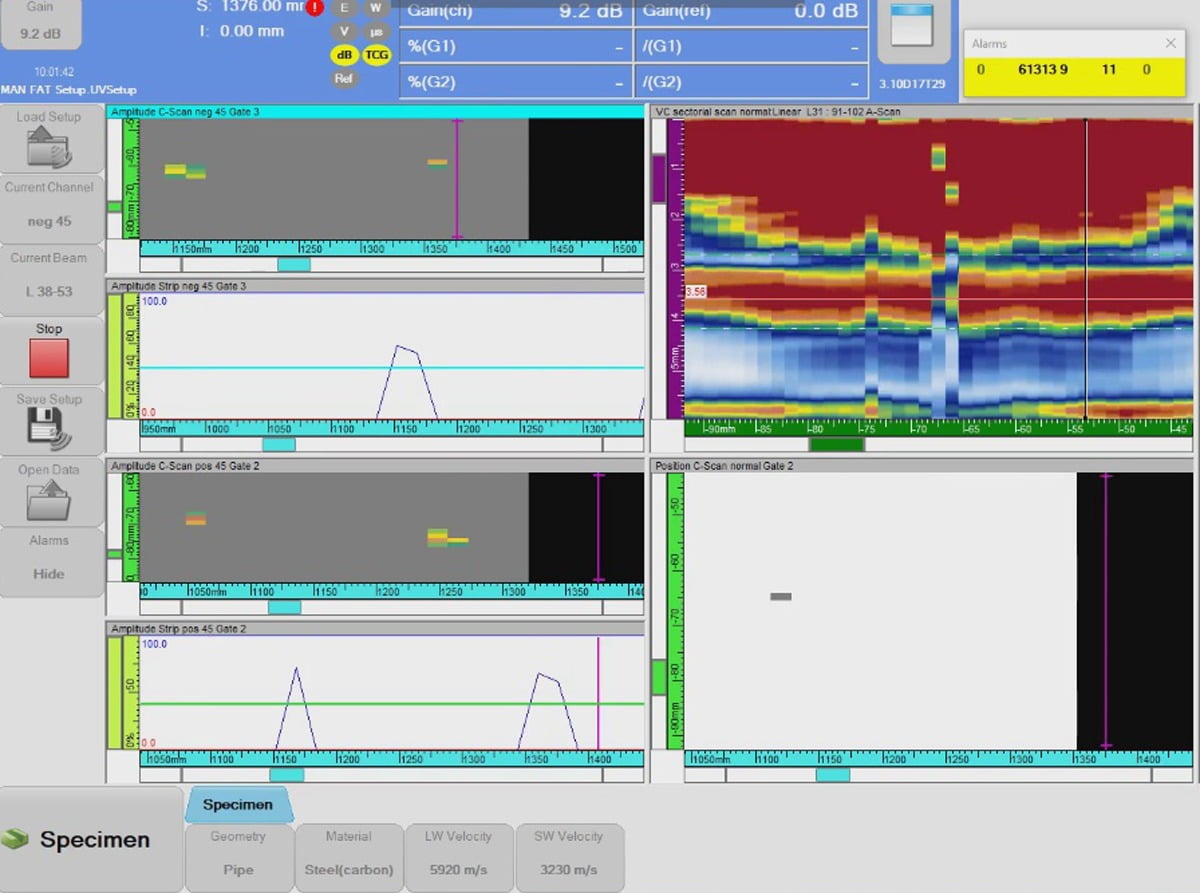
Echomac® PA TW screen for identifying defects in welded tube. Data is shown in concise manner using C-scan and summed A-scans for signals that cross the threshold for thickness variation and defect detection. A live B-scan view is also presented that allows the operator to easily align the system with the current weld position. Source: Magnetic Analysis Corporation
Longitudinal Defect Detection
During the weld process, a variety of defects can be created in the weld seam. Lack of fusion, porosity, penetrator and hook cracks are a few of the typical defects. Ultrasound is used to inspect the weld for these types of defects. Longitudinal defects are detected by transmitting sound into the weld at an angle optimum for the defect type. Depending on the pipe wall thickness, multiple transducers can be required focused on the ID, OD and mid-wall. Multiple angles can also be used, but each angle needs a separate transducer, which requires complex mechanics and constant operator intervention. Phased array technology offers the ability to generate multiple sound beams focused at different areas of the weld and at different angles. Also, the ability to generate multiple sound beams allows the weld to be scanned and results in complete coverage.

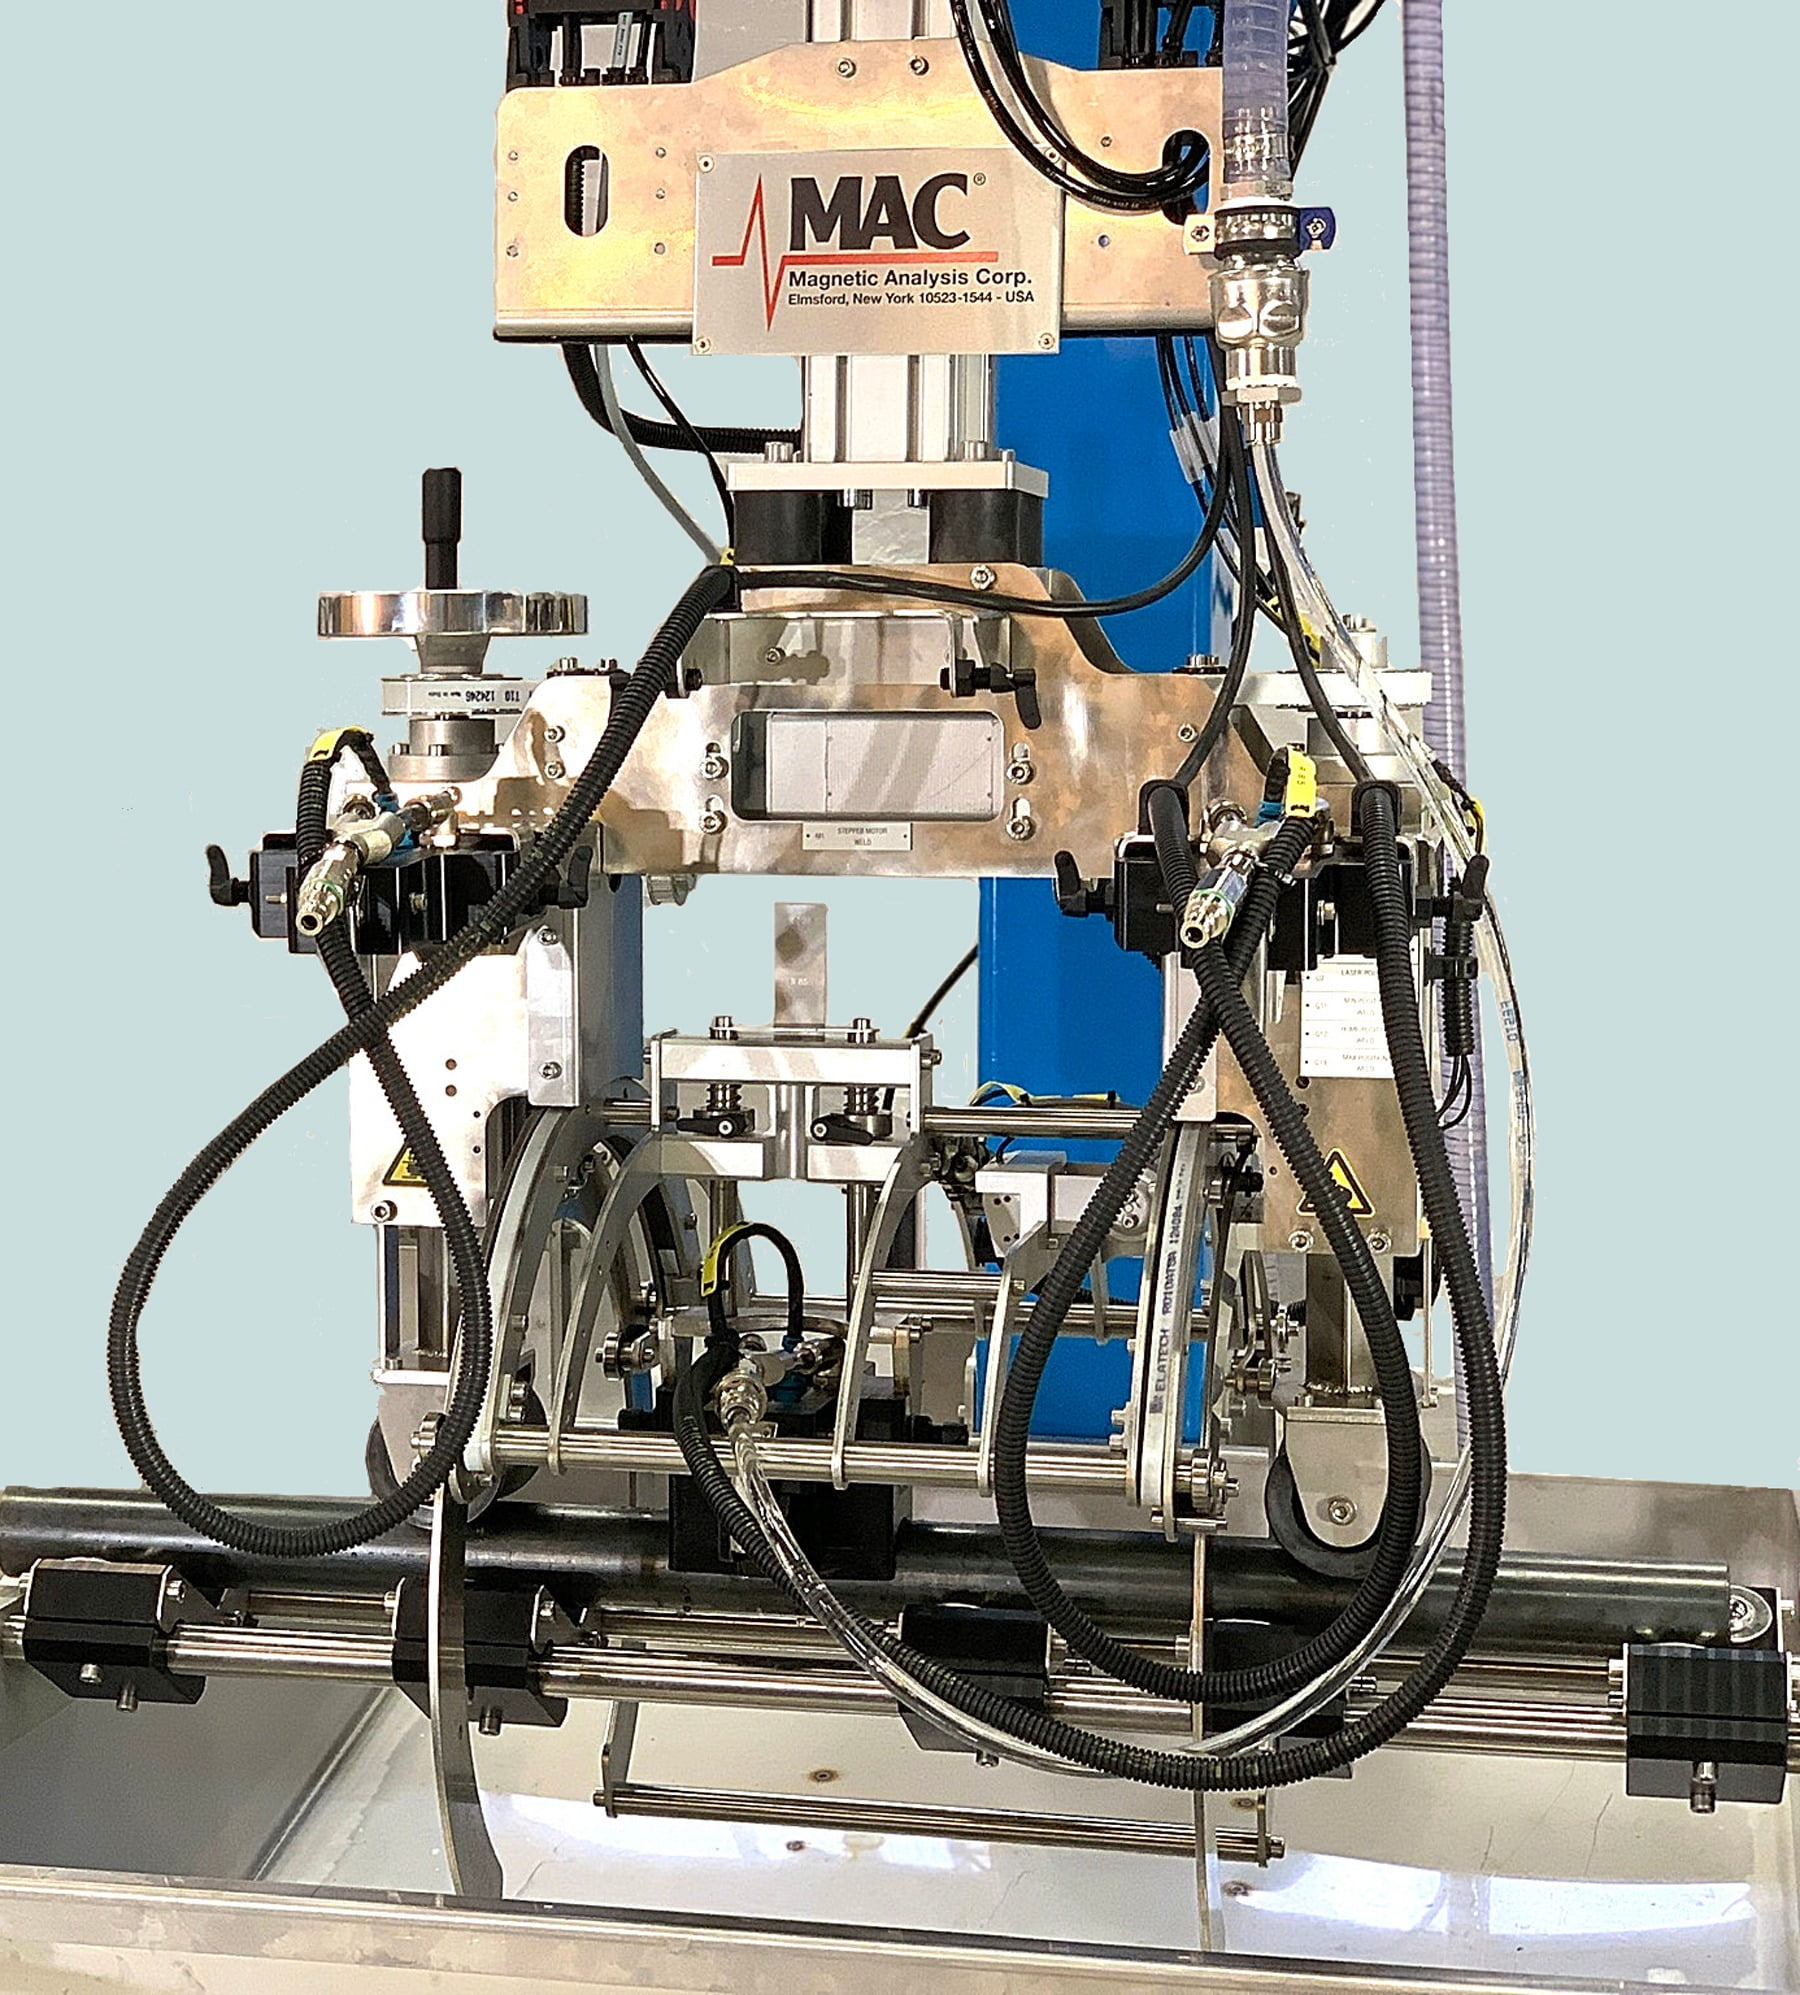
Echomac® PA TW Test Head shown in gantry (robot alternative) positioning system for placing the head on the welded tube for testing. Source: Magnetic Analysis Corporation
Challenges of the Environment
Testing immediately after the welder offers the challenge of a very hot weld, a pipe that is not yet formed perfectly round and has vibration. This presents issues in getting accurate sound measurements. Ultrasound requires a liquid coupling medium and if water is used, the heat of the weld can create steam. Transmitting sound into the pipe is done by a test head with a captive water chamber that typically uses mill coolant. Sound cannot travel through bubbles because they interfere with sound transmission. To ensure that all bubbles are removed, the test head must be designed to vent the steam and provide a bubble-free coupling chamber for sound transfer. The issue of the out of round shape means that the water chamber cannot perfectly maintain a good seal with the pipe to contain the coupling fluid. Without a good seal, air pockets can develop in the chamber preventing sound from being transferred into the pipe. Design considerations must also be made to ensure adequate water flow. The vibration typical of a weld mill means that the test head must be designed in a manner that will keep the array transducer perpendicular to the pipe. This can be achieved using a series of springs and bushings. This same test system can be installed after the sizing rolls and before the cut-off saw. At that point the weld is cool, the pipe is round, but the location of the weld is not fixed. The system needs to have the ability to place the test head on the weld location and be adjusted as the weld varies. An economical approach is to use a robot and allow the operator to adjust the test head position.
With phased array electronics becoming more economical, the overall cost of phased array versus single element is greatly reduced. The phased array electronics and transducers are more expensive but the savings on mechanics makes the overall cost very comparable. The use of phased arrays for the inspection of ERW pipe provides several benefits:
- The mechanics for holding the transducers are much simpler and can utilize inexpensive off-the-shelf robots that can be maintained by the customer’s maintenance people. Commercial robots are rugged and have global support from the manufacturer.
- The ability to generate multiple angles from one array allows flexibility in test methods and criteria.
- The wide array provides increased coverage allowing the weld area to vary during the welding process, without frequent adjustment.
- Phased array creates easily interpreted images which show the operator a cross sectional view of the weld, allowing immediate adjustments to the weld bead removal tool.
- The high speed of phased array ensures 100% inspection of the weld zone and HAZ (heat-affected zone).
In conclusion, the advancement of phased array technology creates a powerful way to identify defective welds in tubes by offering the operator easy to interpret images for quickly determining the types of defects present in the welding process. This capability reduces scrap and ensures product quality for end customer use in critical applications.

