Handheld
Gaging:
It All Comes Down to the Touch
Measurement
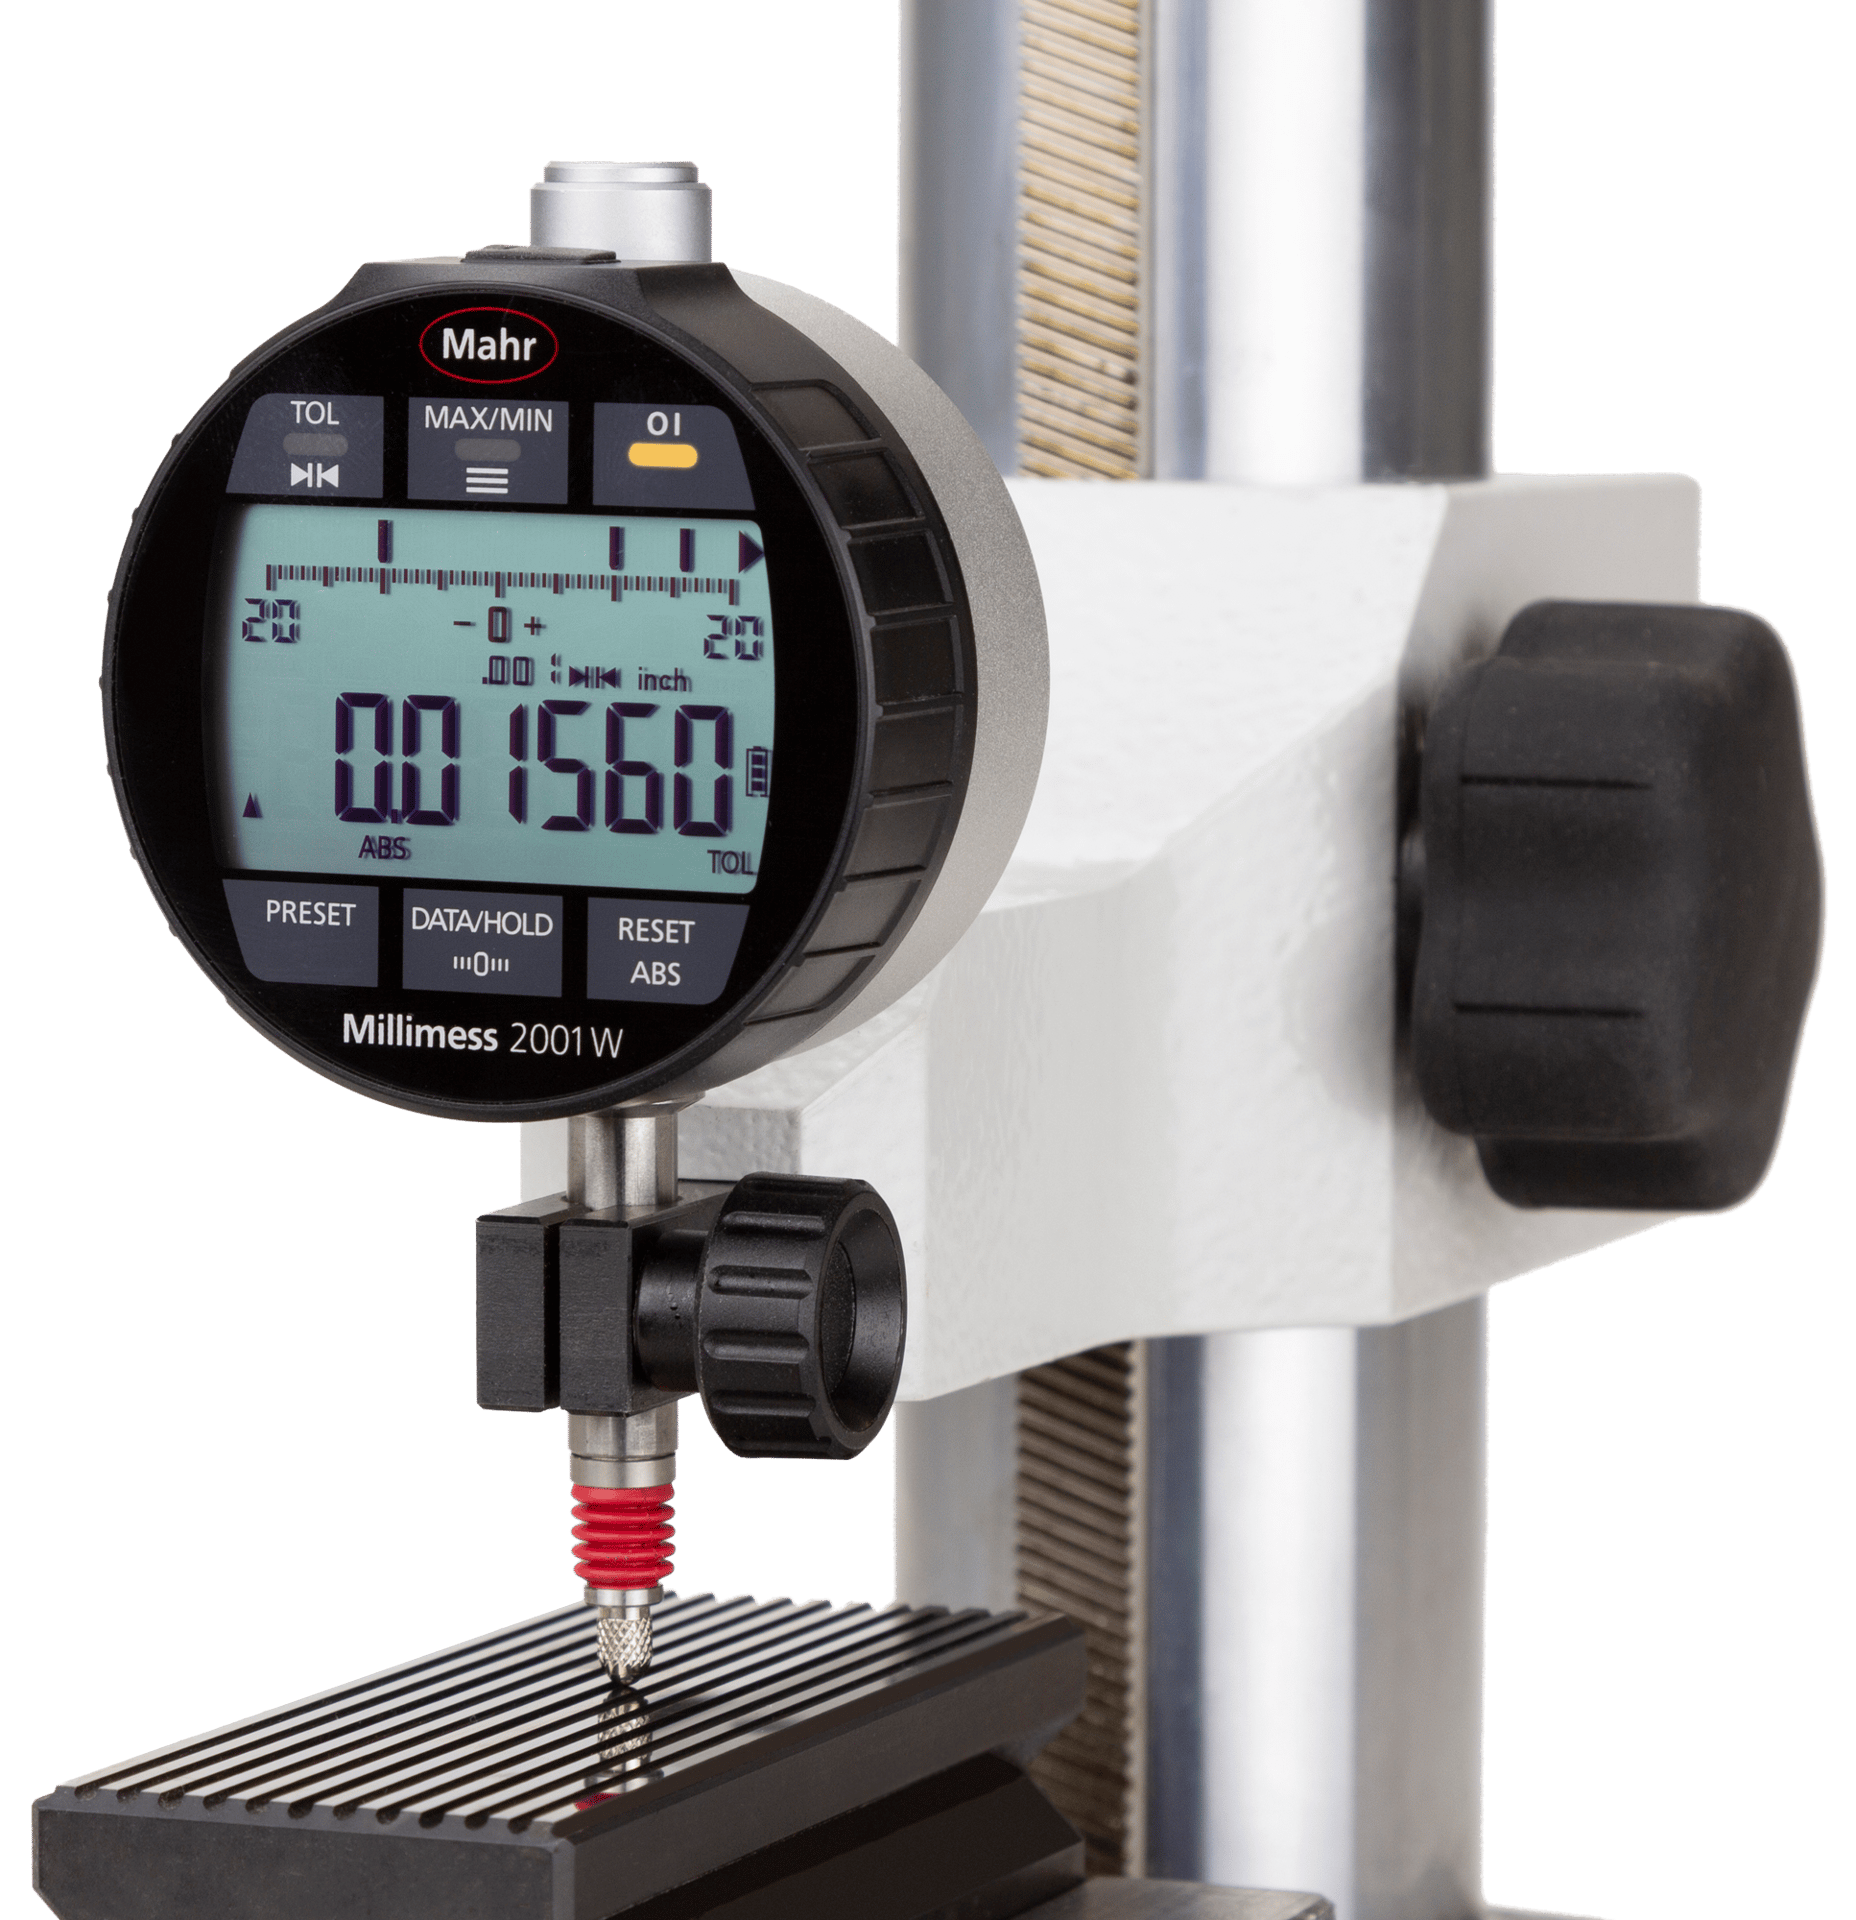
Combining the best of metrology and other industries creates products that are simple for the operator to use while also providing very complex measuring results. By George Schuetz
The metrology industry has changed dramatically over the years. New scale technology, optical measuring systems for dimensional or surface texture, and more powerful and faster possessors have brought new dimensional and surface measurement technologies to the shop floor. However, while the metrology industry makes great strides in measurement capabilities, it tends to rely on advances in other sectors for the human interface part.
There are probably no more dynamic industries over the past few decades than the world of user interfaces developed for PCs, electronics, and cell phones. Through advances in these industries, we have seen products go wireless and dedicated switches and keyboards have moved to touch screens as the primary user interface.
This is very important to today’s machine operators. Their job is to manufacture parts and not be inspectors. However, occasional parts do need to be checked, and their measuring tools must be intuitive (since they may not be used regularly), and it helps to use an interface operation that they may be familiar with. This has created a need to make all gaging easier to use with more powerful capabilities and the ability to survive harsh working environments. Many of these interfaces are taken directly from the personal devices operators use every day – their cell phones, tablets, or PCs.
Going Wireless
Digital calipers, micrometers, and indicators are still the basic tools mastered by all in the manufacturing industry. However, manual data collection from these tools is complex and time-consuming to master. Today’s hand tools and digital indicators have data output built-in, and collecting data is easy and very cost-effective. It is also fast and reliable and provides an excellent solution for many process or quality control applications.
But what happens when the part can’t be brought to the bench? Maybe it’s still in the machine, or it is simply too large to bring to the gaging station. Running a long cable from the gage to the computer can also be a hazard, and if multiple dimensions need to be checked with different gaging, a collection of long cables can quickly become a snarled mess.
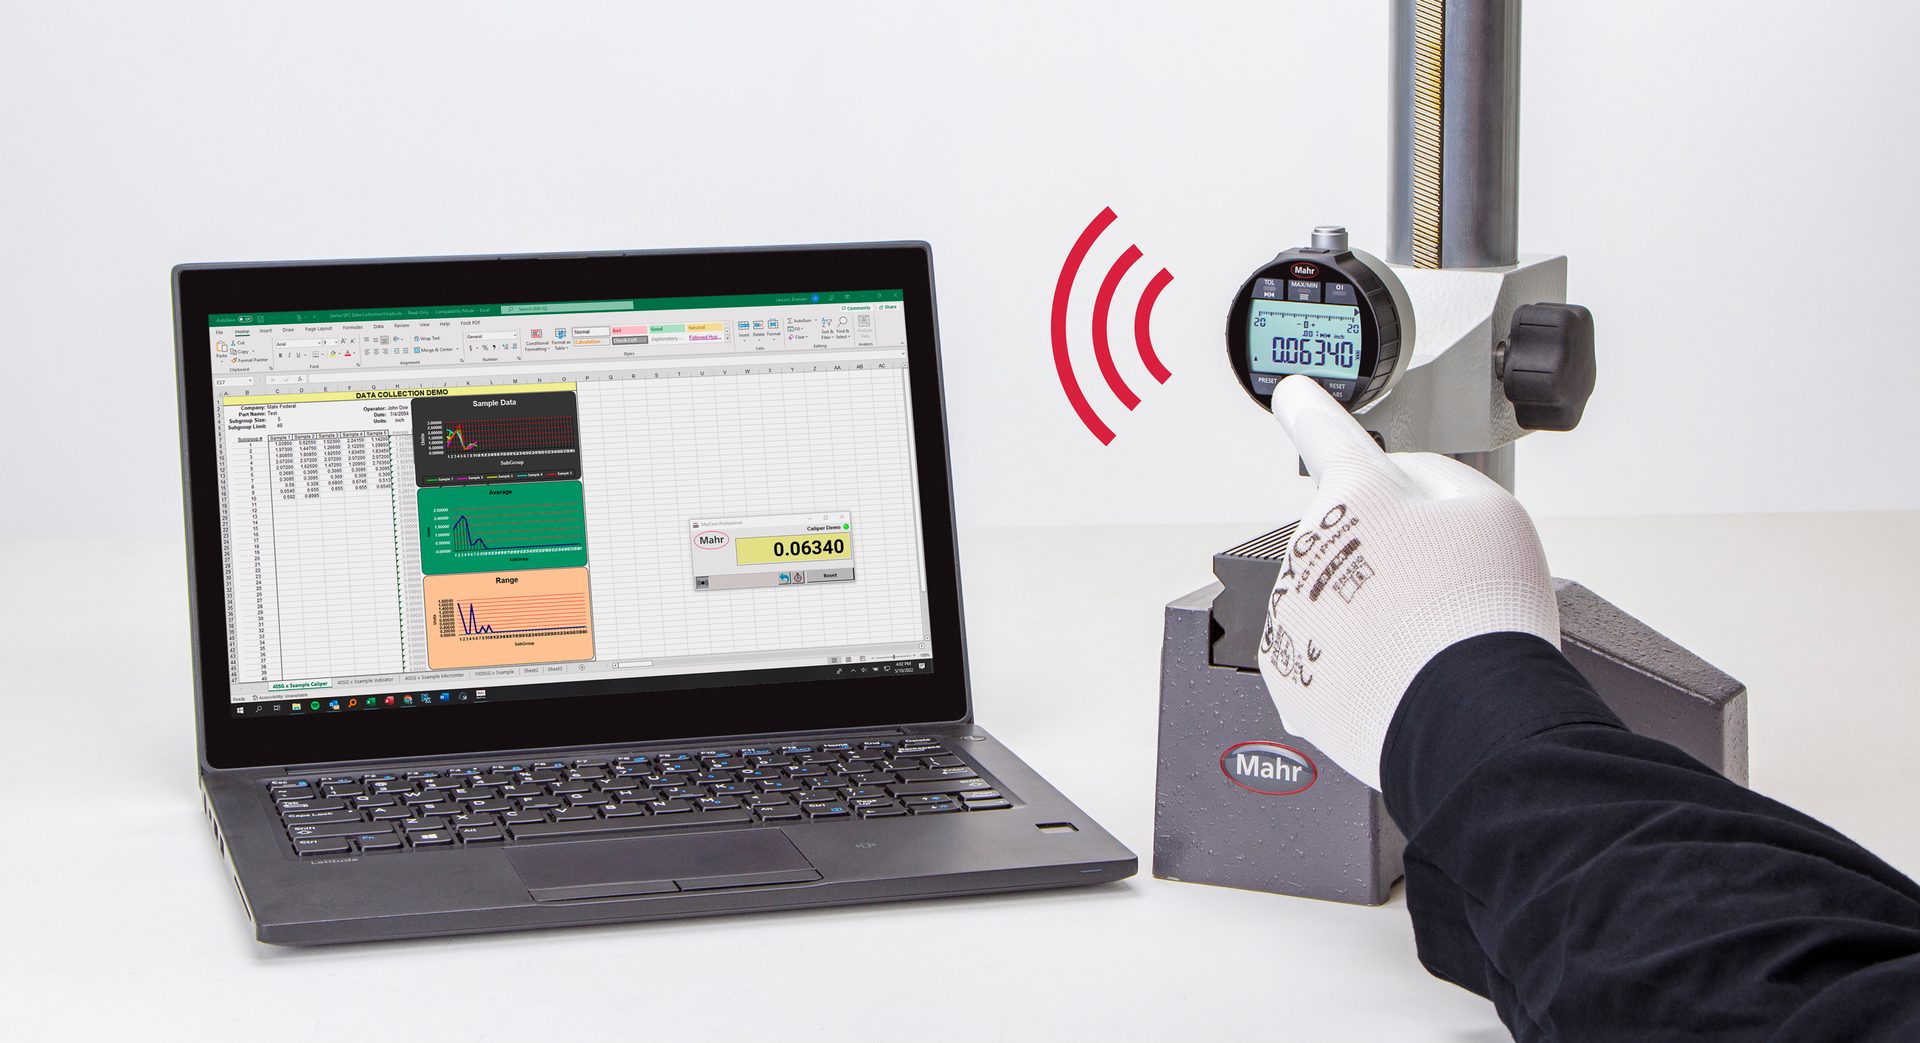
With integrated wireless data transfer, information is collected transparently, as part of the measurement process.
Small transmitters are now being built into these hand tools that allow them to transmit data to the gaging computer. Each integrated transmitter in the digital indicator uses slightly different signal coding that allows many gaging stations to communicate to a single computer simultaneously.
Today, these transmitters are not that much more expensive than data cables, making the cost more than justifiable when cabling alone won’t get the job done. In addition, because these transmitters are integrated into the product, the data collection is transparent to the user. There is no additional add-on module to add cost or extra batteries to get in the way of regular use of the tool or the measurement.
Unbeknownst to the user, the transparency of the combination of digital gaging for accurate shop-floor measurement, unrestricted wireless transmission of reliable data, and statistics for process control allow for truly effective and easy use of measurement data for process and quality control.
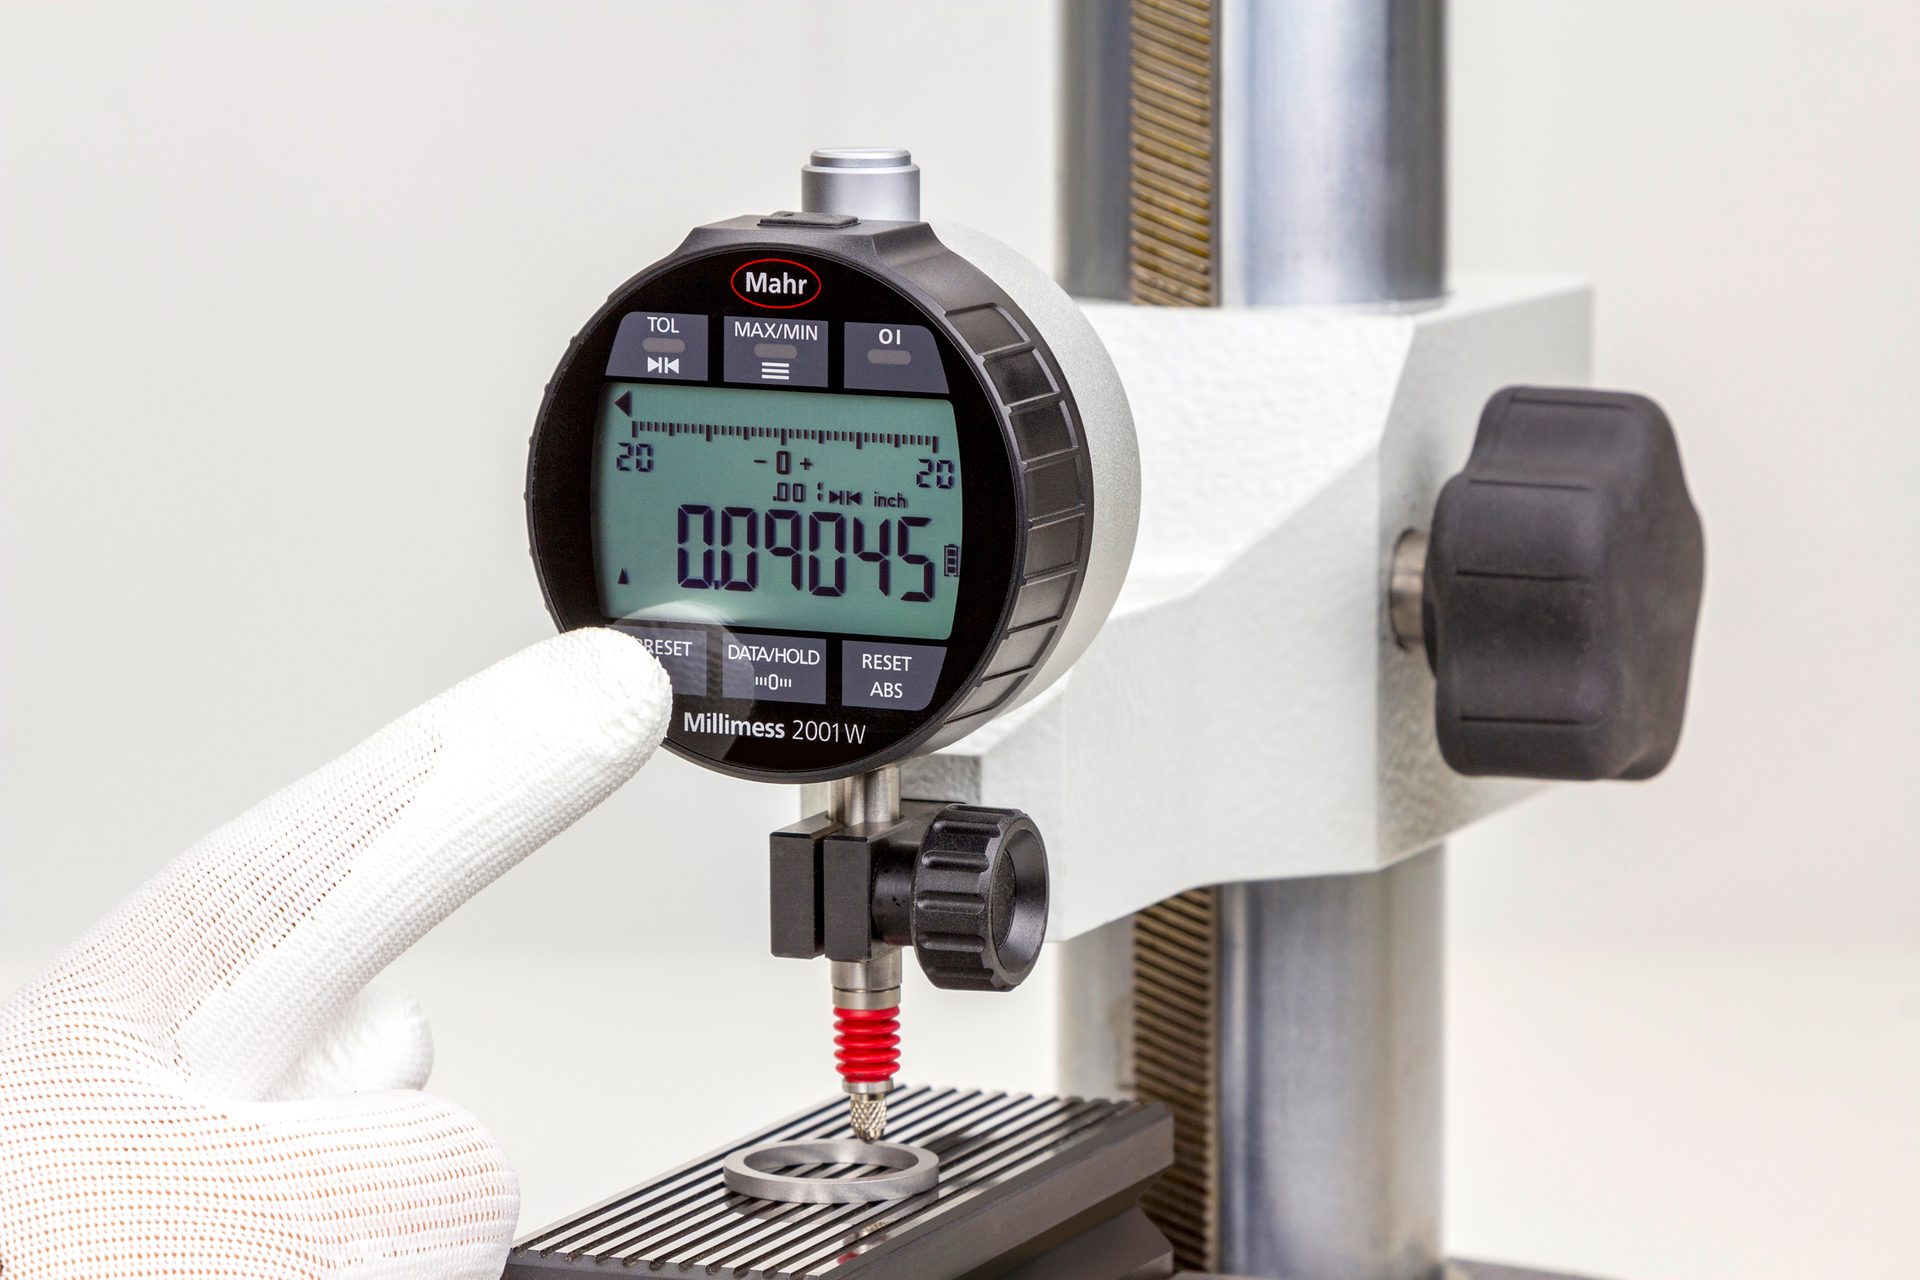
Using technology from a touchscreen, digital indicators get better environmental protection while also being able to be used while wearing gloves.
Is it a Bench Amplifier or a Digital Comparator?
In many ways, digital indicators are becoming so powerful that they are taking on the performance and features of bench amplifiers. It is not uncommon to find features such as dynamic measurements, multiplication factors, unilateral tolerances, different output formats, and sub-micron resolutions in higher-end digital indicators. If there was a weakness in digital indicators, it usually came from system performance. This is because most longer-range, digital indicators are built upon scale technology, which is great for most of the applications found around the shop. But when it comes to parts with extremely tight tolerances, there is no match for an LVDT-based bench amplifier system or, until now, an LVDT-based digital comparator.
The combination of a ball bushing LVDT-based transducer built into the display of a digital indicator offers a much less expensive solution to a bench amplifier-based system. This is an excellent benefit for the company. They can get a very powerful indicating device to replace a bench amplifier or upgrade a dial indicator for a cost-effective price.
However, for the person that actually has to use the new digital indicator, this may become a bit of an issue. With the new bench amplifier performance, one might think there would be a technology shock to those users used to reading their basic dial indicator or digital indicator, but this may not be the case.
One aid for this may be to take control of this flexibility from the operator by setting up passwords or codes as part of the digital indicator’s setup process or even by having the digital comparator set up for the specific task remotely via a link to a small PC program to set measuring conditions and tolerances. The idea is that once the digital indicator is set up with its tolerances, measuring direction, resolution, measuring mode, multiplier, etc., the password would lock the operator out from accidentally changing the setup of the indicator and potentially affect the measurement results.
Another point to consider would be placing these high-performance digital comparators out on the shop floor and being subjected to the working environment that they are in. When re-zeroing is often recommended or using dynamic reset buttons for every measurement, the digital indicator can take a beating. Even painted or stamped markings can eventually rub off or be removed by solvents at the point of manufacture.
But here is where the metrology industry is borrowing from the technology in today’s electronics. Just as many smartphones are made from glass, a new generation of digital comparators follows the same path.
As scary as one might at first think, putting a glass indicator out on the shop floor is actually a good idea. In many ways, there are a lot of potential advantages. Whether in phones or tablets, today’s glass products are extremely tough. Maybe dropping them is not a good idea, but under normal use, one can get a lifetime of button pushes on a glass screen without degrading performance.
The same is true when a glass bezel is employed on a digital comparator. Since the glass itself is the “touch screen" of the indicator, there are no mechanical buttons or switches to wear out over time. No buttons also mean fewer areas for contamination. And because the button labeling is under the glass face, there is no chance for the labeling of the button to wear off.
But the more significant improvement could be the ease of use, even when the operator is using gloves at the point of manufacture. Certain glass screens do not need an actual finger touch but can be switched or selected even while wearing gloves. In addition, the screen is sensitive to the user even in the harshest conditions.
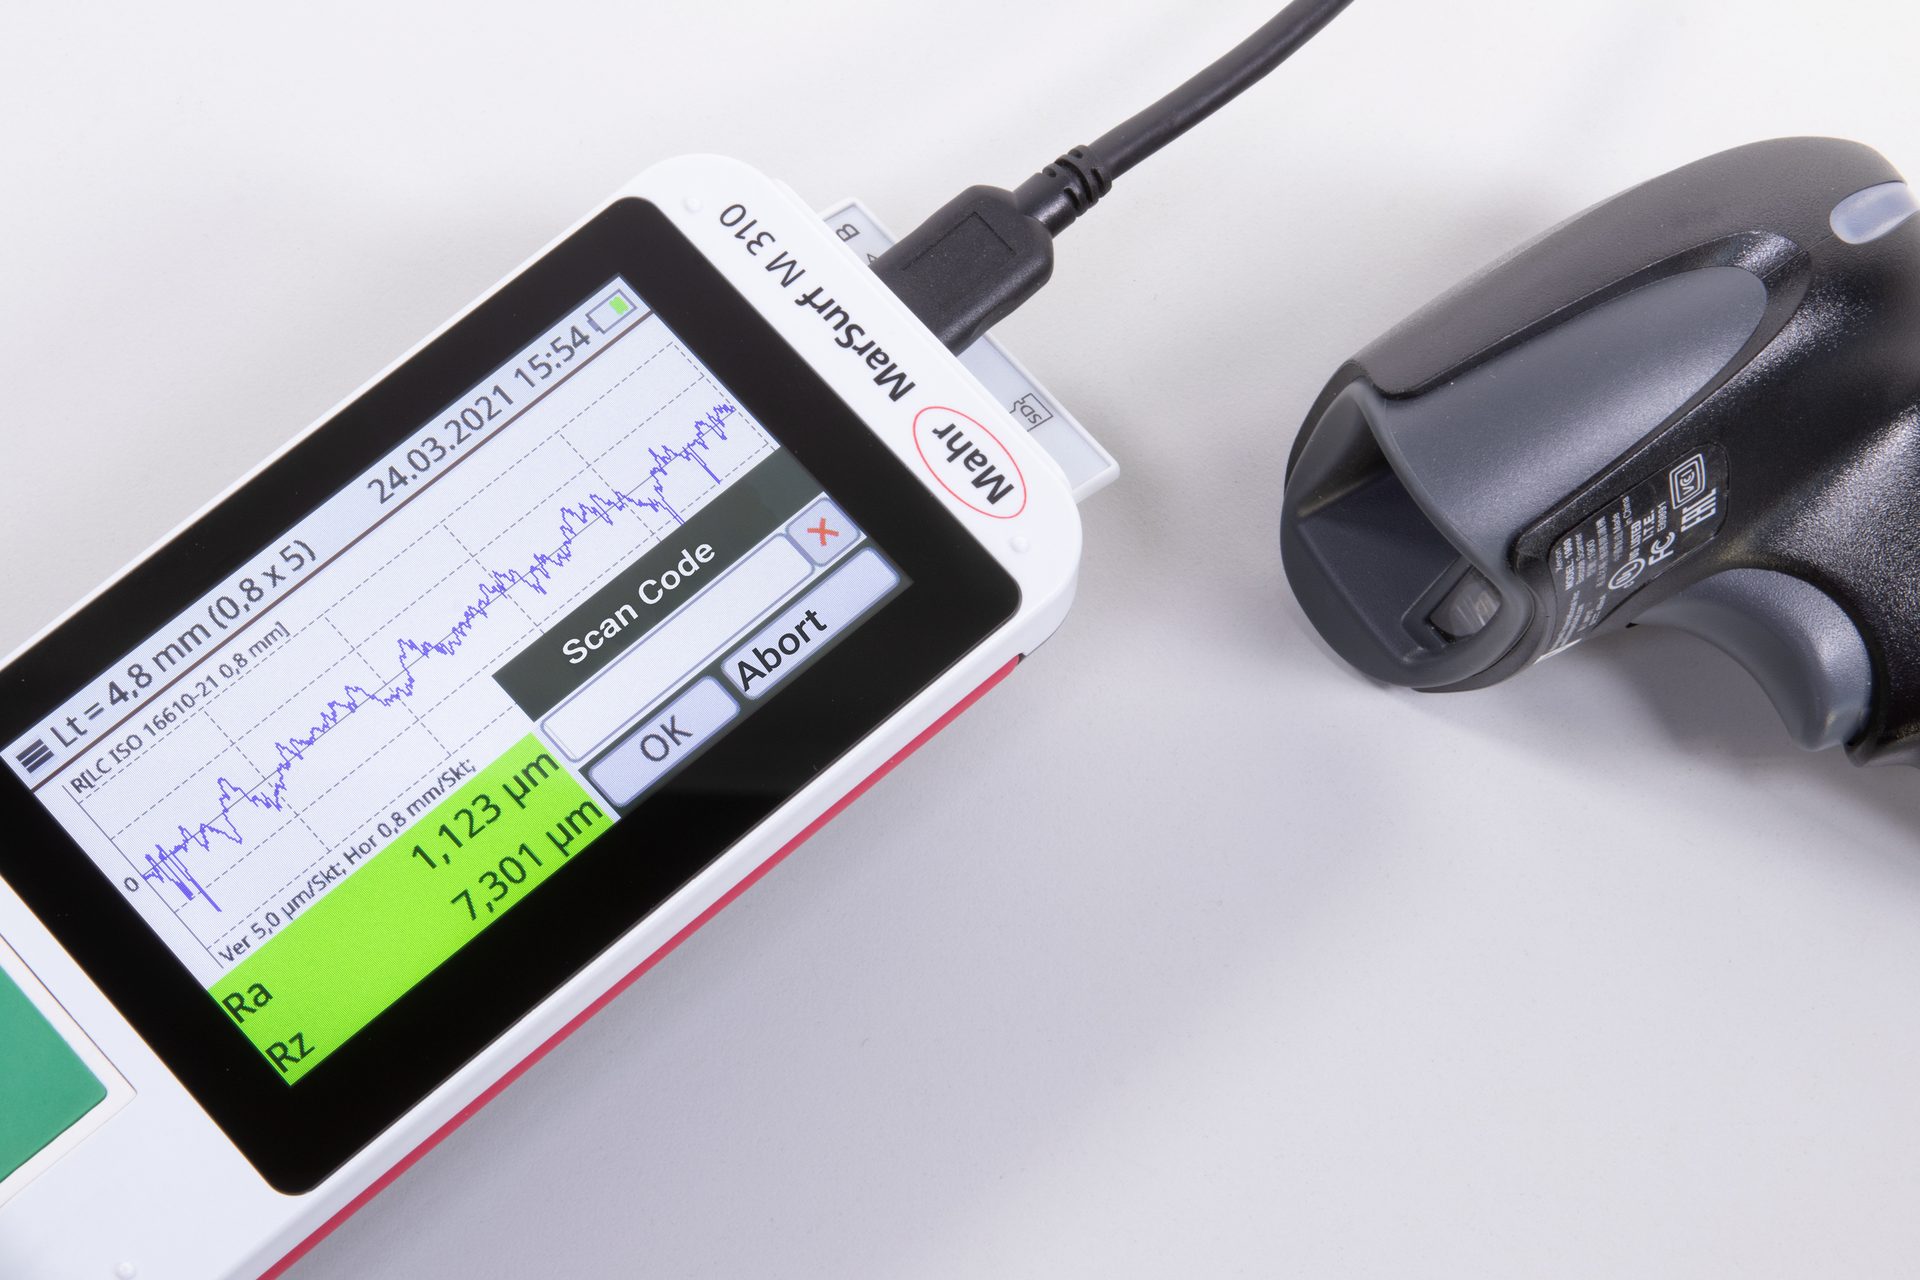
Measuring systems that can employ bar scanners allow for automatic parameter set-up for each part, thus removing operator errors and saving production time.
Calling Home on your Portable Surface Gage
Following along with the concept of putting simple to use tools in the hands of the machinist, nowhere is this more important than with surface finish measuring tools. The metrology of surface finish can be a complex one, first with the probe design for doing roughness only as with skidded systems, or with a skidded system allowing for roughness, profile, and waviness parameters. But the complexity comes from the 100 or so parameters available to analyze the results.
For most applications, a simple roughness average may be all that is needed. However, should a designer surface be engineered to perform in a particular manner when used, a more in-depth analysis of the surface using a parameter specific to the function may be required. Setting up the surface gage to meet the measurement requirements should be something that, again, should be easy for the machinist.
There are two ways of doing this. The surface gages of today’s interface with the user are just like a smartphone. They require very little training and can be used by the operator in minutes. Features, functions, and setup parameters are available by swiping and selecting features just as one would set up their smartphone. There can even be features such as “favorites” where the user can choose certain parameters only to be measured of specific functions determined by a created shortcut. The smartphone features are built in to make the surface gaging intuitive to the casual “inspector.”
Another option, as in the remote setup of digital indicators, is the ability to set up the surface gage remotely or by an optical scanner. Surface devices are starting to be capable of receiving information as well, specifically set up information. This is a valuable feature for the user as there is a reasonable probability of new setup information for each new part as it begins being manufactured. This most likely means new probe settings, surface finish parameters, and surface tolerances for the surface system. Even with the simplest surface finish system, there are literally hundreds of possibilities for setup parameters.
It seems as if every piece of paper following the job on the shop floor has a bar code associated with it, and the bar code is used to route the process and track the job during every stage of the machining process. Every machining station has a bar code reader available—the same is happening with portable surface finish systems. The work order documents for the next set of parts the operator is to machine contain a bar code identifying all the setup parameters for the surface finish gage. The user can simply just scan the traveling documents, and the system is ready to measure the next part—with the specific parameters and tolerances the design engineer specified. The operator requires no time to set up the measuring system.
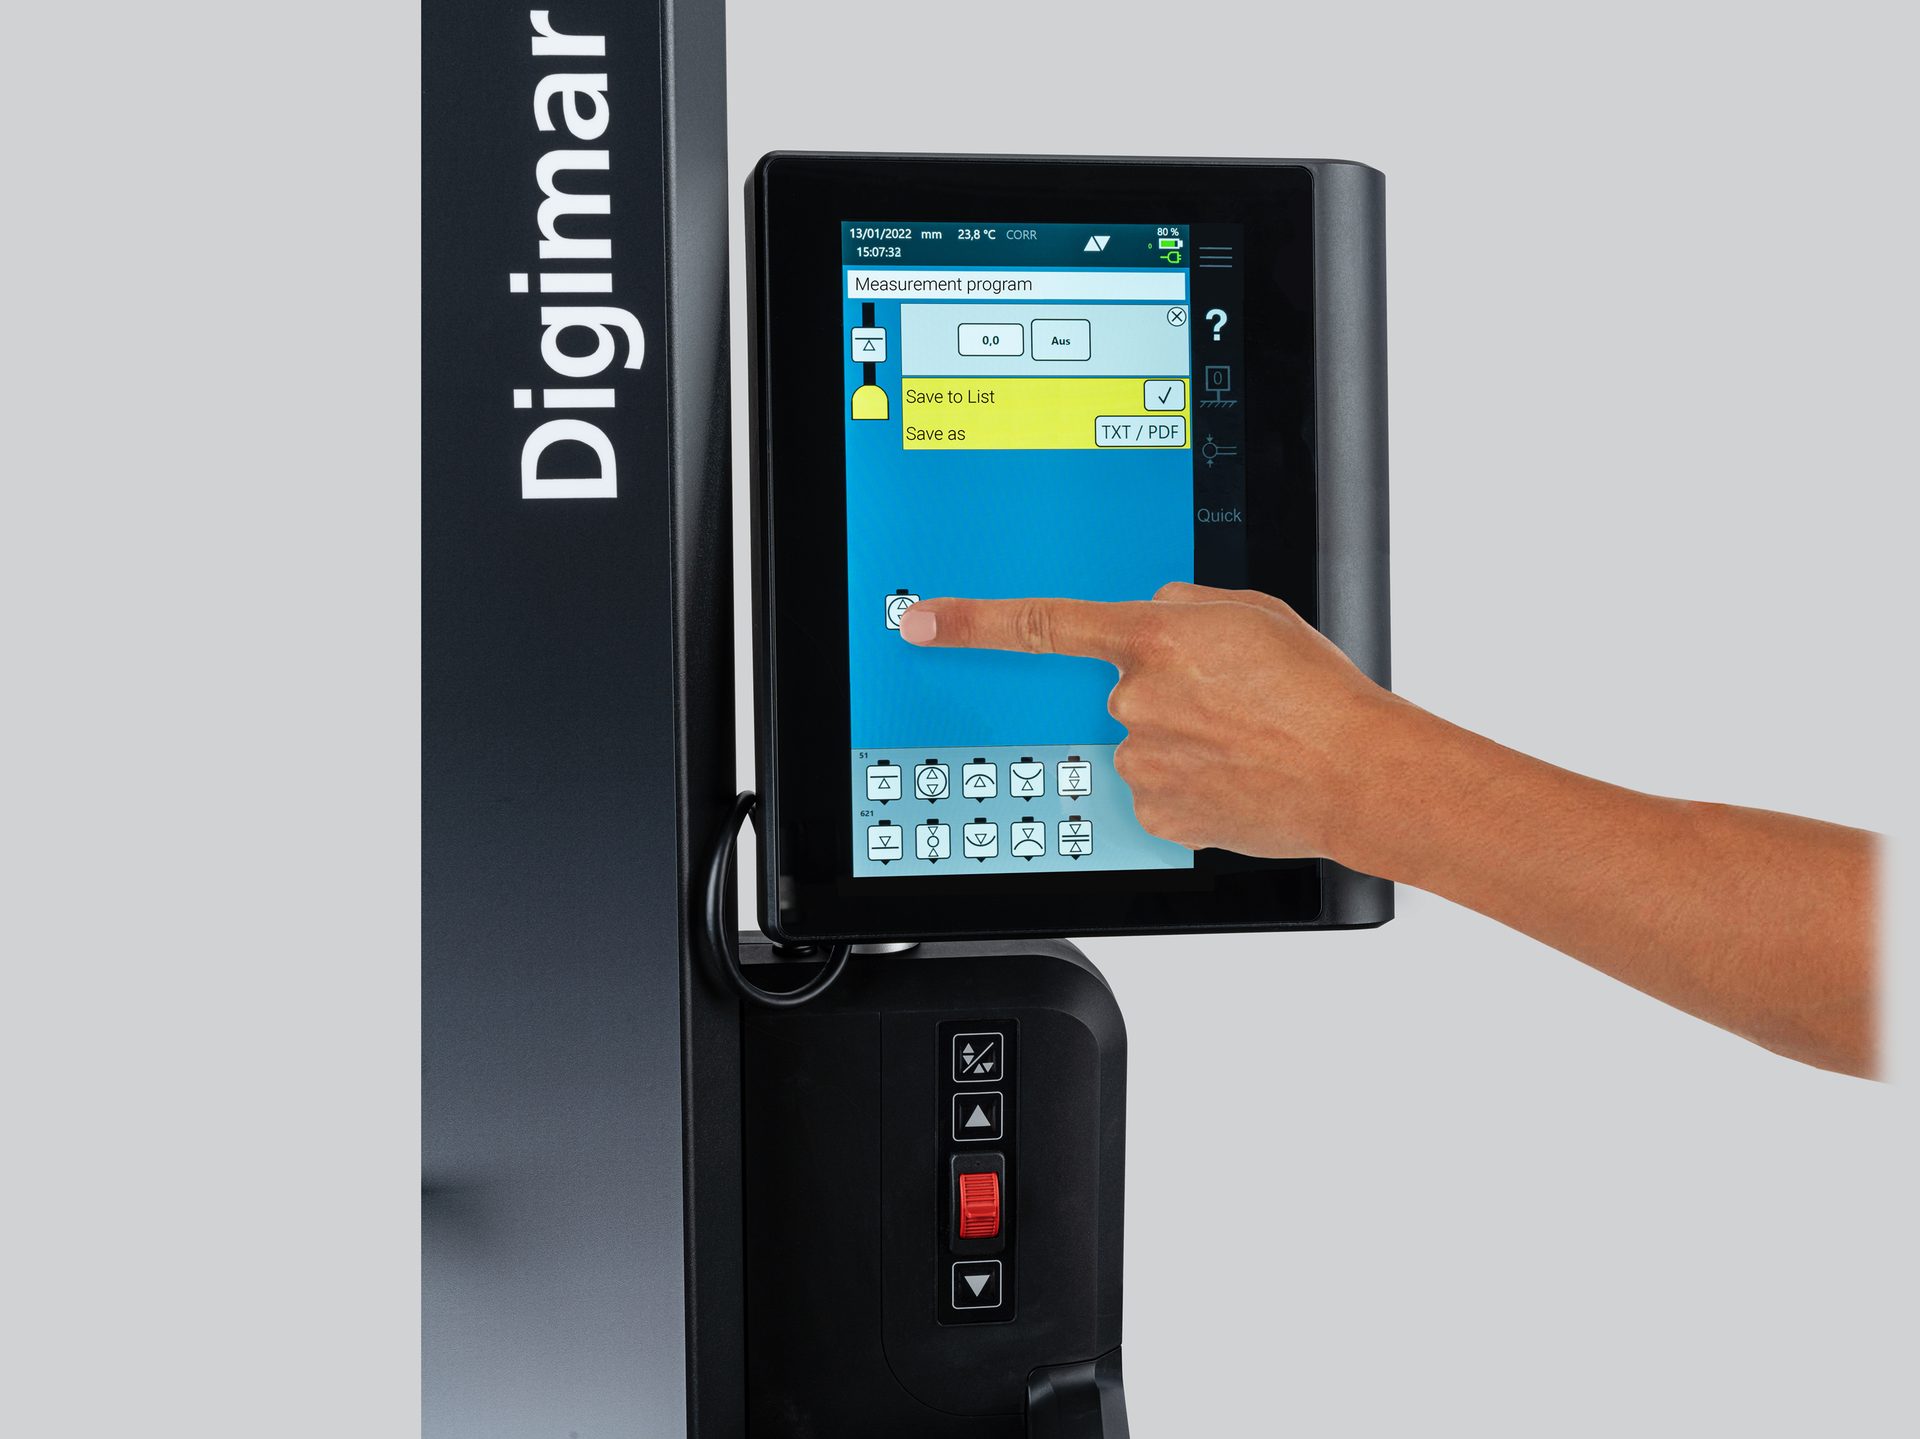
Gages with touch screen interfaces- technology borrowed from other industries- are making their way to the shop floor.
Making Even Complex Measurements Easy
The real meaning of ergonomics is that the controls’ methods, processes, and placement are designed for the user. This trend is seen in the digital comparators and the surface gages being designed for shop floor applications. The same view is being used for manual height gages, often placed right next to the point of manufacture for immediate verification of the process.
As with the other trends seen in hand tools, the simple moving and scrolling functions of the integrated touch screen work just like a tablet or smartphone. The key layout of the initial displays is arranged so that frequently used operations are very easy to access. And whether one is using the touch screen while sitting or standing, the display can easily be adjusted to the most convenient viewing or touching ease.
In effect, using the power of a PC tablet and a customized user interface, what was once a proprietary display/controller that would employ up to 63 dedicated and special dual-function keys is now replaced by touch screen controls containing only the keys needed for the specific function being performed. Just as with any personal tablet, only the function required is being used but the user can simply swipe or pull up another page for different or less often used functions. This results in a less intimidating display layout and greatly simplifies operator familiarity.
Thus, it becomes easy to drop and drag standard measuring tasks, lengths, diameters, and bore heights into a customer measuring program that can be stored and called up for serial production runs. If guidance for probe calibration or other setup functions is required, animations are provided for fast instruction for the measuring task. In effect, the system can contain all the training for complex or straightforward measuring routines and have the instructions built in.
Other user features mentioned in the trends continue to be implemented in modern height gage products. These features include data being transferred wirelessly via a simple interface program or sent directly to a wireless printer for processing documentation of the batch of parts measured.
For high precision squareness checking with height gages, interfacing is available for digital comparators. With their high axial motion capability and precise LVDT transducer, these digital comparators are the ideal choice to complement the height gaging perpendicularity measurement.
Ergonomics in gaging also goes beyond the user interface. The placement of controls for moving the measuring slide, floating the gage on its air bearing, or stepping to the next pram step is in multiple positions for use at any orientation. This all makes the gage design for the machinist, who may not be an inspector, simple and easy to operate.
In summary, there is a blur between the advances in metrology and the use of advances from other industries. But sometimes, combining the best of both worlds creates products that are simple for the operator to use while also being able to provide very complex measuring results.
