Radiography
Inspection
NDT
2D Radiography (x-ray) for NDT
Scanning an engine block. Source: Haven Metrology
2D radiography continues to be essential to the safety and reliability of many of the world’s industrial products
By Greg Weaver
2D Radiography (x-ray) is a nondestructive testing (NDT) method. Industrial 2D radiography is used daily to inspect a large variety of components and materials for a diverse range of flaws, such as cracks, porosity, delaminations, and others. The method includes both gamma radiation and x-rays. Because both can travel through water, air, and soil, industrial radiography is extremely useful in inspecting components and materials. Neither will damage the material. Objects in the field often do not need to be relocated to be inspected. The method is applied in a multitude of manufacturing, repair industries, and in every type of inspection program. 2D X-ray is the most used NDT method outside of visual inspection.
X-rays were discovered in the late 1800’s and shortly after, physicians began using them in medical procedures to identify the presence of metal in the human body. Nobel Prize winner Marie Curie really pushed this into the spotlight when she began using her x-ray methods to help doctors in or near battlefields to identify shrapnel and bullet fragments in injured soldiers. X-rays remained primarily in the medical field for decades. As the ability to produce stronger, more dependable, and safer x-ray sources developed, trades began to take notice, and their usage expanded into industrial applications. As the source production continued to be proven and accepted, and in tandem, as gamma radiation development also evolved, these applications began to grow at a steady pace.

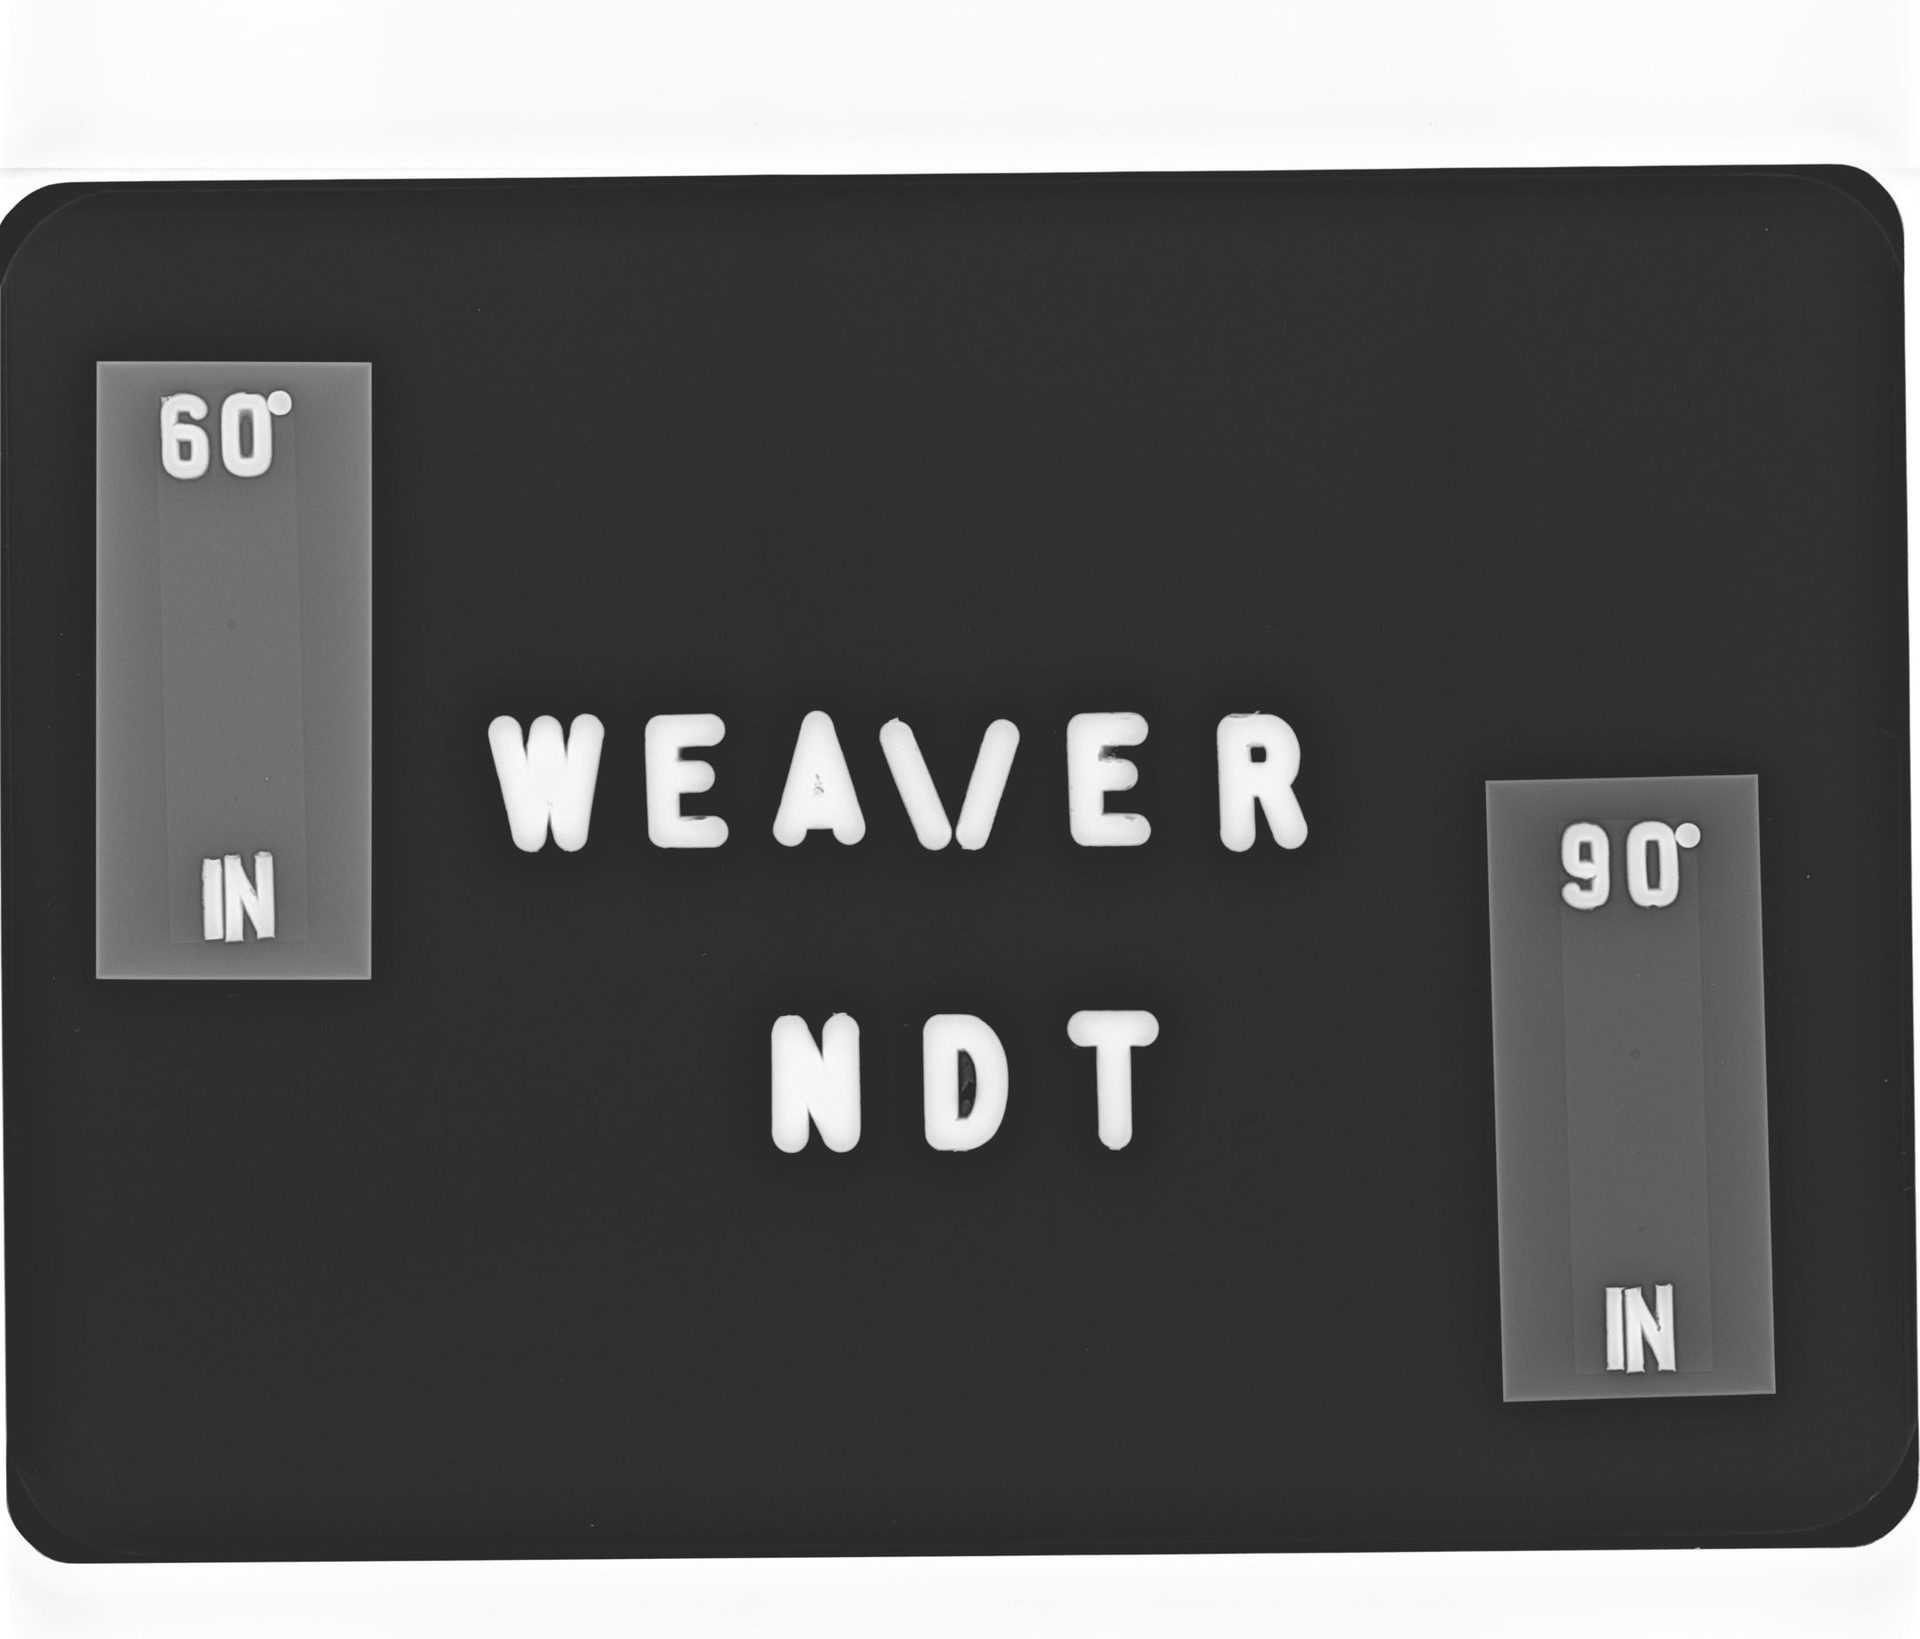
Source: WeaverNDT
In the early part of the twentieth century, radiography was not a widely used standard inspection method. Initially, x-ray inspection applications were explored sparingly across various industries. It was not until World War II (WWII) that 2D radiography became an inspection method of choice. This was heavily due to the United States Navy (USN) as they began requiring gamma and x-ray inspections on all their structural welds for large ships. Around the same time, the method became used for critical inspection of internal defects of various weapons systems, especially for large gun barrels on ships and tanks. Gamma rays were applied on thicker materials and x-rays on thinner materials. After WWII, usage expanded quickly, and the method soon became a standard requirement for most military critical metallic components and assemblies. These requirements stayed in place and rapidly flowed down into commercial sectors where new uses developed. This allowed for expansion into nonmetallic products as well.
Today, radiography is accepted, and often required as a standard practice, in most industries. It is applied using a diverse range of x-ray generation equipment and with three main types of image capturing.
Gamma ray isotope inspection can be extremely dangerous in a lay person’s hands, and the accompanying equipment is very controlled, regulated, and monitored. Therefore, there is not easy access or a demand for it in most commercial inspections. Because of this, the x-ray inspection industry, which is safer, has become the main source of equipment supply for both the generation of the x-rays and the image capturing.
Up-close x-ray of a battery. Source: Haven Metrology
On the generation side, there are different equipment options that can be critical to specific uses and inspections. Typically, x-ray tubes are either conventional sealed tubes or microfocus tubes. Conventional tubes are standard for most industrial x-ray systems. These tubes are either used as stationary or as mobile sources. Microfocus tubes are primarily for fixed bay x-ray cabinets where the items subjected to x-rays require a sharp, detailed, and usually a magnified image. One of the main differences between a conventional tube and a microfocus tube is what is known as the focal spot size. The focal spot is the area on the tube target that receives the bombardment of electrons, and the size is the energy hitting the total area of the target. Standard large spot conventional tubes have focal spot sizes ranging from 4mm x 4mm down to 1mm x 1mm. A second group of smaller spot conventional tubes, called “fine focus,” have a focal size of .5mm x .5mm down to 50-microns in diameter. Microfocus tubes are any tubes that have under a 50-micron spot. Other key differences in tubes are features like minimum and maximum power ranges, target material types, and anode placement or rotation. All these options can be key to providing successful applications, and they all need to consideration and evaluation to ensure that the correct tube is selected for the job.
On the image capturing side, there are also several options to consider. In most cases, the three main options are x-ray film, computed radiography (CR), and a digital detector array (DDA). Each will produce the “product” of radiography, which is a radiograph, but each option comes with its own set of advantages and disadvantages.
Scan of a filter. Source: Haven Metrology
X-ray film is the oldest option available, and it consists of a polyester base and an emulsion-gelatin that contains silver halide crystals which are sensitive to radiation. Once properly processed, film delivers high quality results and provides high spatial resolution, which is the ability of an imaging system to differentiate between two nearby objects. This differentiation ability is the largest advantage when a great degree of sensitivity is required. This benefit is the main reason the film is still being used in critical aerospace and defense applications. However, film usage is fast becoming obsolete, and it will eventually be removed as an option in radiography. The production and processing of film requires the use of potentially harmful chemicals that need to be recovered and disposed of properly. Both producing and processing film are very time-consuming. Aiding to film’s eventual demise is the reality that the other image capturing methods are becoming increasingly sensitive and easily shared.
Computed radiography (CR) imaging plates use phosphor in place of film’s silver halides and the phosphor requires less exposure time. The imaging plates are reusable, and they require no chemical processing, unlike film. These two main advantages have driven a large influx of CR systems into a vast array of inspection programs. In fact, most hospitals use CR exclusively. Another major advantage of this method is the conversion of the scanned image into a digital record that is reviewed, interpreted, and analyzed on a computer monitor and then saved and filed for review and archiving. Phosphor plates have been found to be as sensitive as film for most applications.


Source: Haven Metrology
Source: WeaverNDT
Digital detector arrays, which are typically called direct radiography (DR), are the final option for image capture. This method uses an electronic flat panel detector which contains a scintillator layer, which has a combination of embedded materials that convert the x-ray signals to visible light. This visible light is then converted to an electronic voltage and the voltage changes are then amplified and digitized into a radiograph. The image is captured in real time and can be displayed instantly on a computer. This technique has shorter exposure times and produces high quality images, but it does have higher costs and is not as portable as either film or CR.
2D Radiography is an extremely popular NDT method and offers advantages over most other NDT methods. It is a highly reproducible and flexible inspection that can be utilized on almost any material. The method can detect issues on both the internal and external surfaces, and it requires nearly no surface preparation. Systems can be fixed and industrialized for high production, or they can be portable and taken into field situations and the images can be stored digitally and used for future analysis.
2D radiography continues to be essential to the safety and reliability of many of the world’s industrial products and its use will continue to play a critical role in future developments.
Image source: Weaver NDT and Haven Metrology
Ian R. Lazarus is president and CEO of Creato Performance Solutions, providing leadership development, training, and solutions to support operational excellence.
Jim L. Smith has more than 45 years of industry experience in operations, engineering, research & development and quality management.

