Products
Visit the Quality Show to learn about the latest technology and processes for measuring
Visit the Quality Show to learn about the latest technology and processes for measuring.
See the products exhibitors will be displaying this year.

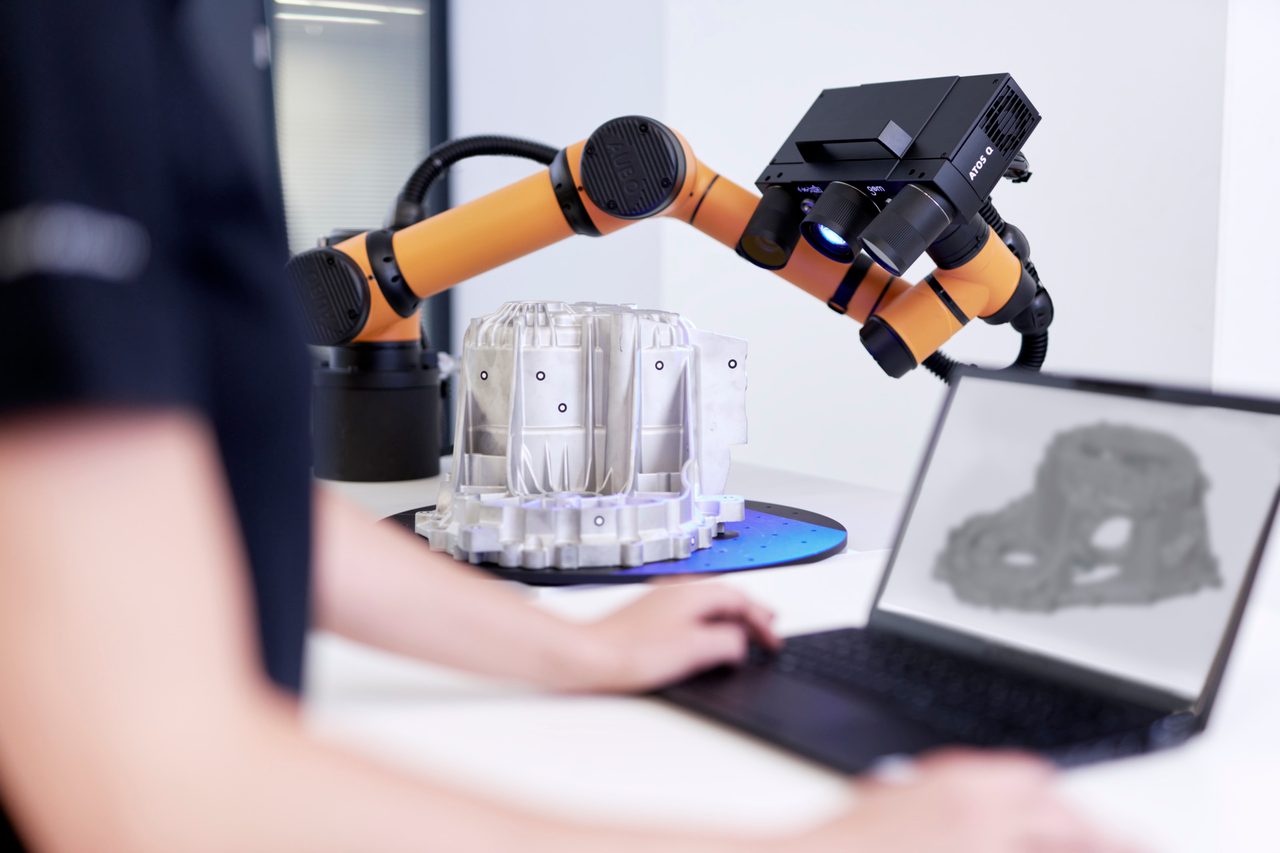
Capture 3D GOM ScanCobot
The GOM ScanCobot provides an affordable solution to automation investment, making advanced 3D measurement technology accessible to companies of all sizes. The mobile automated 3D scanning solution integrates with GOM’s ATOS Q blue light 3D scanner providing a gateway to Digital Twin, digital engineering, rapid manufacturing, Quality 4.0, and automation strategies. Engineered to increase efficiency in the quality control of small to medium-sized parts, including plastics, metal, and casting, the GOM ScanCobot and ATOS Q combination digitizes the full surface of additively manufactured parts to deliver high-quality meshes.
Capture 3D
Booth #812

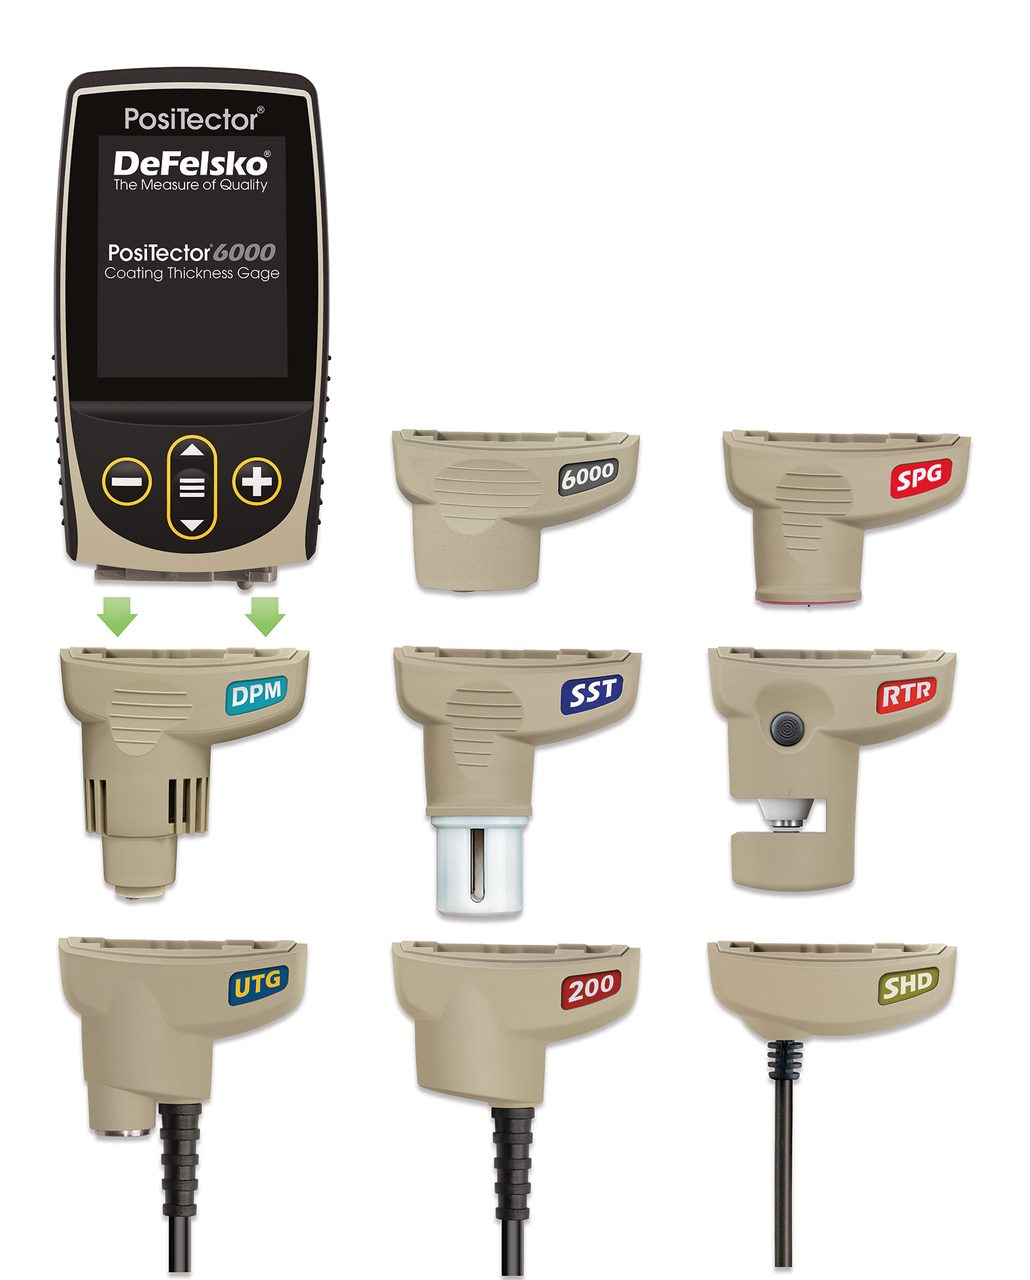
PosiTector Gage Body
The new PosiTector gage body builds on this legacy with many industry leading features including a larger 2.8 in. impact resistant color touchscreen with redesigned keypad for quick menu navigation, new ergonomic design with a durable rubberized grip for comfortable all-day inspection, an updated modern user-interface, and on-gage help to explain menu items at the touch of a button. The new weatherproof, dustproof, and water-resistant—IP65-rated enclosure and shock-absorbing rubber holster are ideal for the toughest environmental conditions including an unexpected rainstorm.
DeFelsko
Booth #1134

GAGEtrak Pro Calibration Management Software
A sleek, modern interface, highly intuitive navigation, impressive flexibility and a truly comprehensive feature set are among the many exciting aspects of the new GAGEtrak Pro calibration management software. Whether you track calibrations by hand, spreadsheet or another legacy software program, switching to GAGEtrak Pro will revolutionize and modernize the way you manage M&TE.
GAGEtrak
Booth #1619

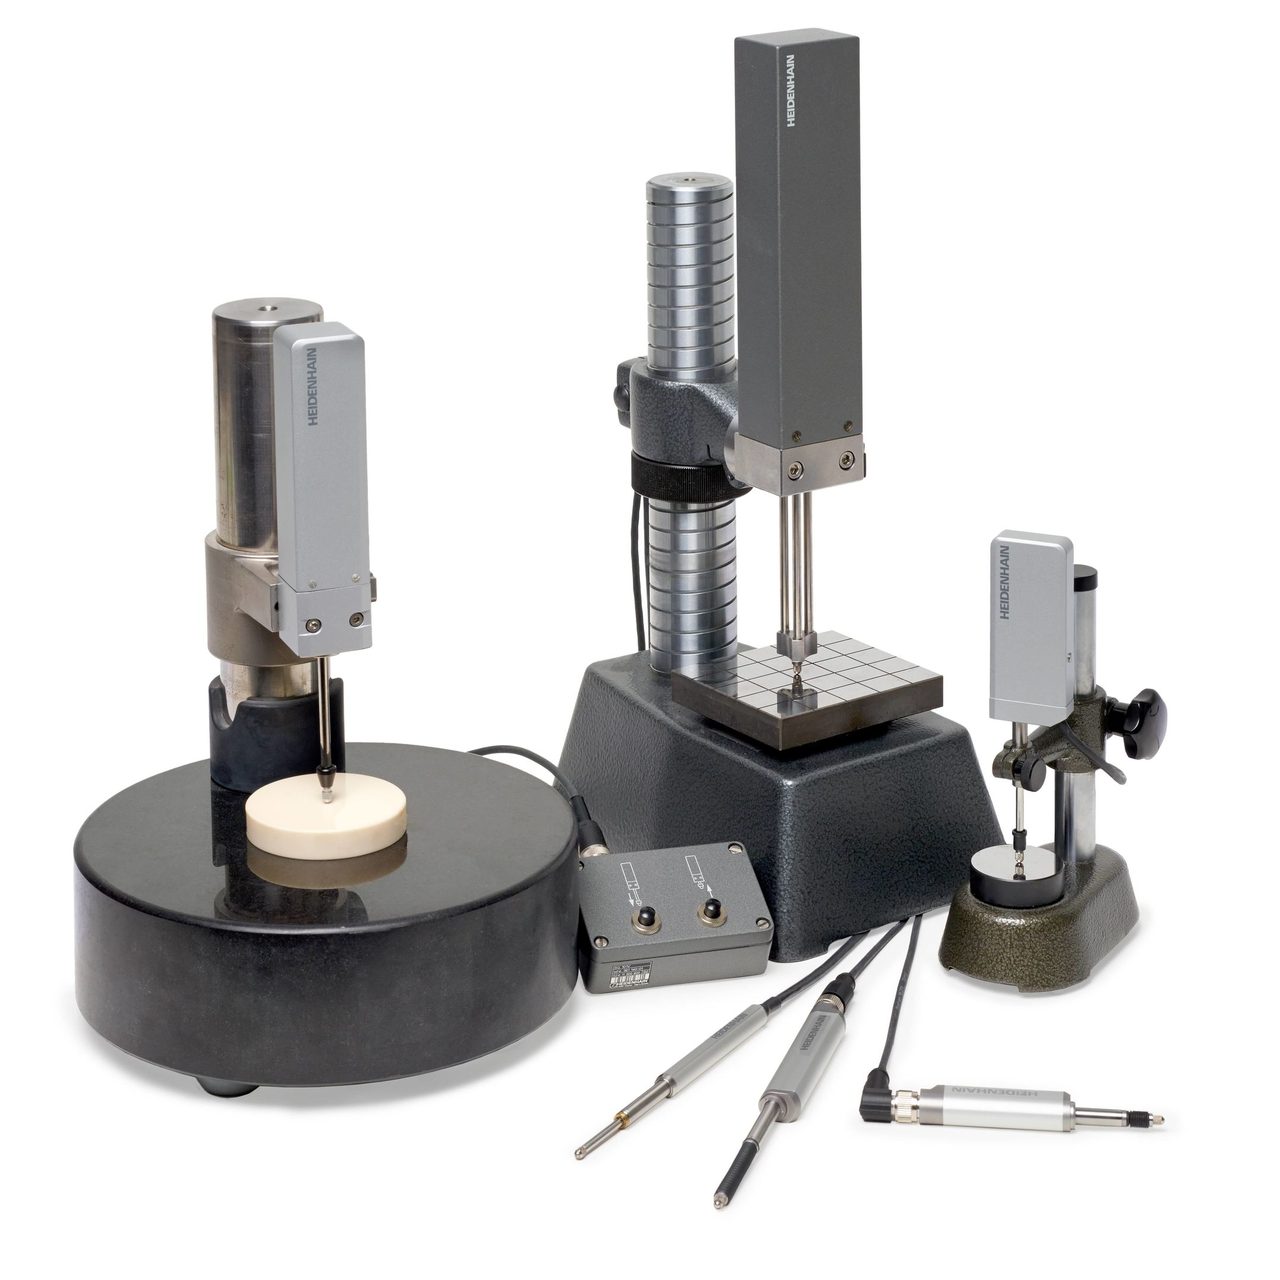
Heidenhain Precision Measurement Components
Heidenhain’s rugged products provide the highest accuracy for measuring gage blocks and in-line gaging solutions, while presenting custom gage-builders with an entire toolbox of gaging options. Length gauges on display will include Heidenhain’s ACANTO, CERTO, METRO and SPECTO models. The Heidenhain length gauge products cover a myriad of applications in production metrology, including in multipoint inspection stations, measuring equipment monitoring and as position measuring devices, whether the part measures 12 mm or 100 mm.
Heidenhain
Booth #927

Polyworks|Inspector 3D Dimensional Analysis and Quality Control Software
PolyWorks|Inspector™ is used to control tool or part dimensions, diagnose and prevent manufacturing and assembly issues, guide assembly building through real-time measurements, and oversee the quality of assembled products by using your choice of portable metrology devices and CNC CMMs. Benefit from an extensive set of guidance technologies for efficient, precise, and repeatable measurement processes for portable metrology devices.
InnovMetric
Booth #1320
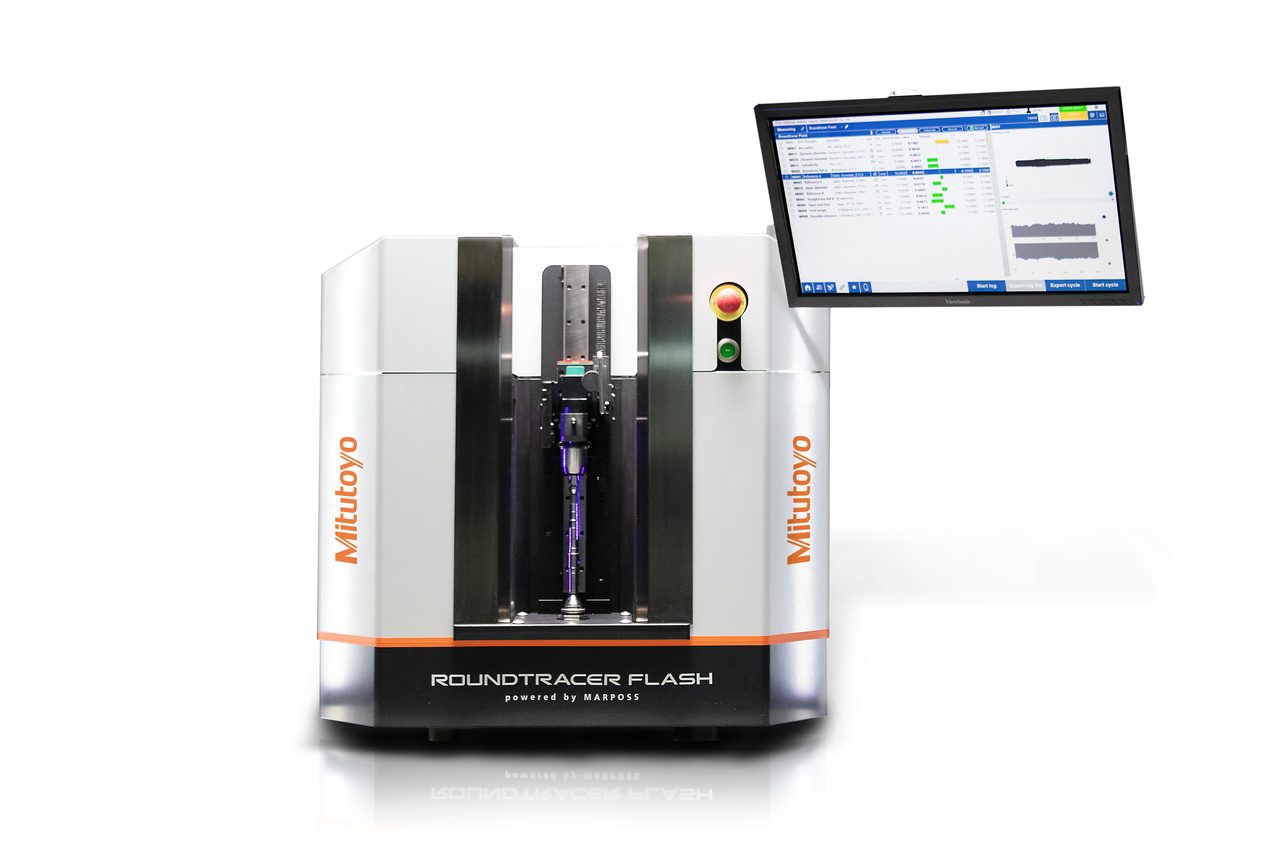
Mitutoyo Roundtracer Flash
Mitutoyo America Corporation’s new non-contact measuring unit is designed to deliver greater speed and versatility to the company’s form measurement line. It allows images acquired by different sensors to be perfectly combined to generate a single workpiece image containing no defects or gaps at stitching edges. The unit measures parts up to 300mm in length without any vertical movement of the sensors or part and executes 100 static measurements in two seconds regardless of how the measurement sections are distributed along the workpiece.
Mitutoyo America Corporation
Booth #1308
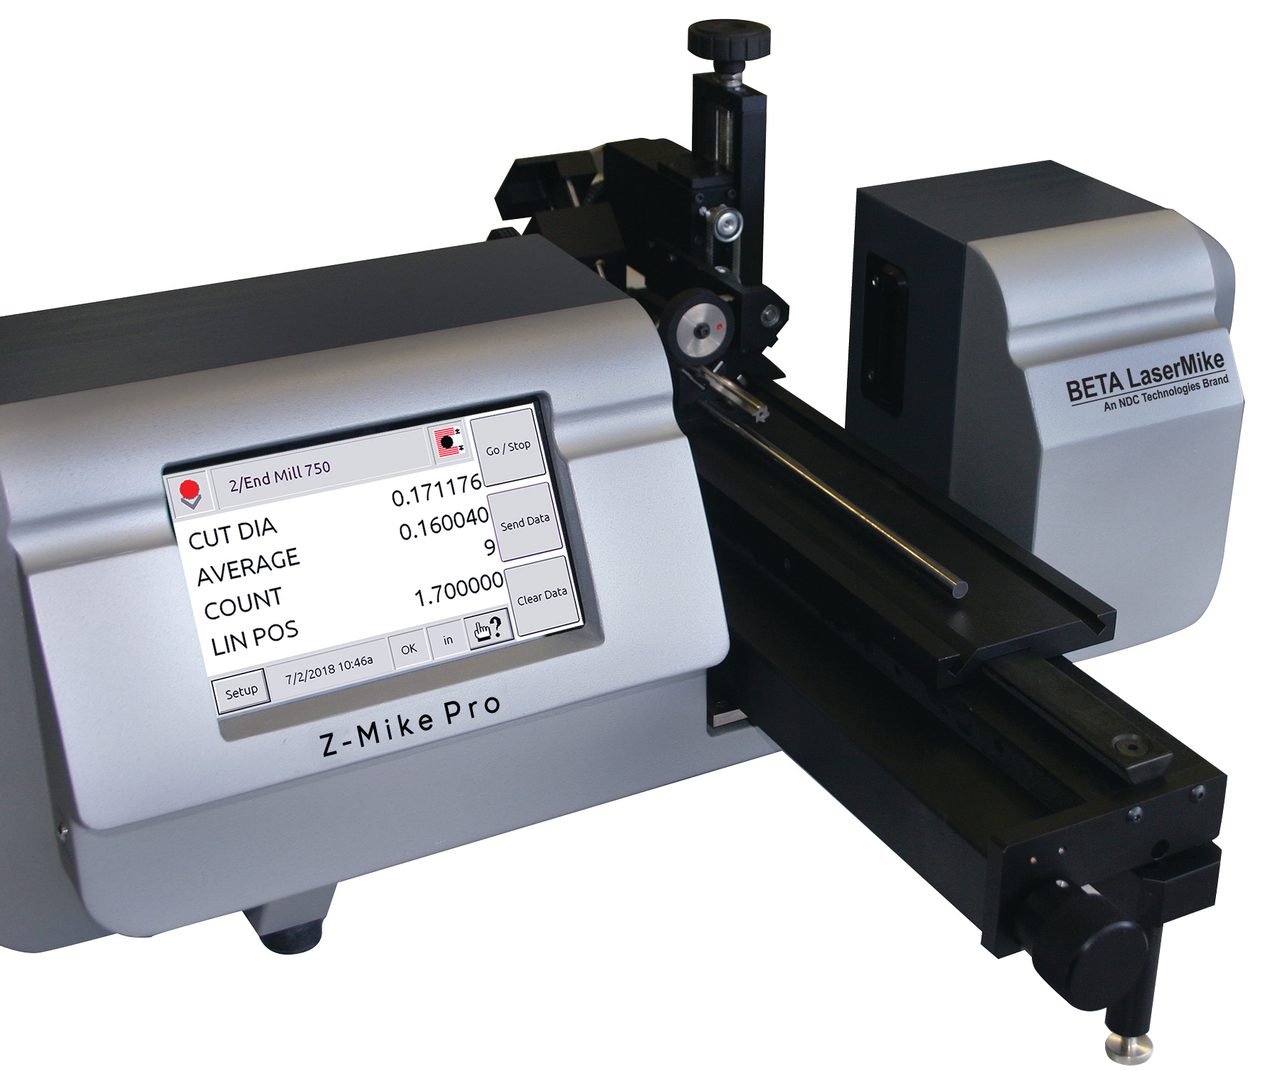
NDC Technologies Z-Mike Pro Gauge
Z-Mike Pro offers versatility across a wide range of demanding measurement applications such as rubber rollers, fluted cutting tools, plug and pin gauge calibration, shafts, pistons, crankshafts, camshafts, motor shafts, glass tubes, fuel injectors, valves, computer components and other uses. From quality clean rooms to tough machine shops, the Z-Mike Pro gauge offers no recalibration, precision over the entire measurement range, no need to center the object to be measured, and measurements traceable to national standards. The Z-Mike Pro gauge is available in two models to measure products up to 50 mm.
NDC Technologies
Booth #611
QI Macros for Excel
QI Macros® for Excel was the first Excel-based Quality Improvement solution more than 20 years ago, and remains the most powerful, easiest to use, most affordable SPC package to implement throughout your organization. Highlight your data in Excel, select the chart or tool you need… that’s it! The software creates the chart and indicates in-control and out-of-control points automatically. QI Macros can even choose the correct chart automatically.
QI Macros for Excel
Booth #1715

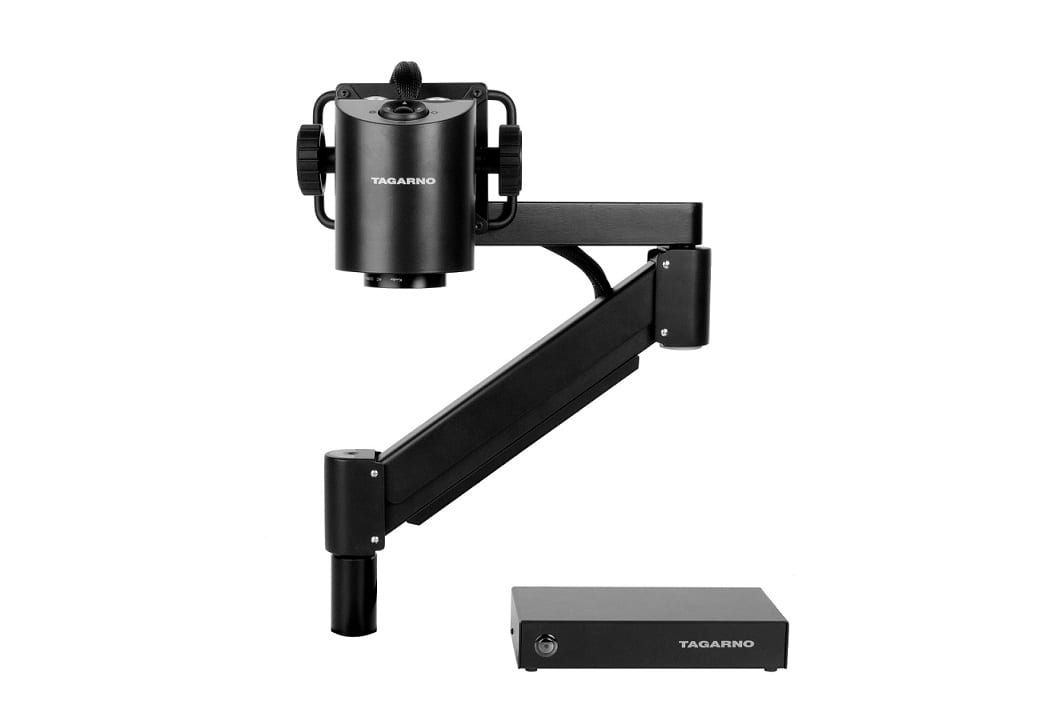
Tagarno High-Speed Modular Microscope
The new Tagarno Move digital microscope combines the flexible setup of the more simple ZAP model and the advanced features of the Trend and Prestige models, including on-screen measurements apps, easy documentation capabilities, advanced camera and presets settings as well as unprecedented processing power. Tagarno often receives inquiries about new applications from manufacturing companies and government organizations that want to use microscopes for new tasks and new materials. This can entail areas such as color control, size measurements, identifying impurities and overall quality control.
Tagarno
Booth #1828

Winslow Engineering 560 Mini Video Tool Analyzer
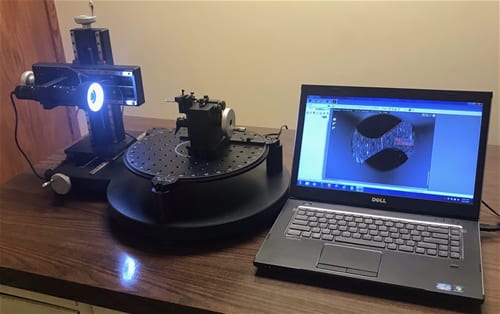
Winslow Engineering has improved the 560 Mini Video Tool Analyzer, adding a new base and optics assembly. The 560 Mini Video Tool Analyzer can be used for inspecting angles, diameters, radiuses, and distances on cutting tools and parts. The images with inspection data can be saved and emailed.
Winslow Engineering
Booth #1635

Scroll Down
Scroll Down
