Compression testing is a vital process in quality control, helping manufacturers evaluate the strength, durability, and stability of materials. By Steven Cosgrove
Compression Testing:
How to Put the Squeeze on Materials for Quality Control
Quality 101
Quality control through force testing is essential for developing safe, reliable products and is a necessity in many types of manufacturing and engineering processes.
Compression force testing is a mechanical process that determines the behavior of materials when a compressive or “crushing” load is applied. The most common objectives of these tests are the peak compression force and the displacement at which it occurs.
Understanding this behavior is critical for manufacturers to assess the strength, durability, and stability of materials and finished products, ensuring overall product quality.
This article explores common applications of compression force testing and the equipment required to do so.
Common Applications of Compression Testing
Spring Testing
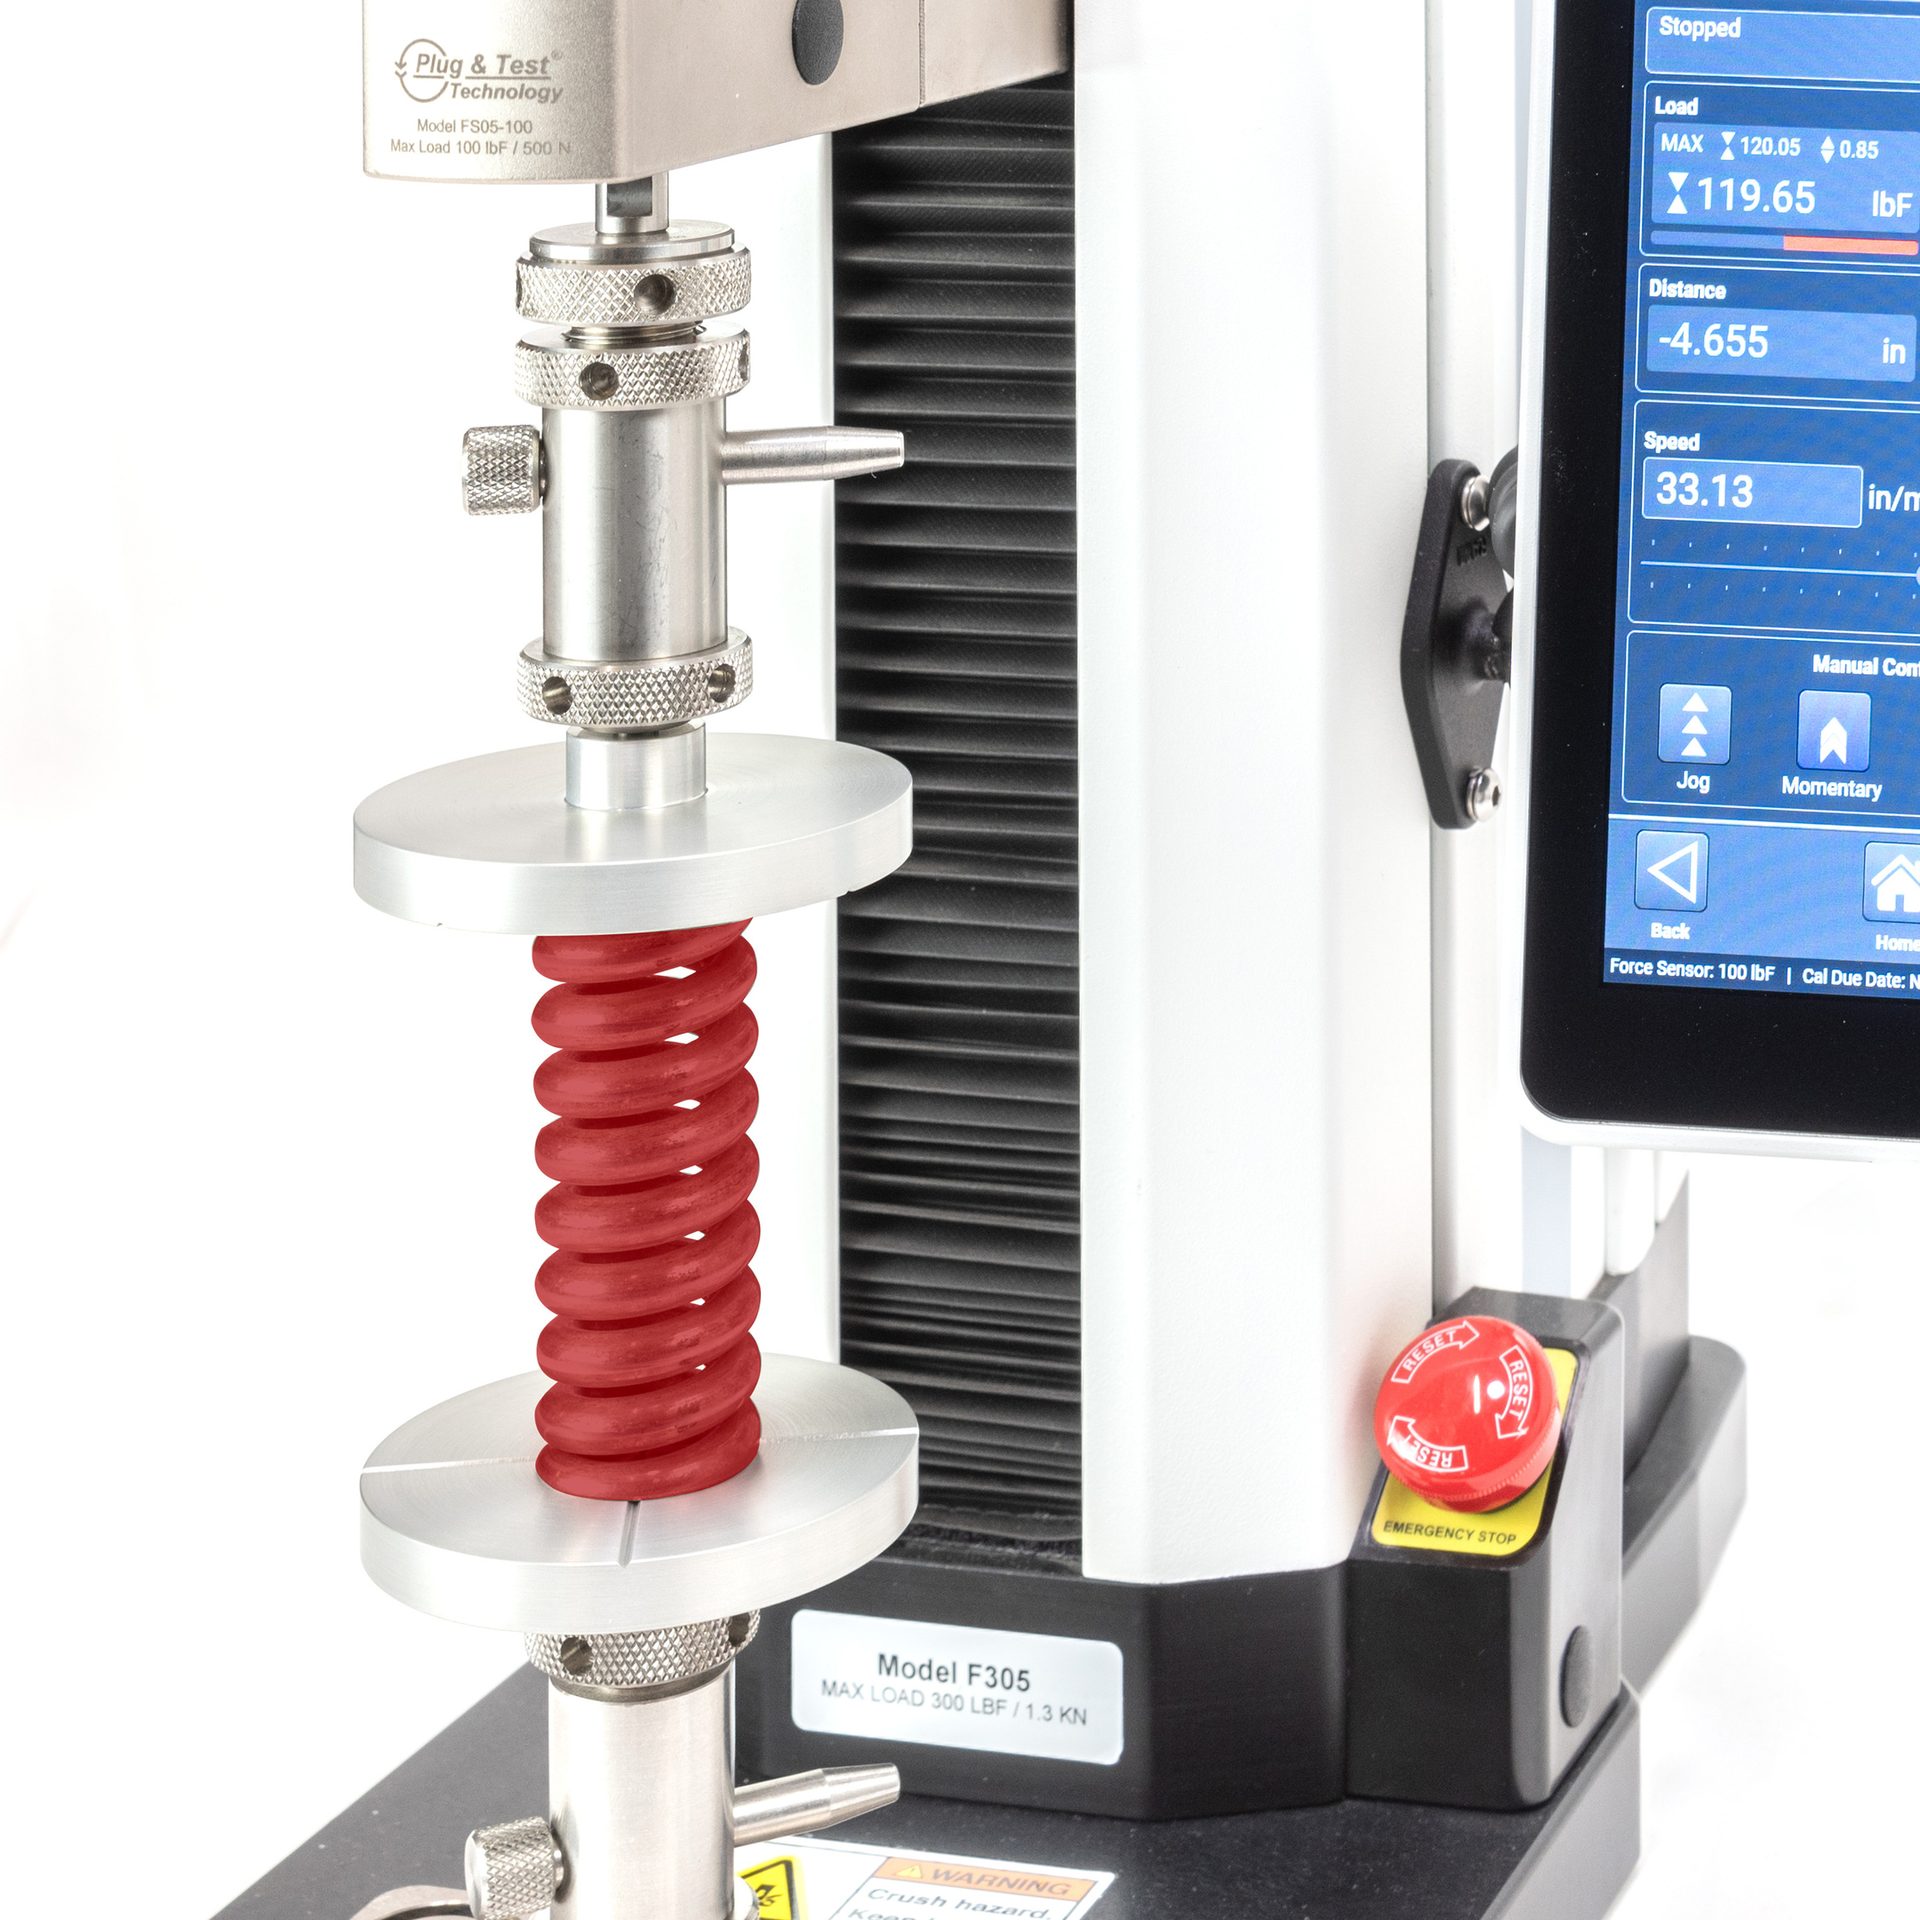
Nearly every industry uses springs that require strength and durability testing to verify their form and function. Compression springs found in common everyday items such as pens and vehicle suspensions all require testing. Spring rate, load, and displacement are key characteristics of compression springs that can be quantified in compression force testing.
Automotive Component Testing
Autos are chock full of components and assemblies subject to compression forces, both those accessible to the driver as well as internal items. Key to the driver’s positive impression is satisfaction with how they experience the interior cabin. From the force required to activate the turn signal stalk to the window switch to the horn, engineers must optimize their designs appropriately. Quality control’s role is to ensure that these components and assemblies are manufactured consistently and within specification.
Bend Testing
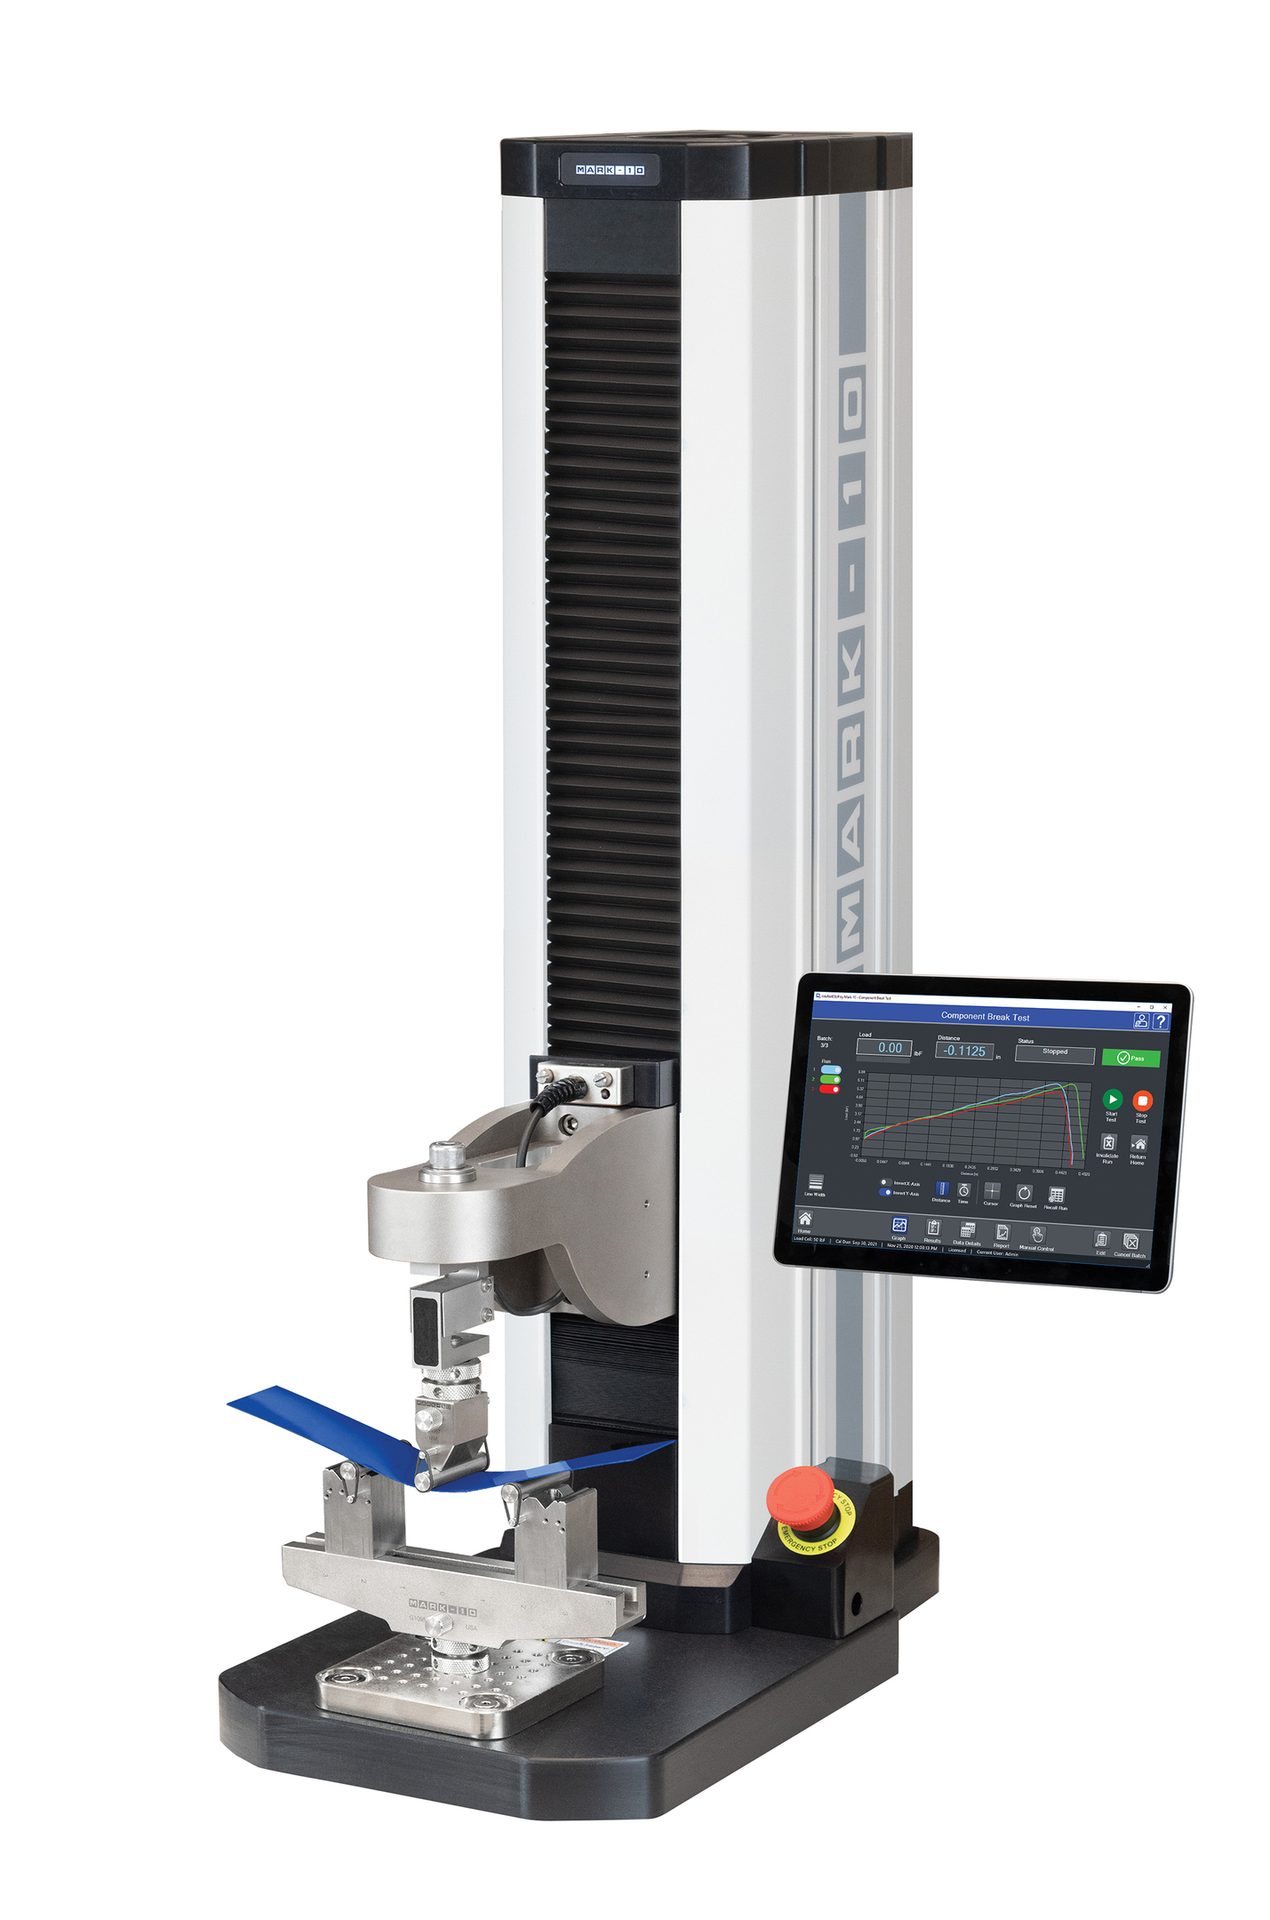
Also referred to as flexural testing, this process uses compression force loading to measure the behavior of material subjected to beam loading. Beam loading refers to the loading of a sample that is supported at one end or both ends. Bend tests typically involve compressing a sample to a specified load and measuring the distance or deflection of the sample at that load. In some cases, the load is applied until breakage occurs, with both peak load and displacement at break recorded. Common materials tested include ceramics, polymers, wood, composites, and concrete.
When created using an accurate ATOS 3D scanner, digital twins enable the ability to make reliable decisions based on insightful data and perform comprehensive analysis to improve quality control, geometric dimensioning, planning efficiency and processes through simulation.
Digital assembly is a digital twin application allowing manufacturers in remote locations to share 3D scan data to digitally assemble parts and simulate the finished product before incurring costs.
Pill Crush Force Testing
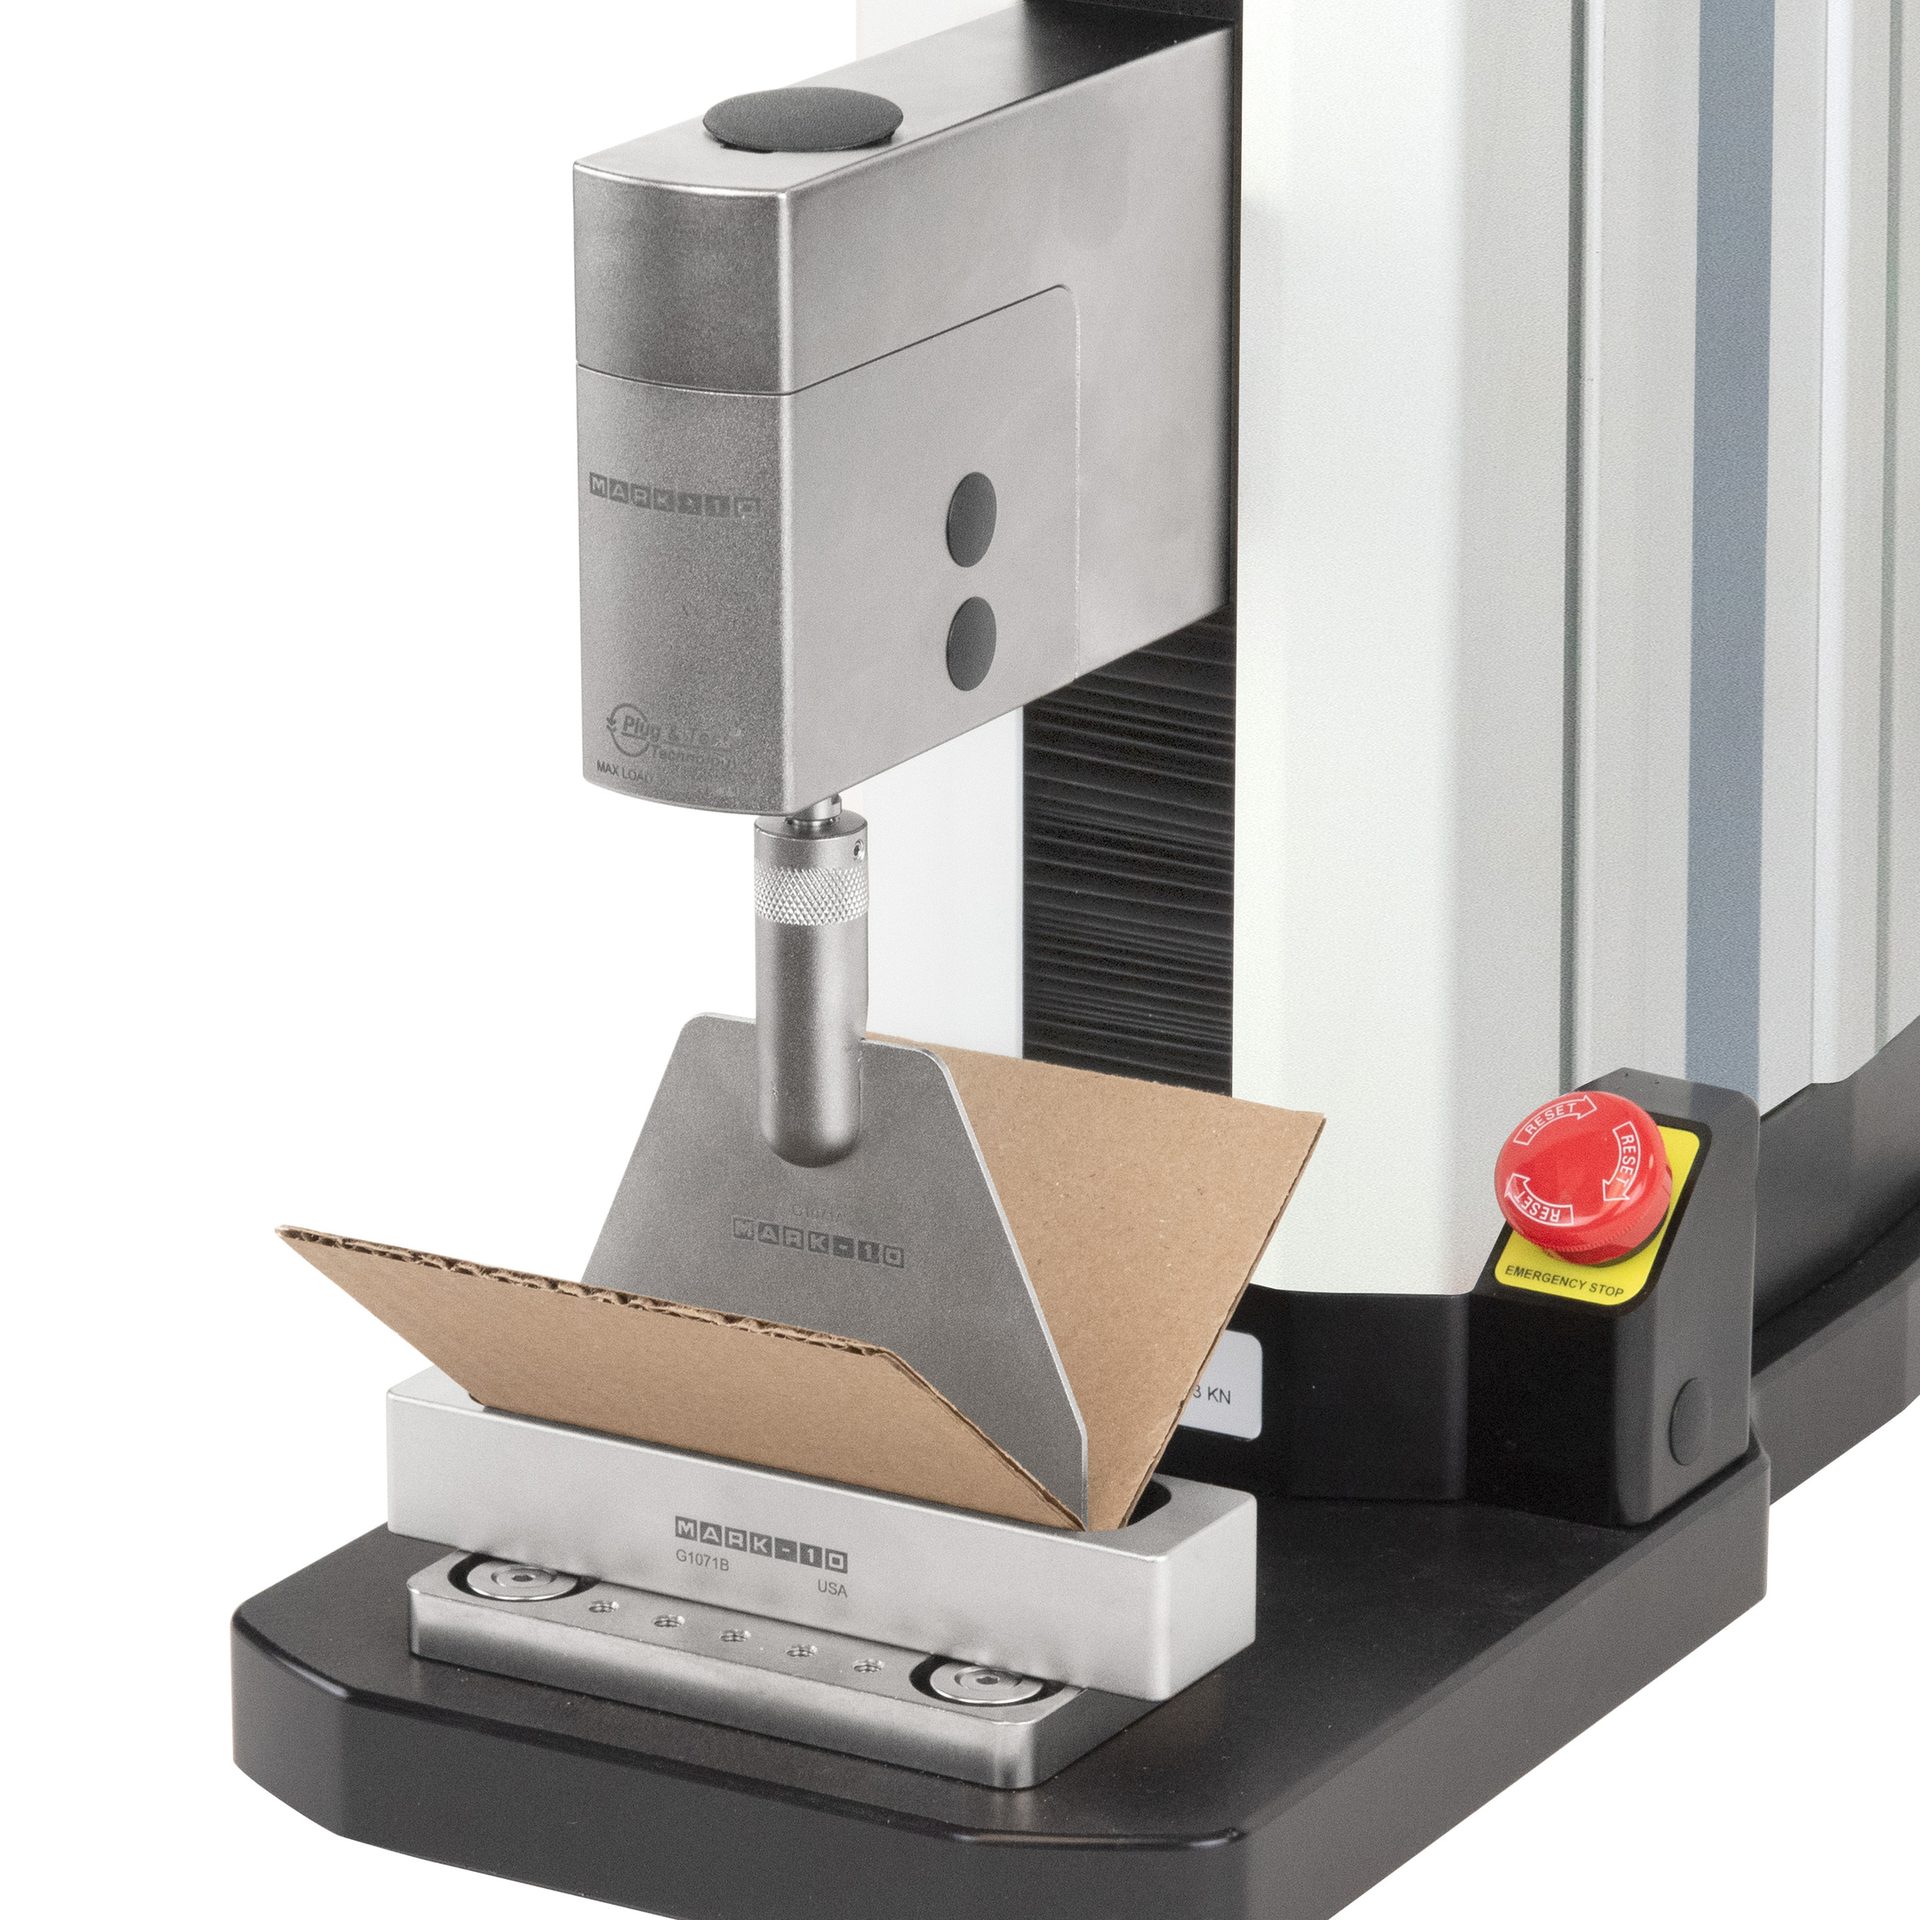
This pharmaceutical-specific test measures the peak crushing force for pills, helping determine their hardness and friability, or the tendency to crumble. Ensuring the correct mechanical strength of pills is critical, allowing them to withstand packaging and shipping without breaking, while remaining easy for patients to crush if they cannot swallow them whole.
Top Load Testing
Top load testing determines the maximum load a bottle or container can withstand without failing. This ensures that the contents remain safe during transportation, stacking, and storage. The tests usually involve compressing the top of the container by a predetermined distance, or to a specified height, and measuring the compression force at that point. This method is widely used in industries such as food and beverage, pharmaceuticals, and packaging.
Creep Testing
Creep testing measures the gradual mechanical deformation of a material under a constant load over an extended period. Creep tests can last minutes, hours, or even days, so it is essential that the compressive load applied by the equipment remains constant throughout the test to achieve accurate results. Creep testing is crucial for materials that will be mechanically stressed over long periods.
Choosing Your Test Sample: Material, Size, and Preparation
Is the sample a piece of raw material, a component, or an assembly? Whether the test is performed in the pre-design phase of a project or after manufacturing for quality verification, the sample characteristics need to be defined. For raw materials destined for integration into a finished product, sample specifications are defined by ASTM, ISO, and other standards. These published test methods ensure that samples are evaluated in a controlled manner for higher repeatability and consistency.
Here are some example ASTM standards for compression force testing:
- ASTM C39: Standard Test Method for Compressive Strength of Cylindrical Concrete Specimens
- ASTM D695: Standard Test Method for Compressive Properties of Rigid Plastics
- ASTM E9: Standard Test Methods of Compression Testing of Metallic Materials at Room Temperature
These standards specify the size and provide instructions on how to prepare it for testing.
When created using an accurate ATOS 3D scanner, digital twins enable the ability to make reliable decisions based on insightful data and perform comprehensive analysis to improve quality control, geometric dimensioning, planning efficiency and processes through simulation.
Digital assembly is a digital twin application allowing manufacturers in remote locations to share 3D scan data to digitally assemble parts and simulate the finished product before incurring costs.
Applying and Measuring the Compressive Load - Equipment Needed
Force Test Frame
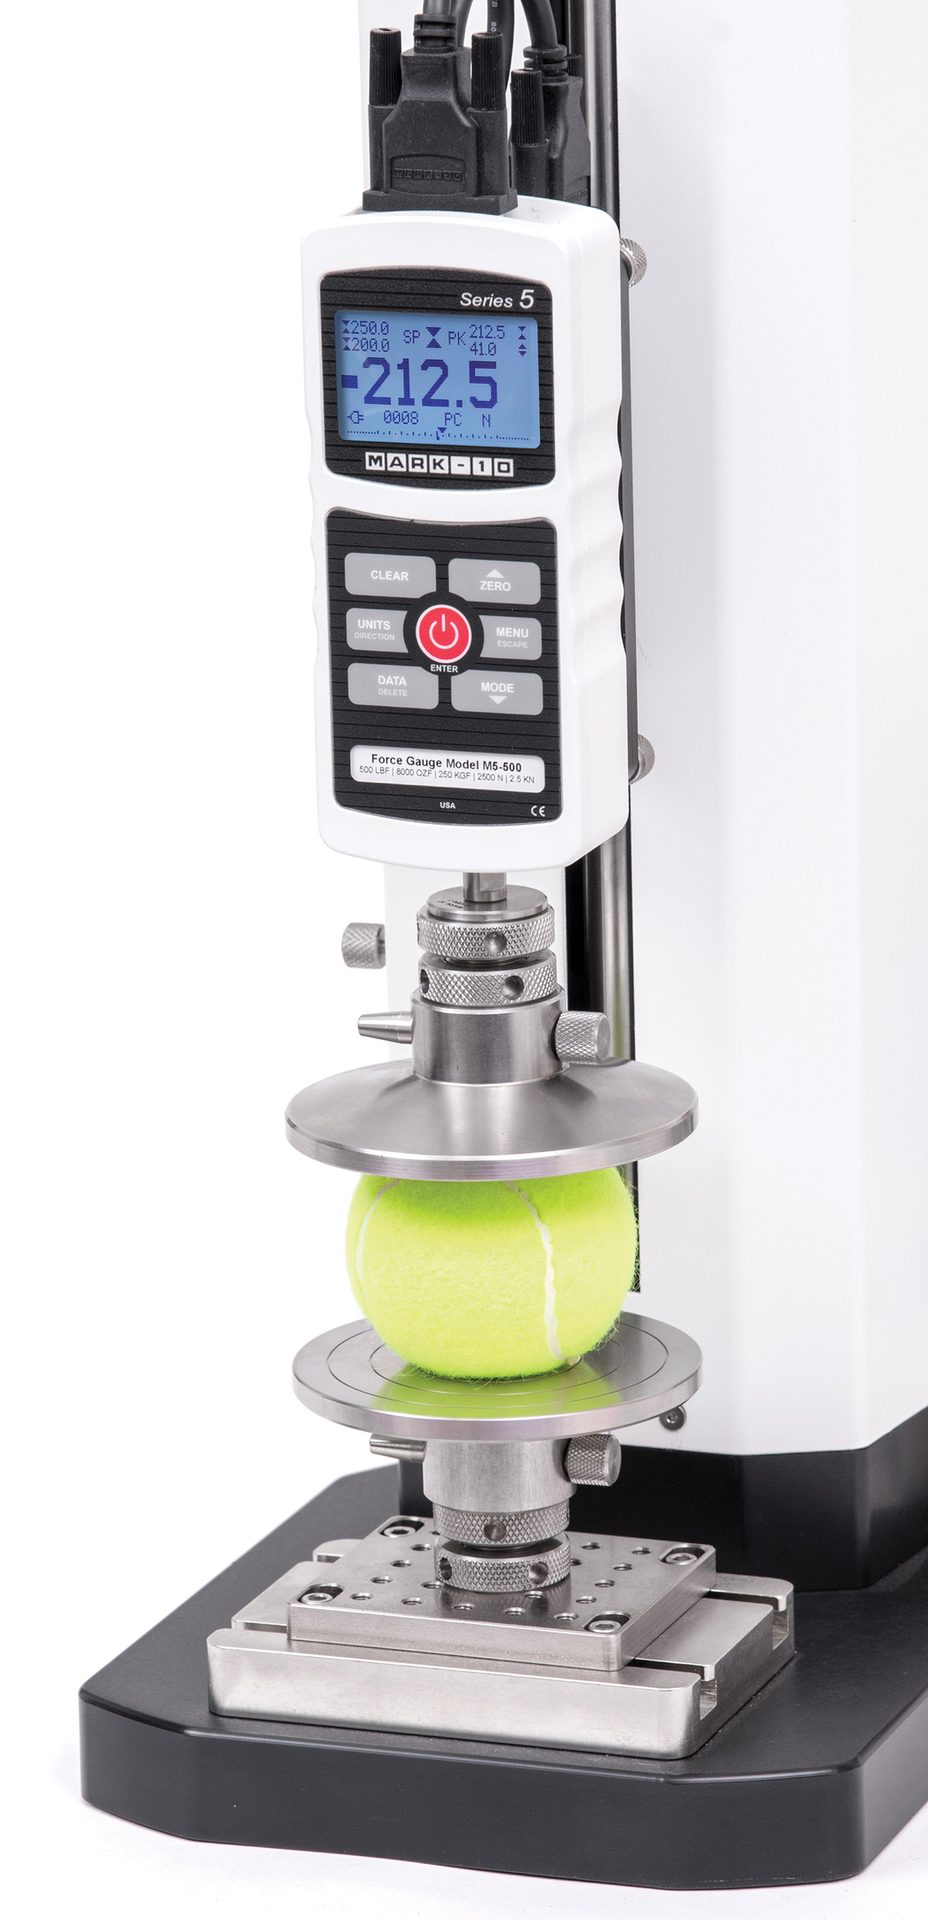
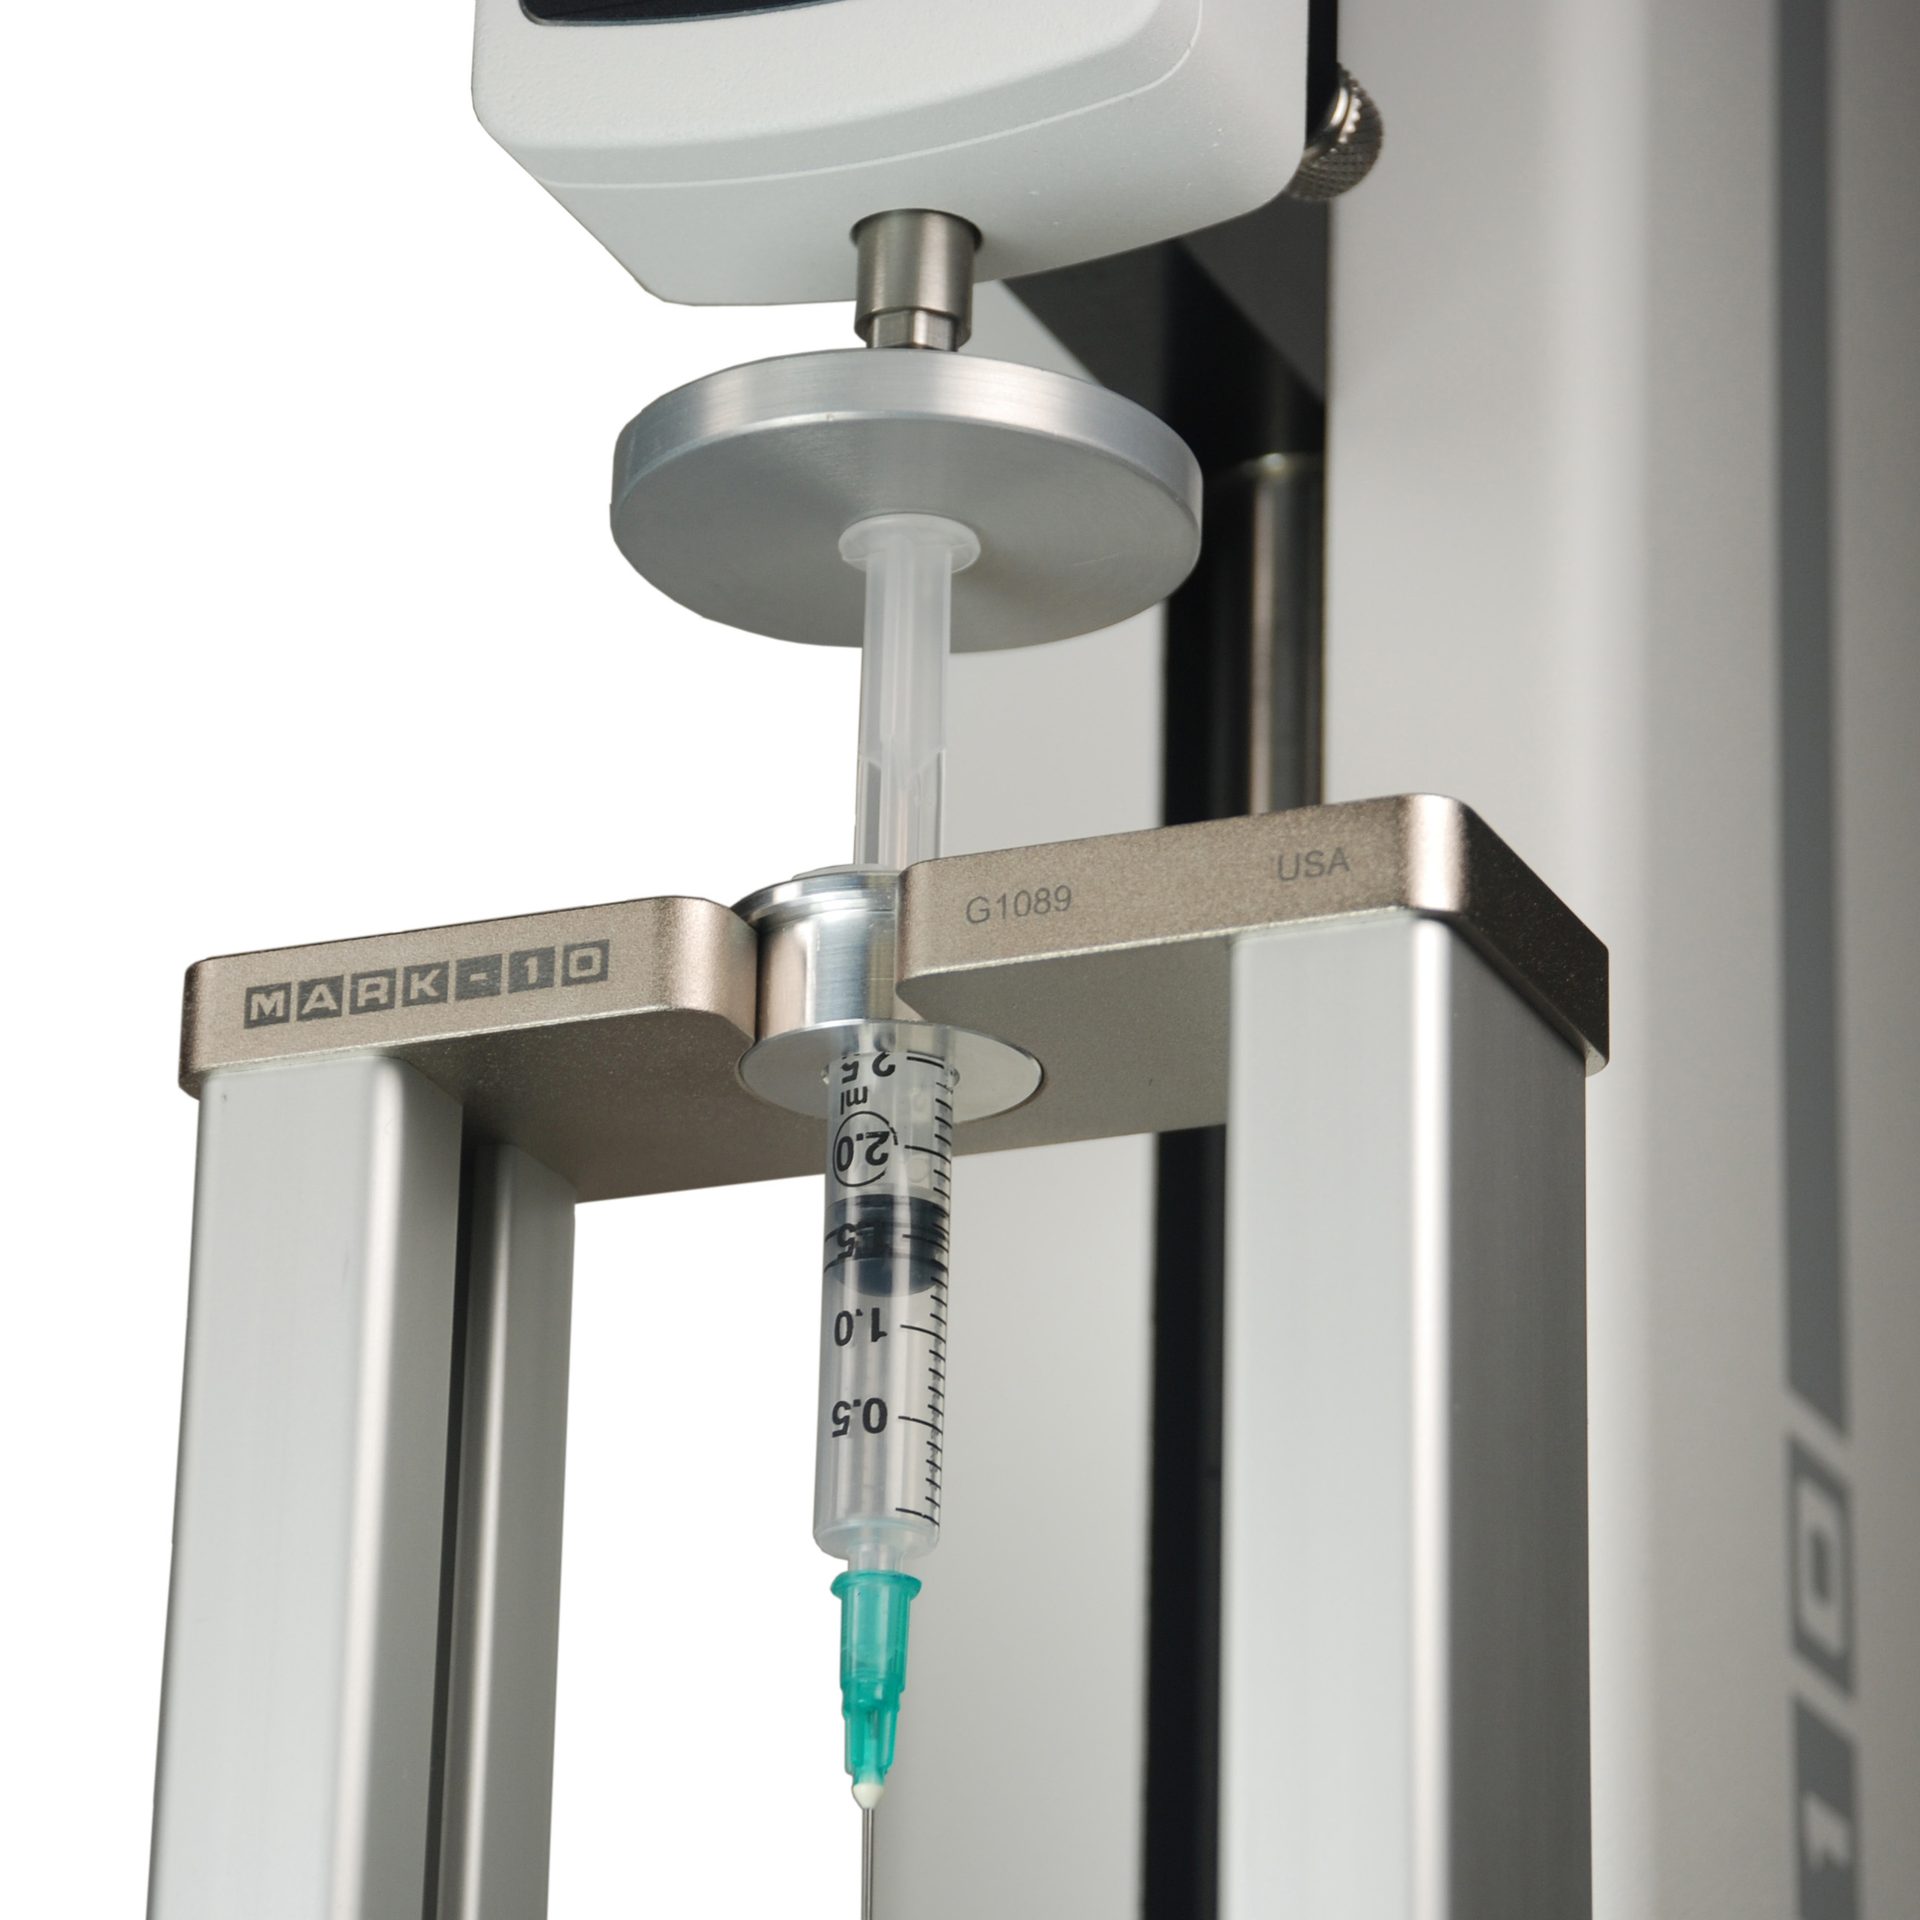
How will the load be applied to the sample and how much load needs to be applied? Force test frames are the most common type of actuator for controlled compression testing, allowing for fixed sample engagement not subject to the variability of handheld testing.
Motorized test frames are ideal for repeatable, accurate results due to their ability to maintain a constant rate of crosshead speed, a requirement of many testing standards. Motorized test frames can be programmed to compress automatically to a specified load or distance with minimal user interaction while it executes the test.
Manual test frames are economical and simple to use, but require the operator to apply the load manually via a handle or handwheel. They are less suitable for applications requiring guaranteed speed and travel distance. For example, top load testing requires a motorized system in order to automatically maintain a load for a period of time, while spring testing can be conducted with a manual frame.
Force Sensor
Force sensors contain a load cell, the heart of a force measuring system. Load cells are constructed of metal with a geometry that deflects predictably under load. Strain gages along the bending sections of the body register a low-voltage signal, which is then processed and digitized into a usable force measurement.
Force sensors are produced in various shapes and sizes and can be interchanged based on the load demands of the test. For optimal accuracy and adequate measurement resolution, the capacity of the force sensor should be as close as possible to the anticipated loads. A general rule of thumb is to use a force sensor between 10% to 90% of its range. For example, if a test sample is expected to break at 40 lbF, a 50 lbF capacity sensor would be more accurate than a 10,000 lbF capacity sensor. Multiple sensors may be necessary for testing samples with a wide range of forces.
Fixturing
How is the sample held in place during testing, and what grips or fixtures are necessary? For compression testing, the most basic setup is to place the sample between two compression plates. If the test is performed to a published standard, the test method may specify the characteristics of the required fixture. For example, in three- and four-point bend testing, fixtures involve upper and lower supports that make contact with the sample. In three-point tests, there are two contact points on the bottom and one on top, while four-point tests have two contact points on both top and bottom. Correct fixturing ensures uniform load application. Incorrect or off-center positioning can result in inaccurate data.
Summary
Compression testing is a vital process in quality control, helping manufacturers evaluate the strength, durability, and stability of materials. By adhering to established testing standards and utilizing the right equipment, manufacturers can ensure that they meet key quality and safety metrics.
