Many people know about GD&T, but often use it incorrectly — often setting up measurement points inaccurately and misusing size rules. By Genevieve Diesing
3D Scanning and Model-Based Definition:
A New Look at GD&T
3D Scanning and Model-Based Definition:
A New Look at GD&T
measurement
The increasing quality and accessibility of 3D scanning tools, particularly computed tomography, are giving quality control experts much more information about the parts they look at, experts say.
These tools are changing how industries design, make, and check their products. Software companies are building Geometric Dimensioning and Tolerancing (GD&T) into their design products, and companies are moving towards digital product definitions. These changes help meet the needs of new manufacturing methods such as 3D printing. But they also create new problems, especially when trying to keep standards consistent across global supply chains and different regulatory environments.
The Rise of 3D Scanning and Advanced Inspection Methods
3D scanning is leading the way in GD&T's progress. “Advances in 3D scanning technology, specifically for speed and portability, but also in terms of accuracy and metrology-grade results, have greatly enhanced the accuracy and efficiency of measuring complex parts,” said Jérôme-Alexandre Lavoie, director of product management, Ametek. This has led to more frequent and accurate GD&T measurements, particularly for intricate geometries that were previously difficult to measure.
Experts say that 3D scanning can offer better, faster, and more detailed measurements than traditional methods.
“The benefits include a higher resolution of measurement than would ever be realistically possible with contact measurement methods,” said Sean Parker, product manager, Oqton. Parker also lists the following, additional benefits:
- Reduced cycle times for parts requiring 100% inspection
- The ability to automate and remove the impact of operator error
- The ability to see and measure inside closed volumes (with CT), especially nondestructive testing of assembled components to analyze fit and function
- Easier programming of inspection routines, and
- Improved measurement of challenging shapes, among others.
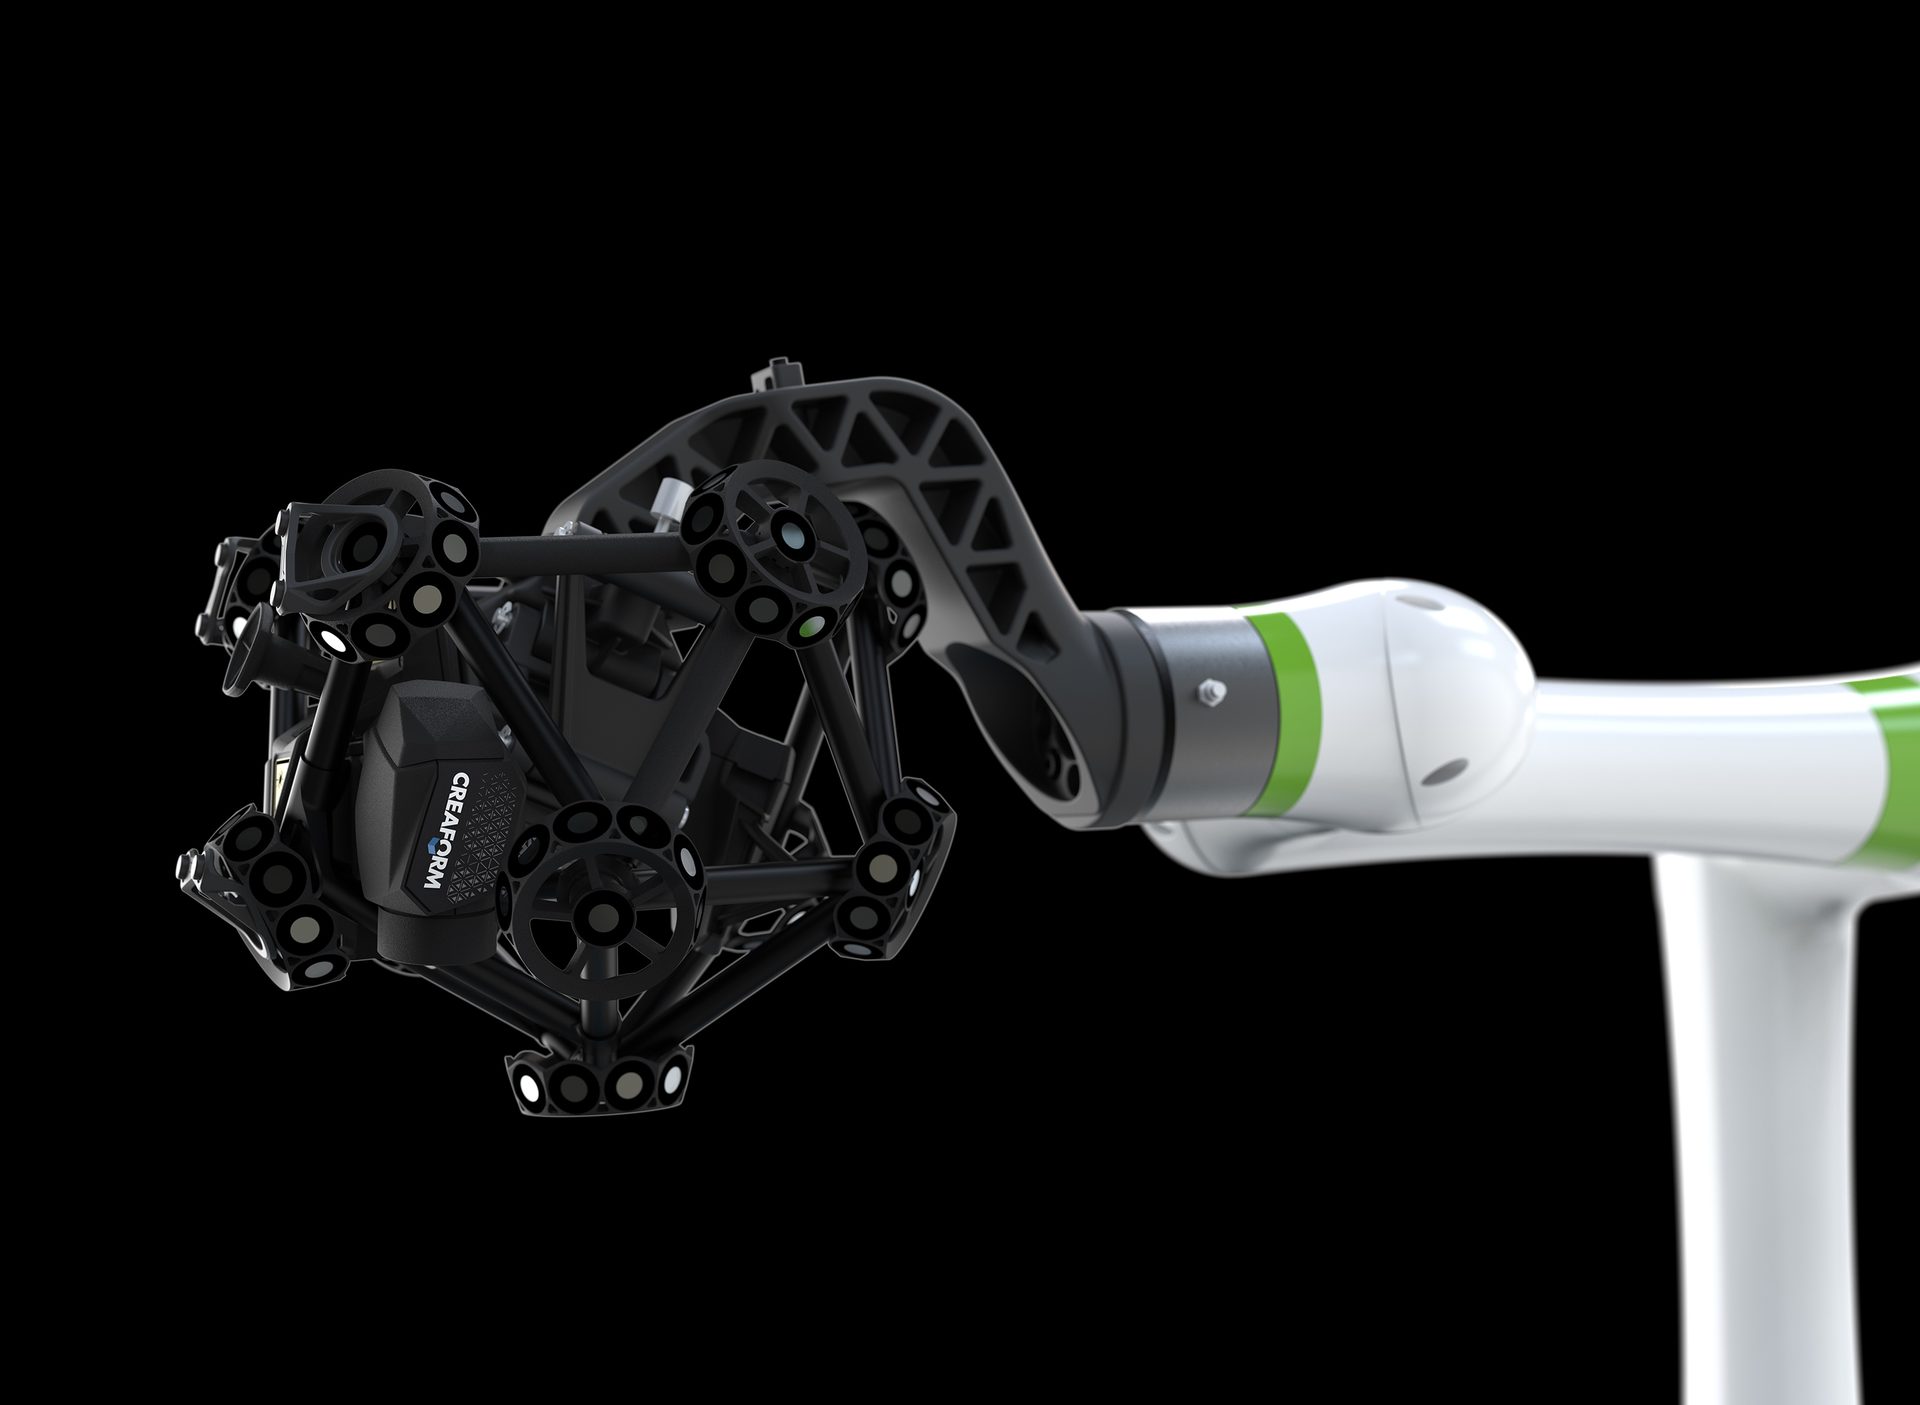
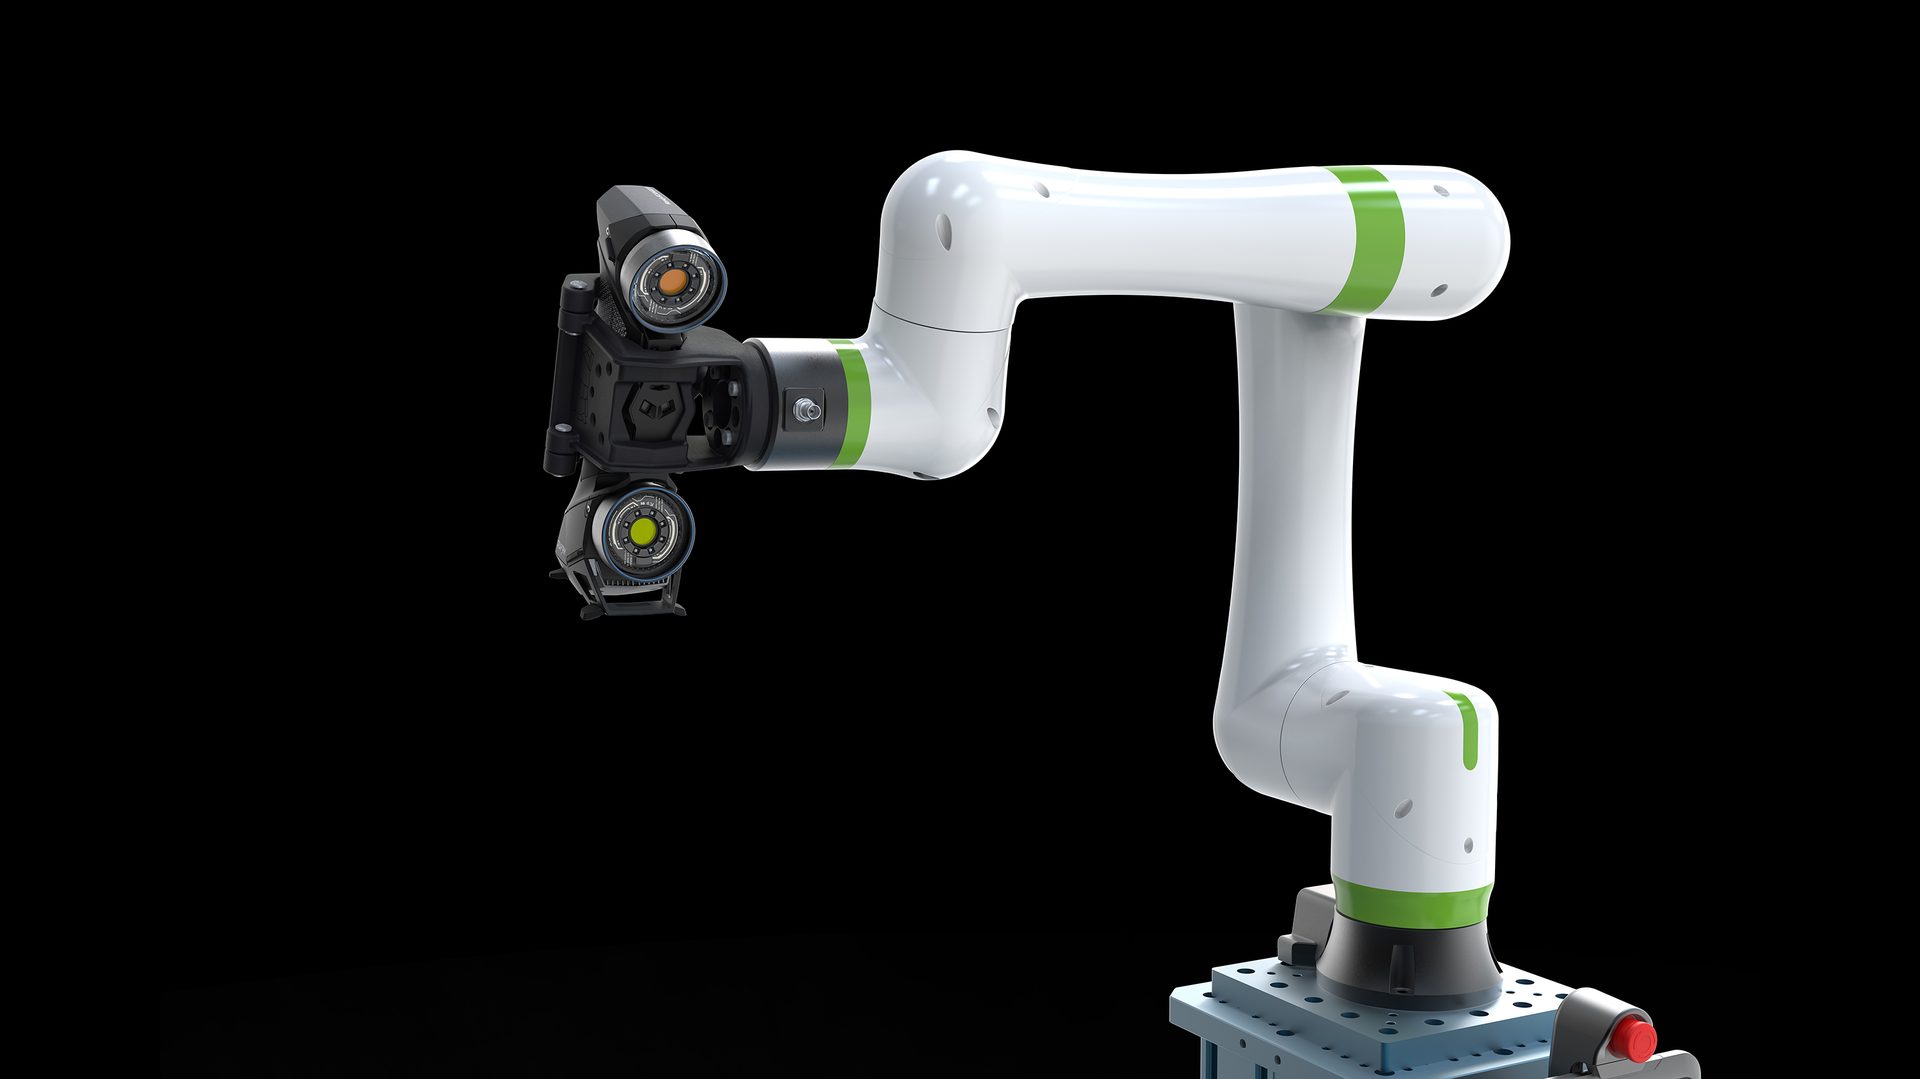
Equipped with a collaborative robot and all associated devices, the workstation allows the 3D scanners to be used in both portable and automated mode.
These advancements are not just improving existing processes; they’re enabling entirely new approaches to quality control. Robots with 3D scanners can use GD&T to check parts faster and more accurately. For example, “Using GD&T callout to automatically program the path for a robot equipped with a 3D scanner helps manufacturing companies to improve their productivity by solving numerous problems,” Lavoie said. He outlines three key benefits:
- Speed: Robots with 3D scanners work faster and non-stop, even when humans can’t be there.
- Labor Allocation: Workers can do more important jobs, like analyzing data to solve problems.
- Repeatability: Robot scans are more consistent, leading to better GD&T analysis.
The Shift to Model-Based Definition
Parallel to the rise of advanced scanning technologies is the move towards model-based definition (MBD). For example, digital models, coupled with advanced inspection methods, lets quality teams check parts by comparing them directly to digital models, said Randy Harris, lead application engineer, Discus Software.
This shift is particularly pronounced in additive manufacturing, where 3D printing needs special measurements for its unique shapes. “Form tolerances like Surface Profile are used extensively due to the organic geometries being measured there that can really only be produced economically at scale using additive manufacturing,” said Parker.
Harris explains the universality of this approach: “GD&T can be universally applied to additively manufactured parts because the input source for printing is a 3D model,” Harris said. “GD&T is designed to define acceptable variations from this model, ensuring that the parts meet design specifications.” As such, GD&T profile features help measure complex 3D-printed shapes. “Additive manufacturing enables the creation of complex geometries that are difficult to measure using traditional gages,” Harris added. “These intricate shapes can be effectively toleranced using profile features in GD&T, which define acceptable variations from the model.”
The transition to MBD is not just changing how parts are inspected; it’s altering the entire product lifecycle. Lavoie points out, “There is a growing shift towards Model-Based Definition, where GD&T information is embedded directly into the 3D CAD models rather than relying on traditional 2D drawings. This approach improves accuracy, reduces ambiguities and enhances communication across design and manufacturing teams.”
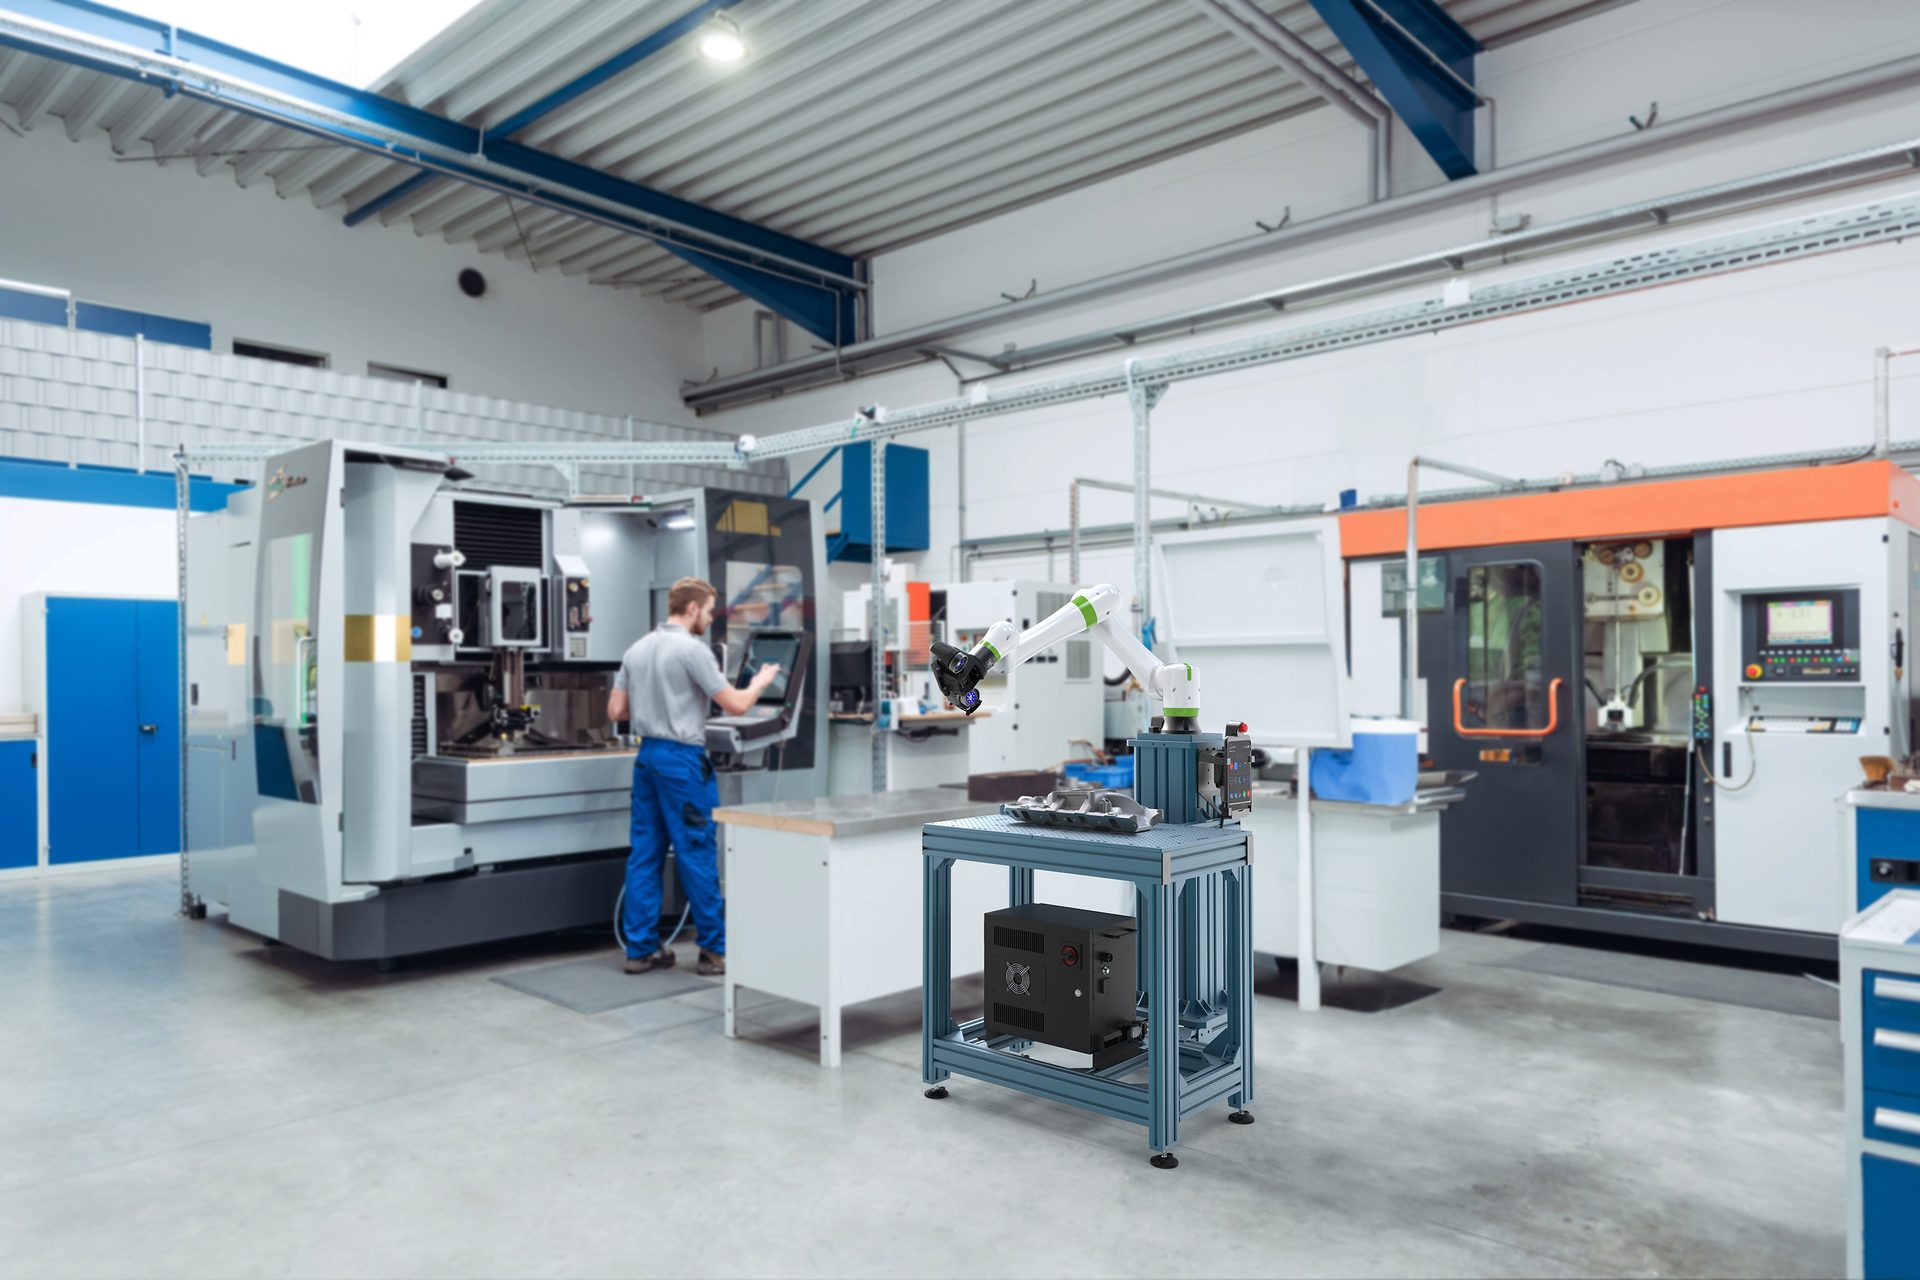
Portable scanners can now be easily used as automated solutions thanks to a new hybrid solution that combines a cobot, digital twin environment software and a workstation, for an autonomous, flexible and affordable quality control experience.
Global Application Challenges
Despite these advancements, maintaining GD&T compliance across different regions and industries remains difficult. Lavoie outlines several issues:
- Regional differences: “Different regions may follow different GD&T standards, such as ASME Y14.5 in the United States and ISO standards in Europe and other parts of the world,” Lavoie said. “This variability can lead to confusion and misinterpretation of tolerances and specifications.”
- Varying expertise levels: “The level of GD&T training, expertise and continuous education can vary widely between regions and industries,” he explained. “In some areas, there may be a lack of standardized training programs, leading to inconsistencies in how GD&T is applied and interpreted.”
- Complex supply chains: “Modern manufacturing often involves complex global supply chains with parts and components sourced from multiple regions,” Lavoie said.
“Ensuring GD&T compliance across all suppliers and partners can be challenging, especially when dealing with varying levels of technological capability and expertise.”
Parker says having two similar but different standards (ASME and ISO) confuses inspectors. He also points out that many companies still use old GD&T rules from 2009, even though newer ones exist.
“Obviously having two similar standards that vary in nuance, presentation and calculation/measurement method can be challenging, especially in areas where neither standard is dominant, and inspectors routinely bounce between ASME and ISO,” he said. He also notes the slow adoption of new standard, in that “2009 is still far and away the most widely adopted interpretation of Y14.5, despite being halfway through its second decade.”
Many people know about GD&T, but often use it incorrectly — often setting up measurement points inaccurately and misusing size rules.
“While many individuals have been exposed to GD&T concepts, inconsistencies persist in their application, particularly in inspection practices,” Harris said. “Issues range from improperly defined datums to misunderstandings of modifiers such as maximum and minimum material conditions.”
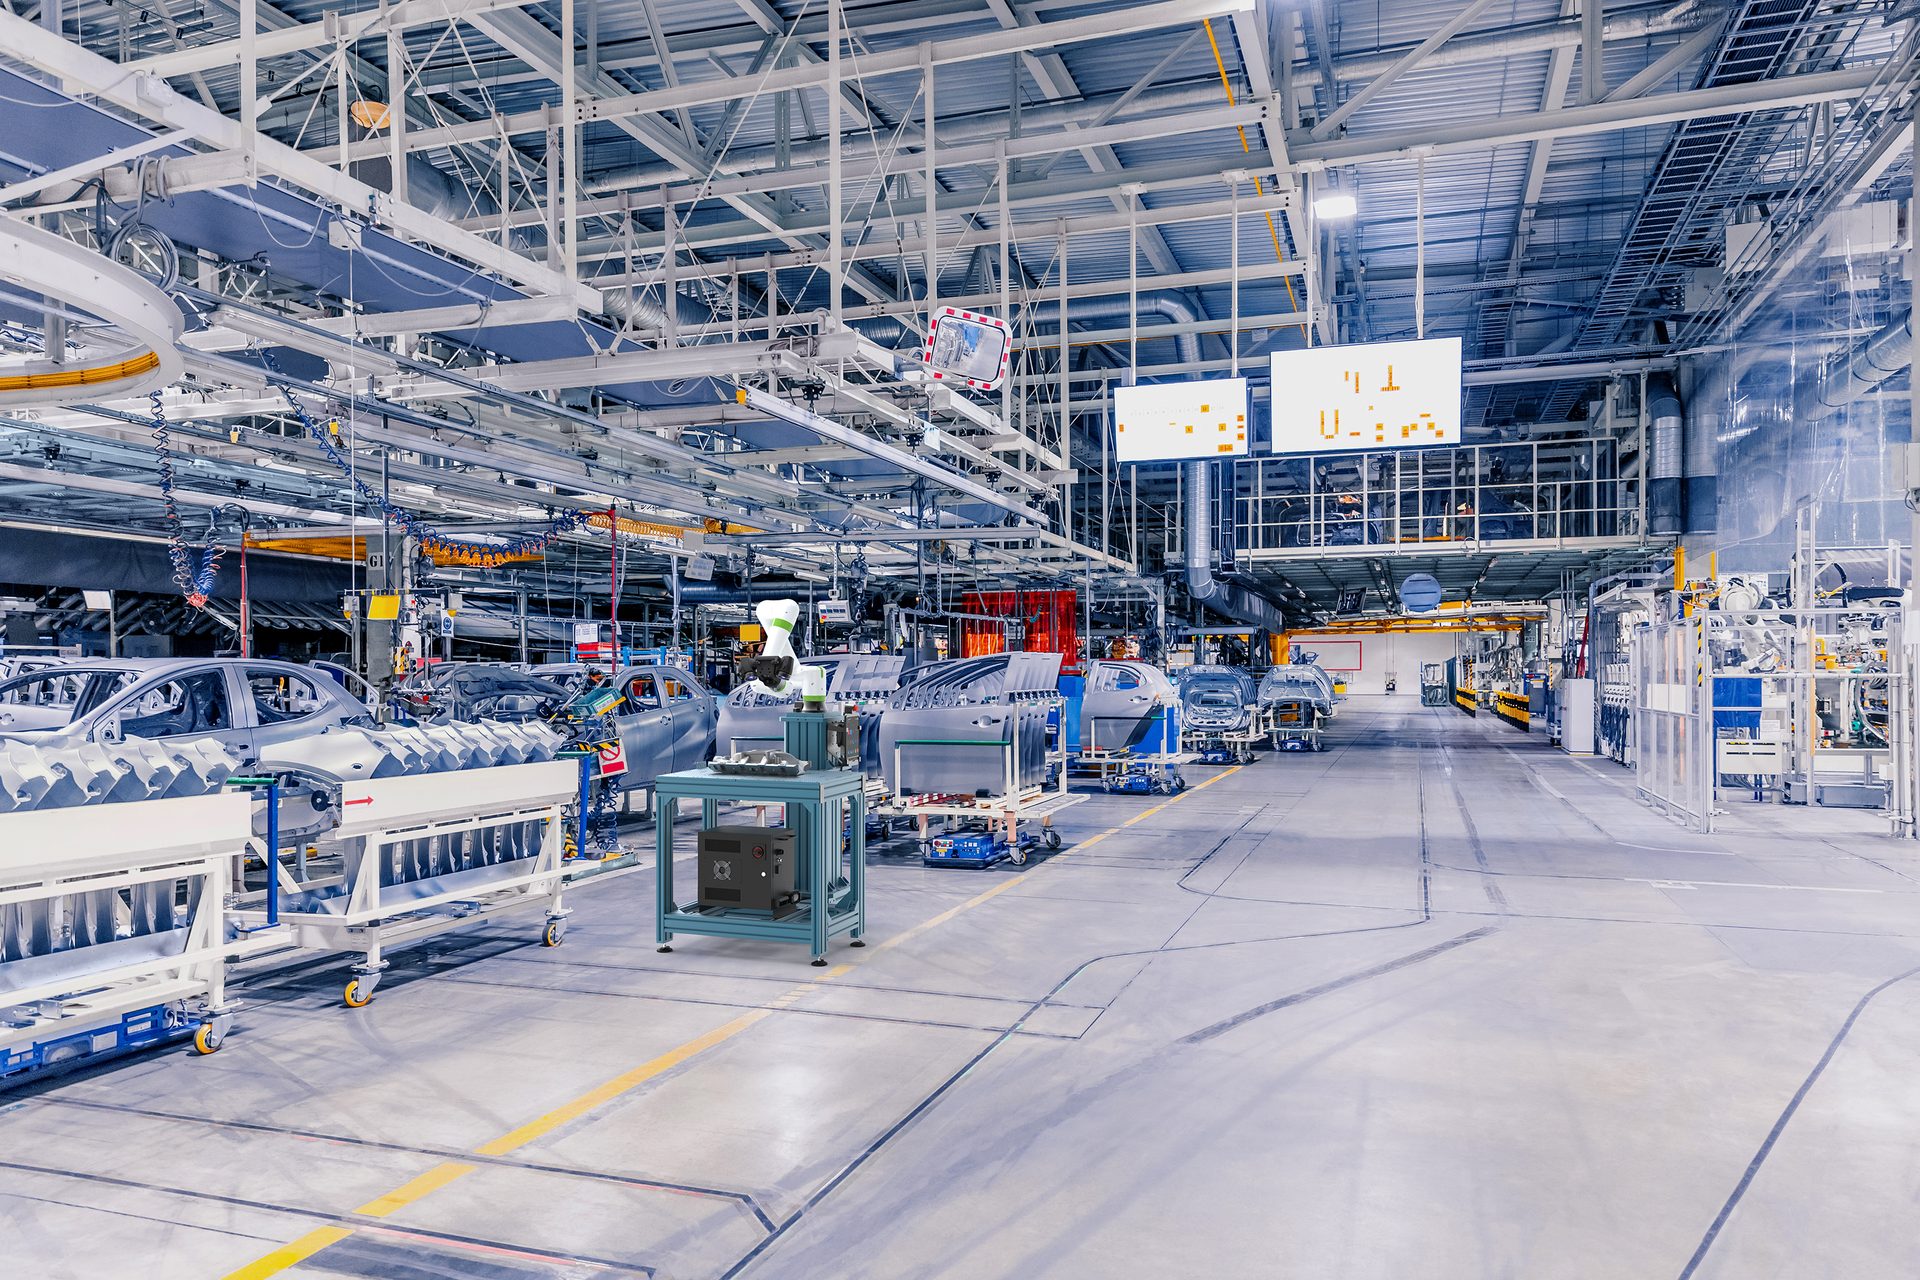
Precision in motion: advanced automation ensures superior quality control in car manufacturing.
The Future of GD&T
Looking ahead, experts see several trends shaping the future of GD&T. Lavoie highlights the potential of augmented reality (AR) and virtual reality (VR): “AR tools can overlay GD&T information onto physical parts during inspection, providing visual guidance and enhancing the accuracy of manual measurements.” He also sees potential in AR and VR for GD&T training, “helping engineers and technicians understand complex tolerancing concepts and their application in the real world.”
Parker observes a growing convergence between different GD&T standards: “We are starting to see ASME Y14.5 and ISO GPS begin to converge on some topics. For example, the 2018 interpretation of Y14.5 has adopted GPS's requirement for flagging individually failing features in a pattern, such as a bolt-hole circle, instead of failing the entire pattern.”
Harris predicts a shift towards more digital inspection and validation: “The use of Augmented Reality (AR) and Virtual Reality (VR) will increase as they offer enhanced visualization of GD&T interpretations during both the design and inspection phases.” He also anticipates increased use of virtual functional gages and greater integration of CAD, CAM, and CAE systems, “streamlin[ing] the application of GD&T across the entire product lifecycle—from initial design through to production.”
Dustin Smith, metrology and software training lead, Assurance Technologies, emphasizes the importance of continuous education: “From a brand-new team member to senior level engineers, I believe a yearly GD&T course should be taken,” he said.
“The moment you stop learning is the moment you have become comfortable. The moment you become comfortable is the moment you stop caring.”
All Images Source: Ametek
Genevieve Diesing is a contributing editor for Quality.
READ MORE ABOUT GD&T:
