Back 2 Basics
Inspection
NDT
in Quality Control
Fracture Testing
With advances in standardization and analysis software, it can be more reliable and user-friendly than ever.
By Peter Bailey
Fracture toughness tests are technically demanding but form a crucial part of quality assurance for certain high value products such as aerospace grade aluminum alloys. This article will discuss some of the reasons behind that and how standardization and software tools have evolved to make it more achievable and reliable.

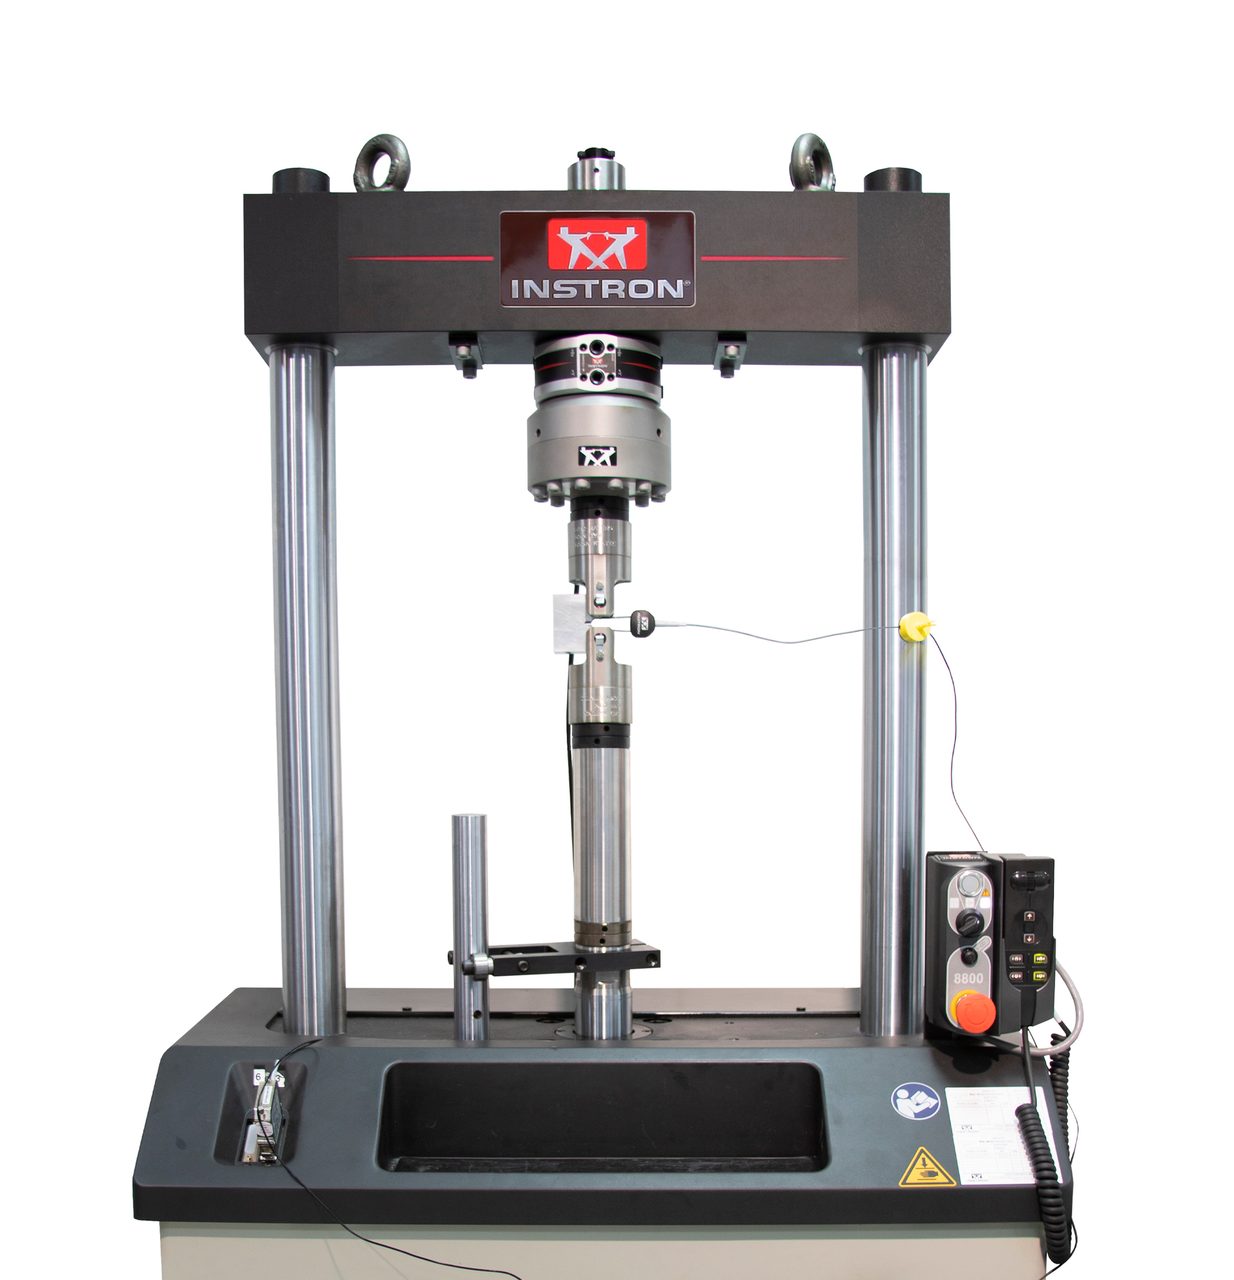
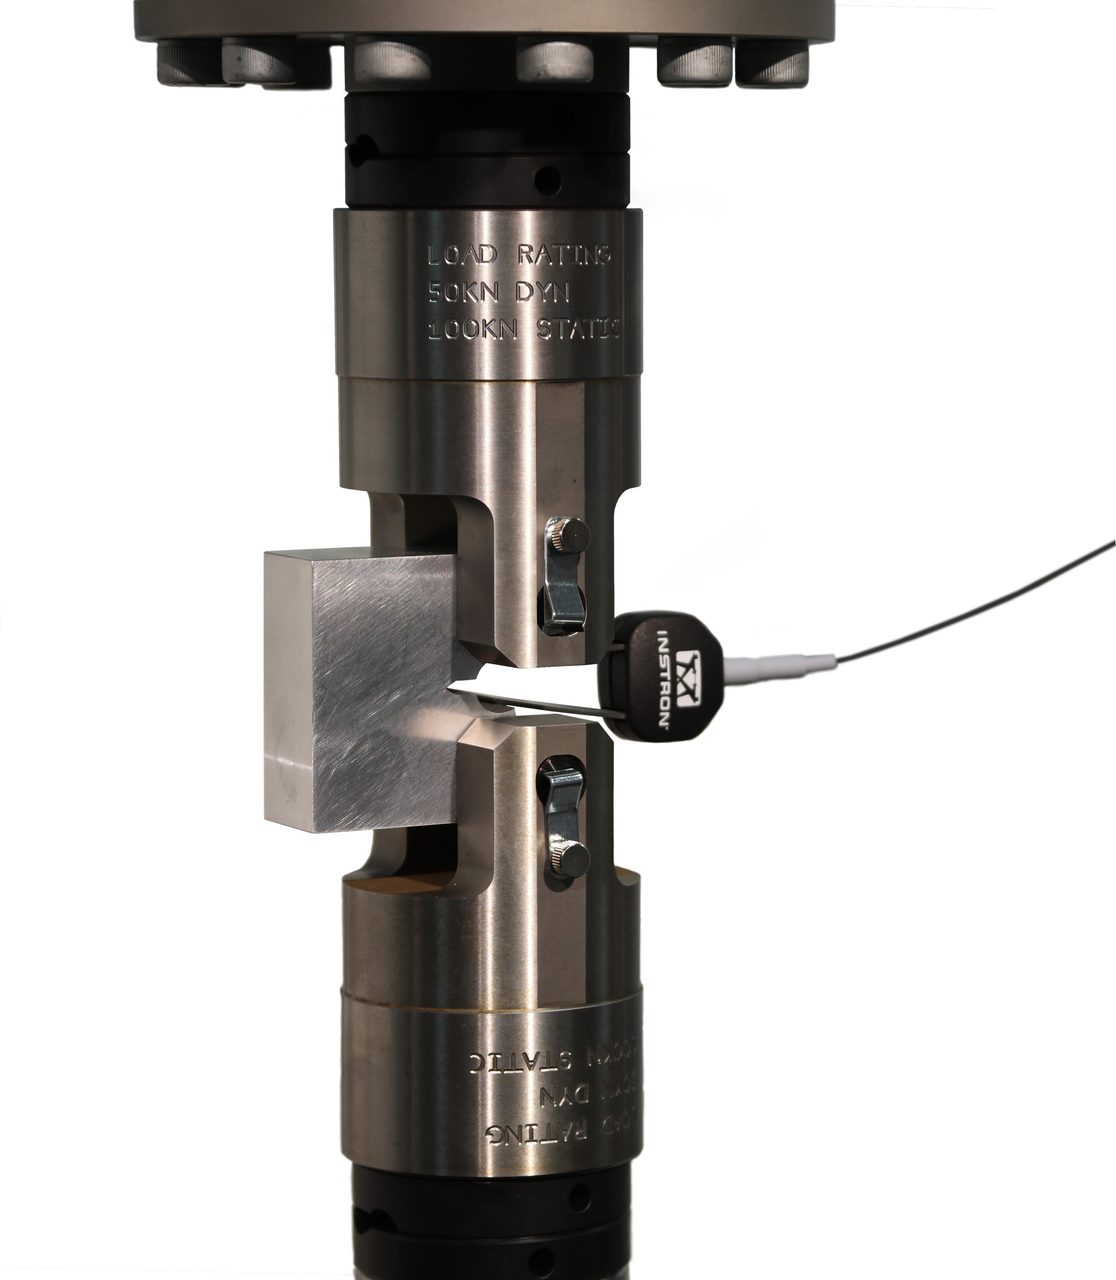
Set Up for Fracture with CT Specimen
Why is it done?
Aerospace design engineers prefer materials with high strength-to-weight ratios, in which mechanical behavior is very stiff and highly stable almost all the way to failure strength. Your high school definition of a metal includes “ductile behavior,” but many high-strength alloys can actually fail in a very brittle manner if a crack is already present. So, in addition to large safety margins, a key part of the philosophy is defect tolerance – i.e. a minor crack must not be able to grow dangerously before being identified by routine inspections.
Fatigue performance governs how these defects can develop, while the fracture toughness of the material determines how their size will impact the overall strength of a component. Basic properties, such as tensile strength, are far less sensitive to material microstructure and processing, so cannot give adequate quality assurance by themselves.
A fracture toughness measurement provides high sensitivity to all contributing factors, but importantly a single output parameter giving a clear quality metric. For most common structural materials in aerospace, the parameter KIc (“K one C” critical stress intensity) is typically used and batch testing of aluminum and titanium products has been well-established for some decades. Usually, the ASTM E399 standard method for linear elastic fracture toughness is applied, sometimes in conjunction with ASTM B647 for a specific protocol on aluminum product testing.
What is the test?
The main test is breaking a notched specimen in tension – seemingly straightforward, but this is not equivalent to impact toughness tests (Charpy or Izod) routinely carried out using a basic machined specimen. In order to get an accurate value, the notch must be “sharp” right down to the atomistic level! This is achieved by fatigue pre-cracking, that is to say applying a cyclic force for many thousands of cycles, which will grow a crack into the specimen, from the tip of the machined notch. Data from this process must also be recorded as it will be used later on in the analysis.
After the test, the calculation of a fracture toughness value (KIc is typically given in MPa√m or ksi√in) requires inputs of a physical measurement of the crack front before fracture, and determination of key characteristics on the force vs. extension plot. An equally significant part of the post-test data processing is to perform a number of calculations to confirm the validity of the measurement.

Aluminum CT Fracture Specimen
International test standards
Standardization exists with the purpose of ensuring accurate, repeatable and reproducible results, fracture toughness goes beyond the common expectations of rigorous calibration and basic “hygiene factors.” ASTM E399 uses a stringent set of checks (17 different criteria in the 2020 edition) which must be met to qualify the test result as “valid.” These determinations will seem quite convoluted and obscure to many users – e.g., relationships between tensile mechanical properties and specimen dimensions; restrictions on how to grow the fatigue pre-crack – but their job is to ensure a fair test, due to the sensitivity to material microstructure and stress state.
As quality operations seek to be ever leaner, that brings greater need for effectively interchangeable use of different test laboratories – i.e., reproducibility as distinct from repeatability by the same lab – reducing the need for each organization to perform its own verification tests. The standard requirements may sound watertight already, but their core methods depended on graphical analysis – originally using pencil and ruler with the plot from a chart recorder. Unfortunately, that means that two analysts (human or computer) can still get a different final result from the same raw data. The standardization community is increasingly aware of this vulnerability, so test standards are gradually becoming more prescriptive, introducing quality metrics for data and sometimes formalized algorithms.


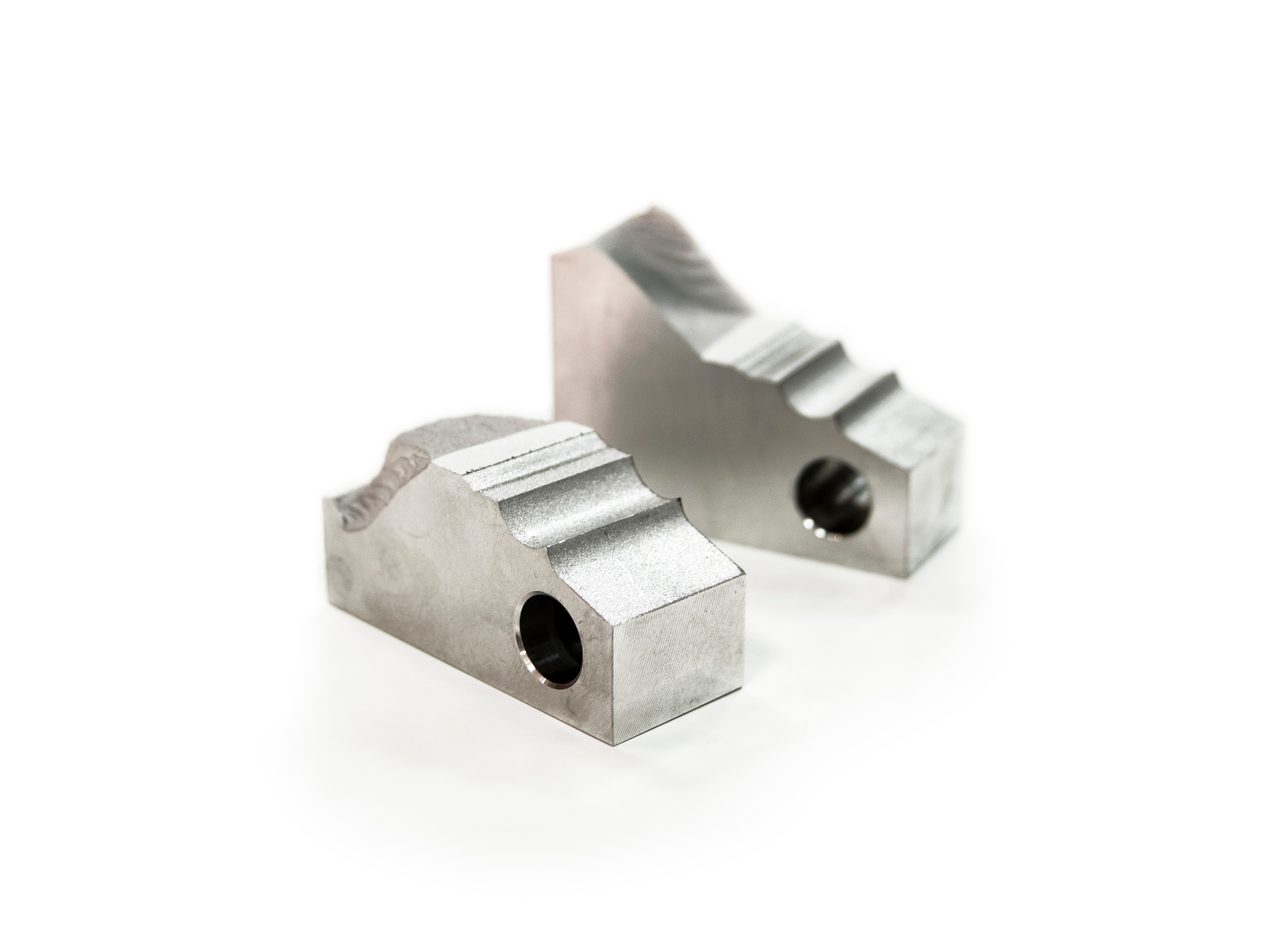
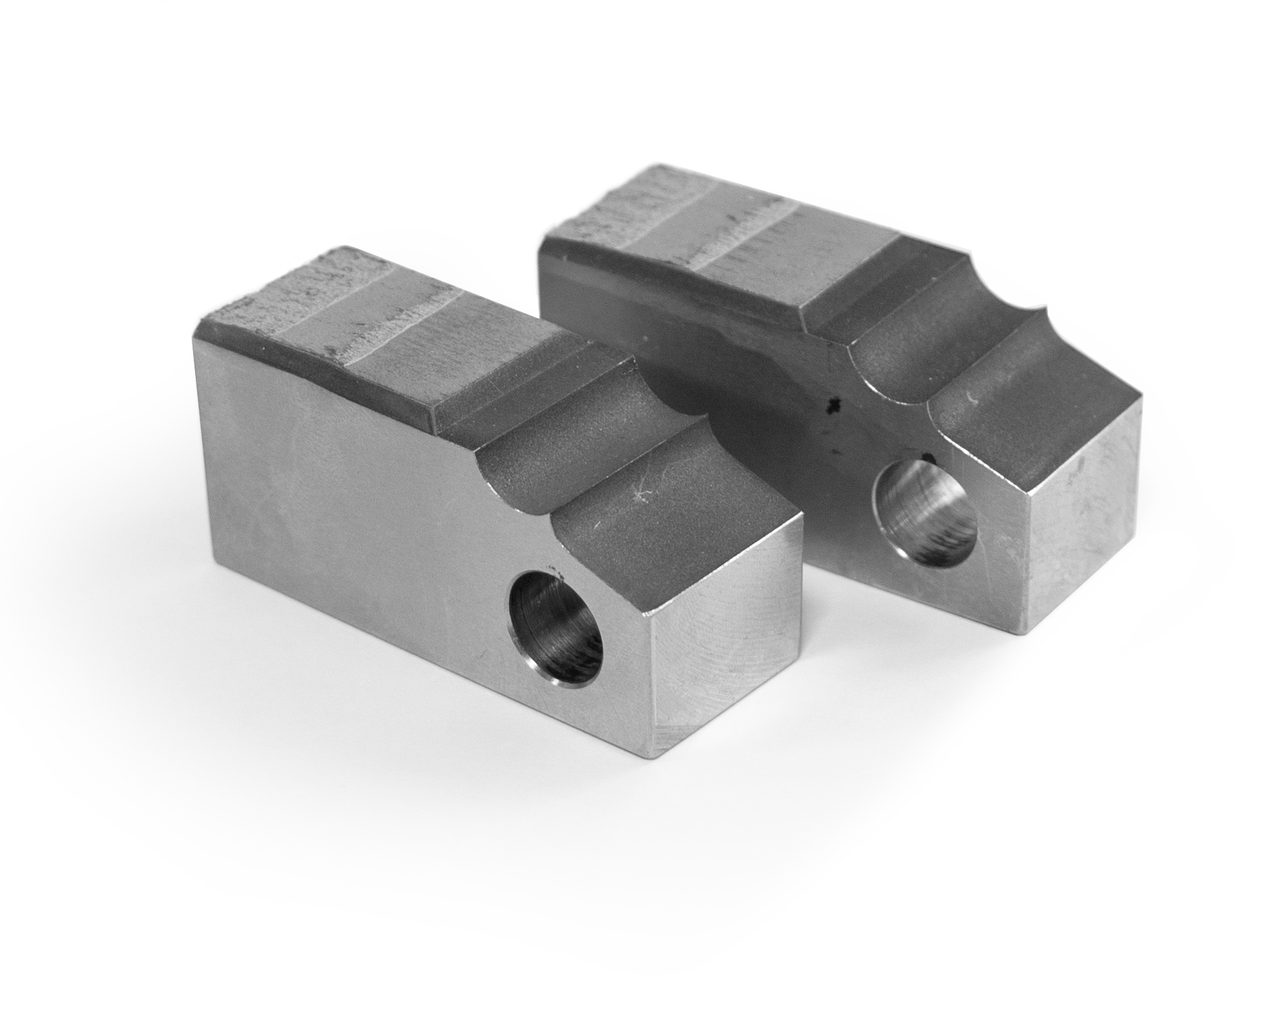
Fractured Aluminum CT Specimen
Fractured Steel CT Specimen
Proprietary Software
Modern test and analysis software can streamline the whole process considerably, but also make it more robust and secure for traceability and audit-worthiness. Historically, materials testing software was generally aimed at expert users, who wanted access to all aspects of test control and data acquisition, and then took the raw data away. In modern times, that simply does not meet the needs of a quality control environment with high value data. The latest fracture mechanics software packages provide options for secure, predetermined methods, with clear, guided workflows for less expert operators.
Obviously, a consistent analysis setup will improve repeatability, but the latest software should also be implementing standardized algorithms such as ASTM E3076, which is recommended by E399. They should also make light work of determining all the validity checks and producing full reports as recommended by the standard. As most quality control laboratories today utilize some form of data management system, it is also increasingly possible to automate the transfer of data, for example importing specimen pedigree information and dimensional measurements from machining and exporting results and equipment traceability data back to the database.
Overall, this critical area of advanced quality control is here to stay but advances in standardization and analysis software mean that it can be more reliable and user-friendly than ever.
Image source: Instron
Ian R. Lazarus is president and CEO of Creato Performance Solutions, providing leadership development, training, and solutions to support operational excellence.
Dr. Peter Bailey is an applications specialist and principal scientist at Instron Dynamic Systems. An experimental materials scientist focusing on advanced mechanical testing and characterization techniques, he works on all types of material analysis, including high temperature metals. His background includes considerable experience in polymers and composites research and a variety of production and quality control methods for thermoplastics and thermosets. For more information, call +44 7880 187716 or email peter_bailey@instron.com.
Jim L. Smith has more than 45 years of industry experience in operations, engineering, research & development and quality management.

Scroll Down
Scroll Down
