What is Uncertainty?
Measurement
In metrology, it’s truly a deep, sensitive subject. By Linda Goodwin-Marino
According to the current description from my trusty desktop Webster Dictionary, it goes something like this:
“Uncertainty, noun. 1. the quality or state of being uncertain: doubt. 2: something that is uncertain.”
Really? Then back in his 1828 edition, it was a little different but clearly a good description on the situation.
“UNCER'TAINTY, noun. 1. doubtfulness; dubiousness. The truth is not ascertained; the latest accounts have not removed the uncertainty.”
Either century, this is a question that still has room for opinion, especially when we are discussing the world of measurement, inspection and quality.
Then here comes the all-knowing, interplanetary resource, Wikipedia, taking it a little further with multiple sources and references to the word to include categories like “principle, propagation, quantification, analysis, estimation” etc. While researching this topic here I thought I had reached the end of the internet but there was always more. So, to focus on the world of metrology, I narrowed it down to a few key elements.
“Measurement uncertainty is the expression of the statistical dispersion of the values attributed to a measured quantity. All measurements are subject to uncertainty and a measurement result is complete only when it is accompanied by a statement of the associated uncertainty, such as the stand deviation. By international agreement, this uncertainty has a probabilistic basis and reflects incomplete knowledge of the quantity value. It is a non-negative parameter.”
Whew! Bet you can’t wait to look up “probabilistic basis” tonight, so I’ll save you some time…it relates to probability, but you knew that.
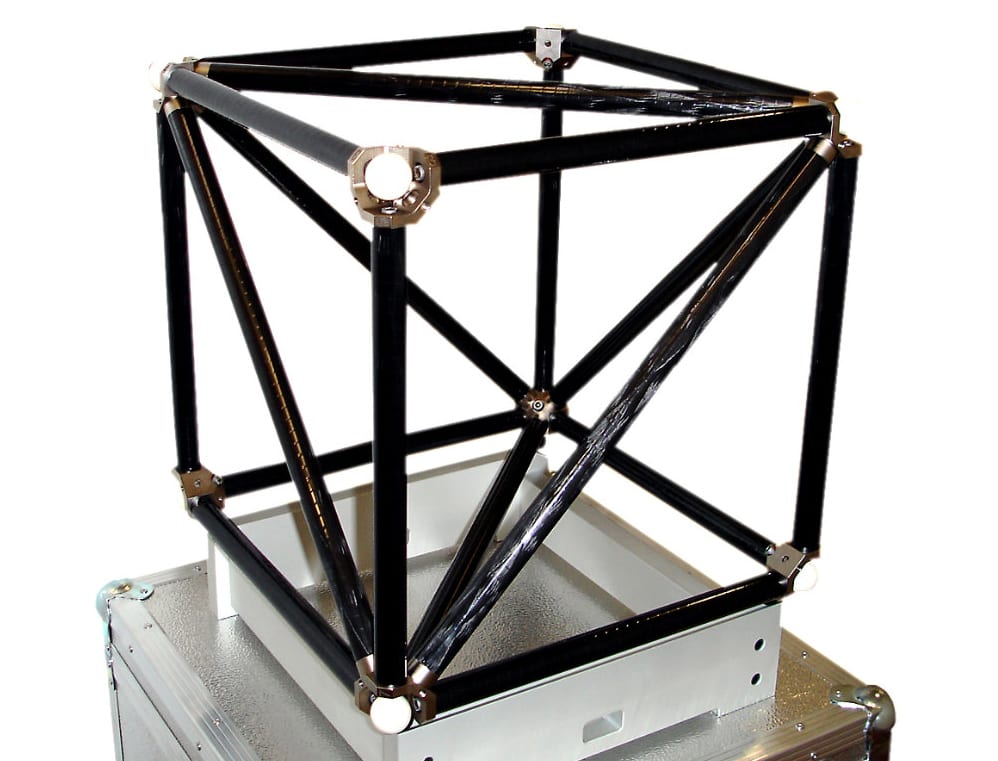
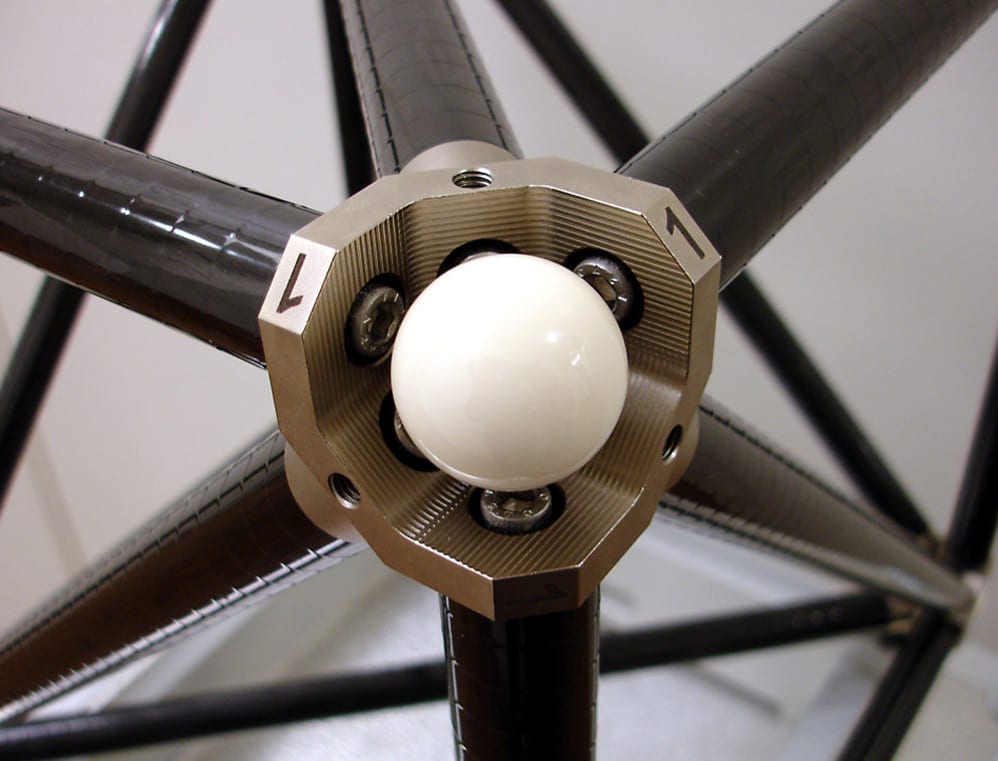

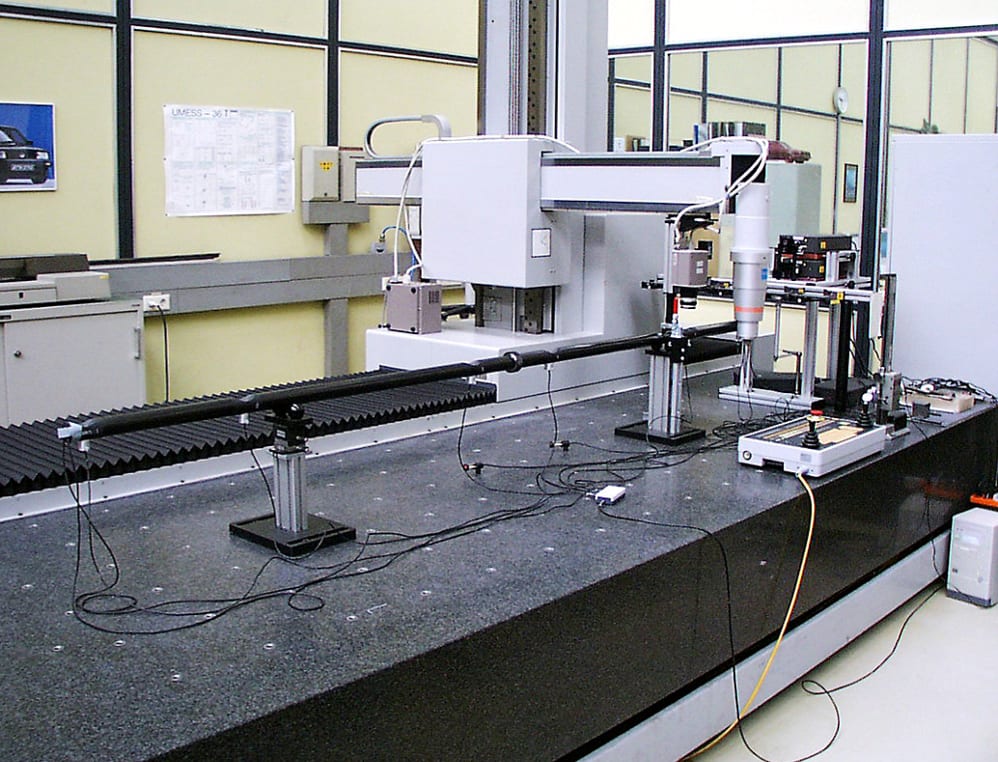
Photos courtesy of Paul W. Marino Gages and Kolb + Baumann GmbH
In metrology, it’s truly a deep, sensitive subject. The quest for knowledge continues and the battles rage on. So, because “Dr. Science” and “The Science Guy” were too busy to help me with this topic, I decided to consult my friendly standards and artifact manufacturing team in Germany that has most of the answers for the world of coordinate measuring. It boiled down to this….
When we ask, we want answers, correct ones, please. To get those answers we look to a “standard” or reference and trust this procedure to tell us what is and what isn’t with a value to work with, live with and tolerate depending on what the measuring surfaces are all about. Within the tactile world, there are several “devices” to do just that. If you are wondering if that monster CMM or portable arm CMM is within a tolerance (prescribed by the machine manufacturer) then you need a tool to monitor and validate that stated tolerance.
In the optical inspection world, it gets a little trickier. Contact vs. noncontact measuring has always had that “smoke and mirrors” stigma but today, new and advanced technology has embraced these and applied the basics and gone far and beyond the proof required to make it a “go to” system with worldwide acceptance. But how do we know? Good question, let’s take a quick look at a few of the devices available today:
Step gages, ceramic spheres, ball bars, cubes, and sphere plates are all now available in multiple sizes and range and now in common practice for system accuracy and intermittent monitoring and verification.
But measurement uncertainty is not a matter of probing techniques.
Each measurement is affected by measurement uncertainty!
As there are numerous factors that have an influence on the measuring result it is quite difficult to calculate measurement uncertainty budgets. Reference:
Even measurement uncertainty for a simple gage block is complex as there are approximately 20 parameters that influence the measuring result and the measurement uncertainty that belongs to the result. Confused yet?
For example, Martin Wombacher, chief science officer at Kolb + Baumann, maintains that “to explain the influence of temperature deviation from the reference temperature (20 C) you must consider performing a calibration on a 1000mm gage block on a CMM at 22 C. The stated length of a gage block always refers to the reference temperature of 20 C. Due to the thermal expansion coefficient of 11.5 x 10^-6 the gage block at 22 C is approximately 23 micrometers longer than it would be at 20 C. Usually, this systematic error will be corrected by reducing the measured length by 23 µm.”
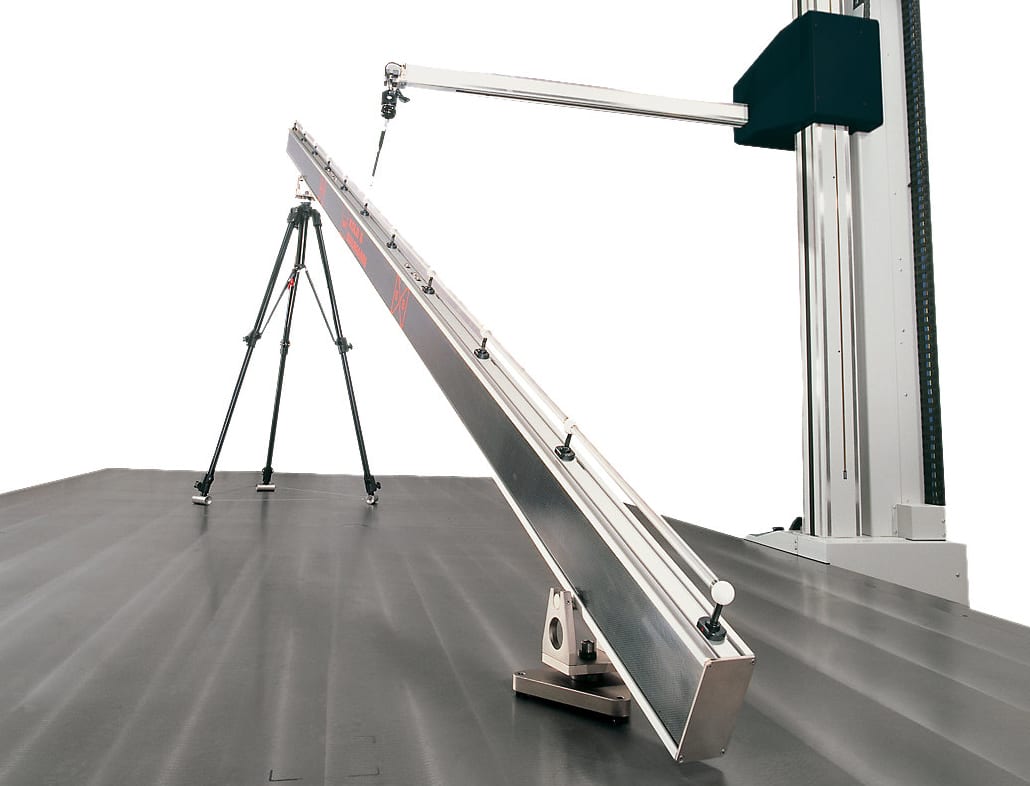
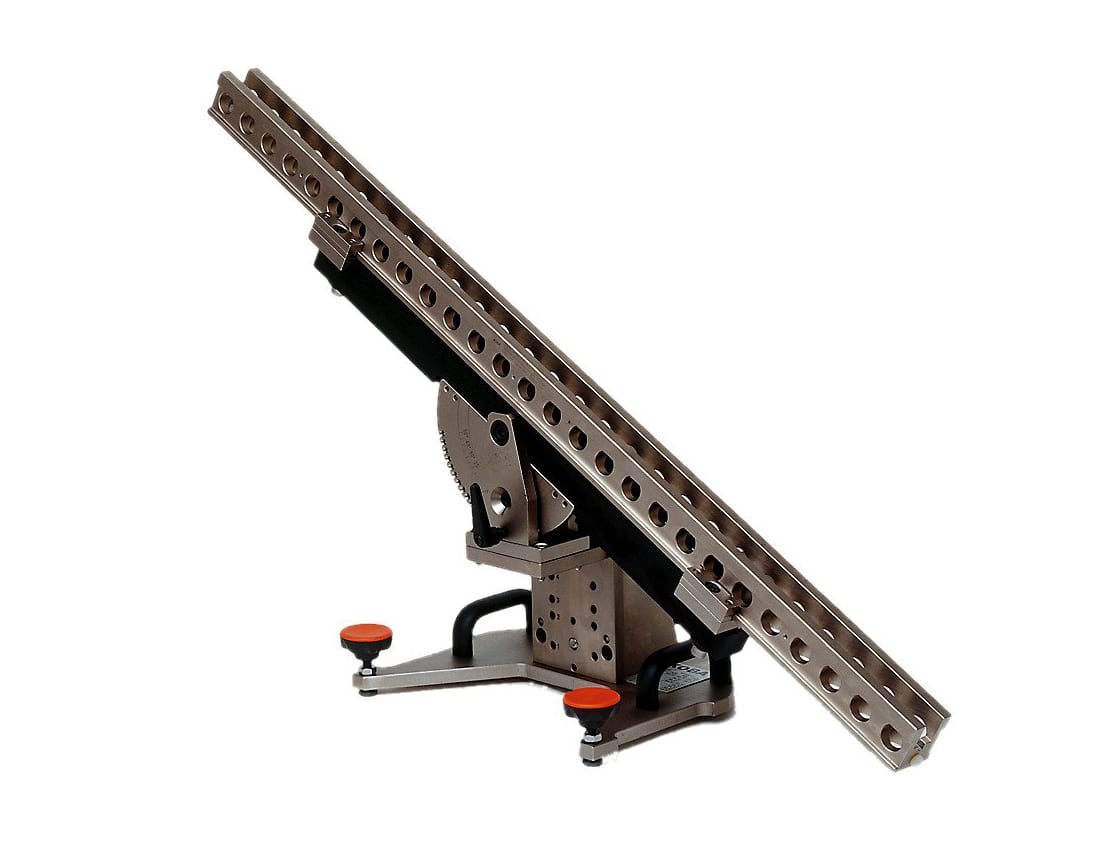
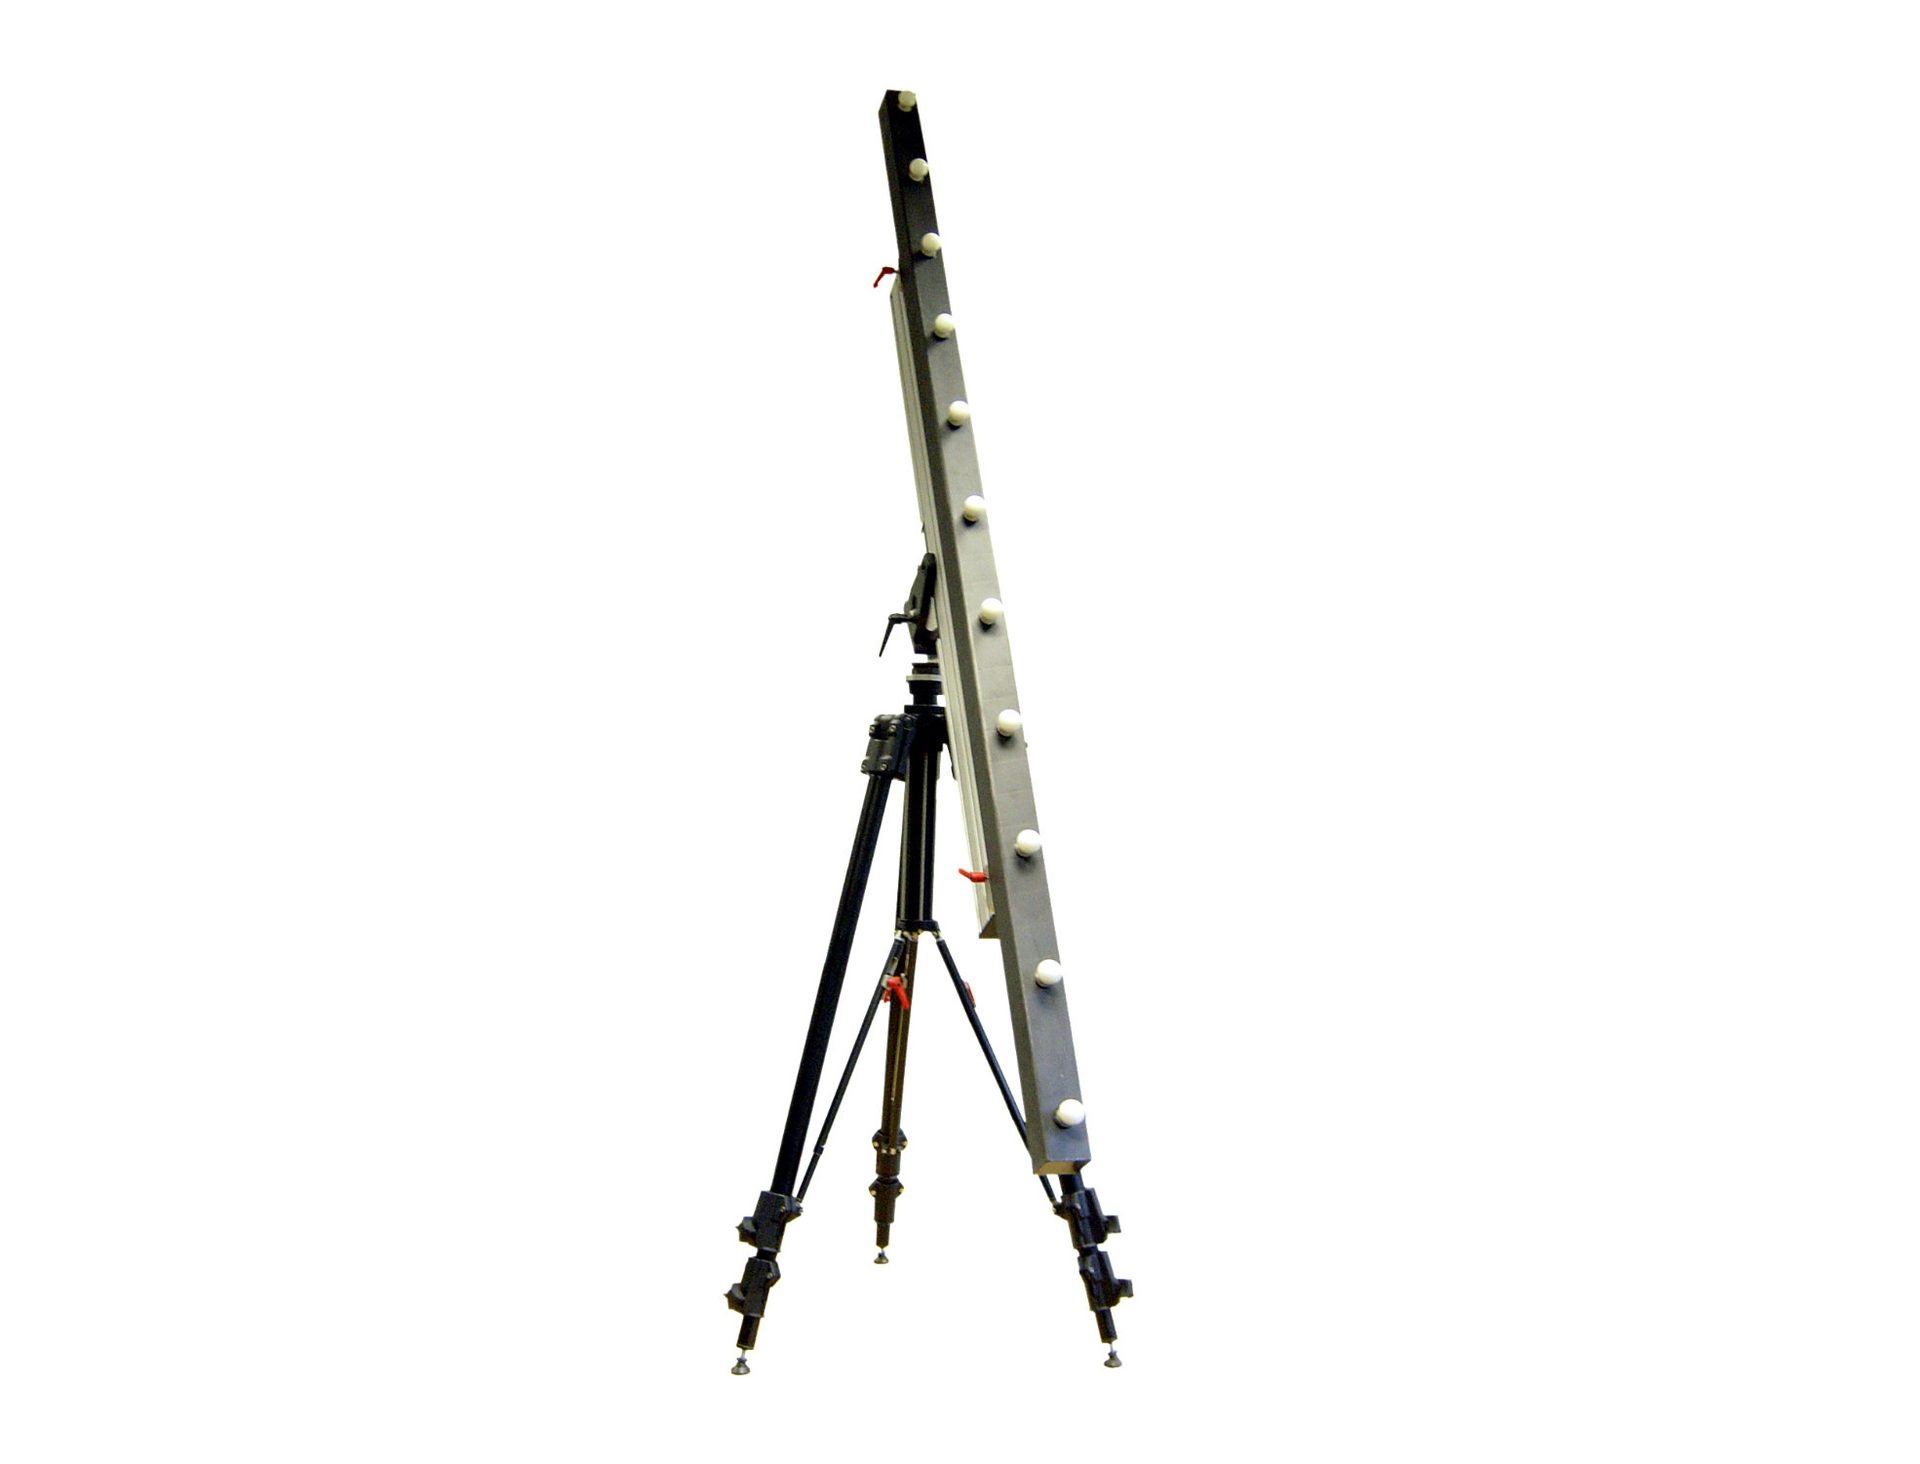
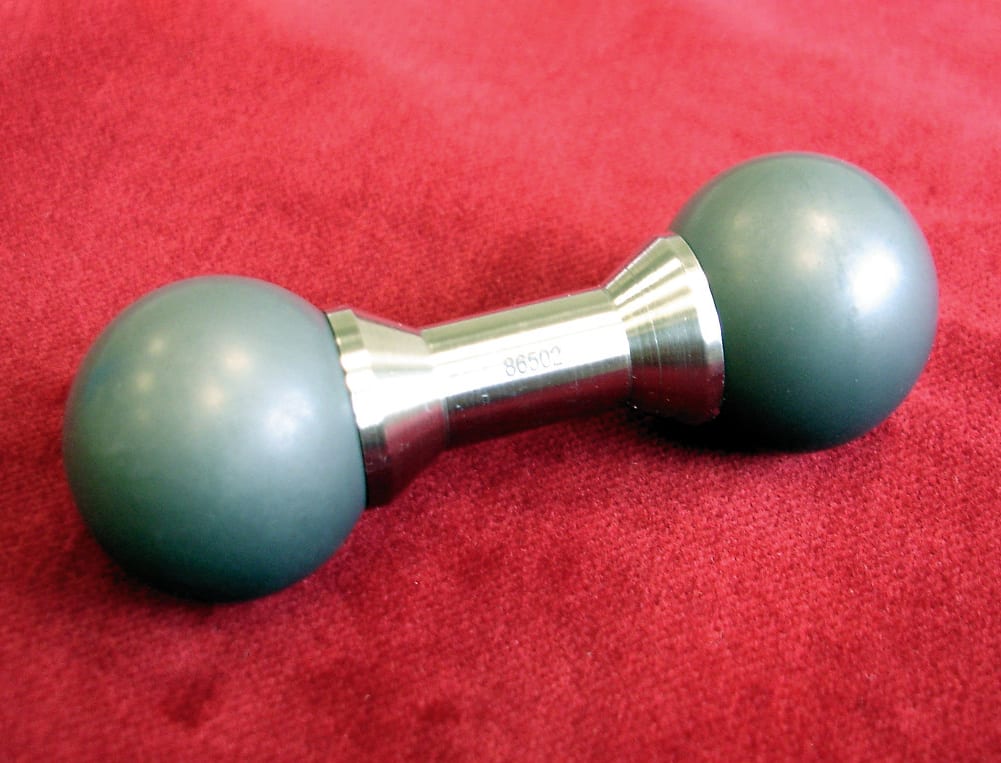
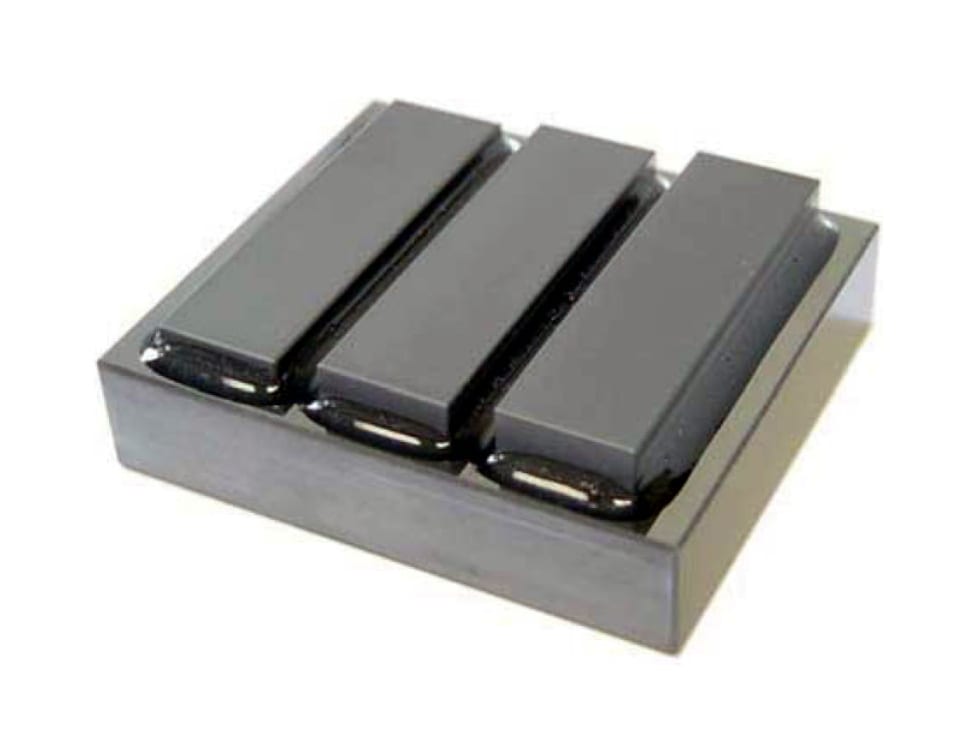
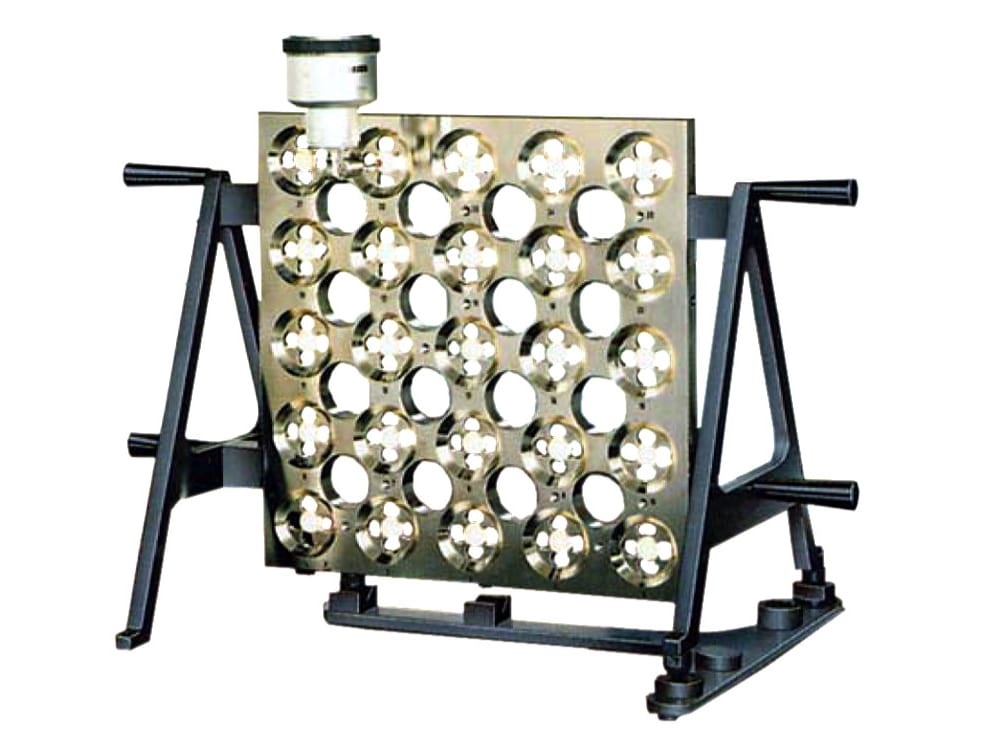
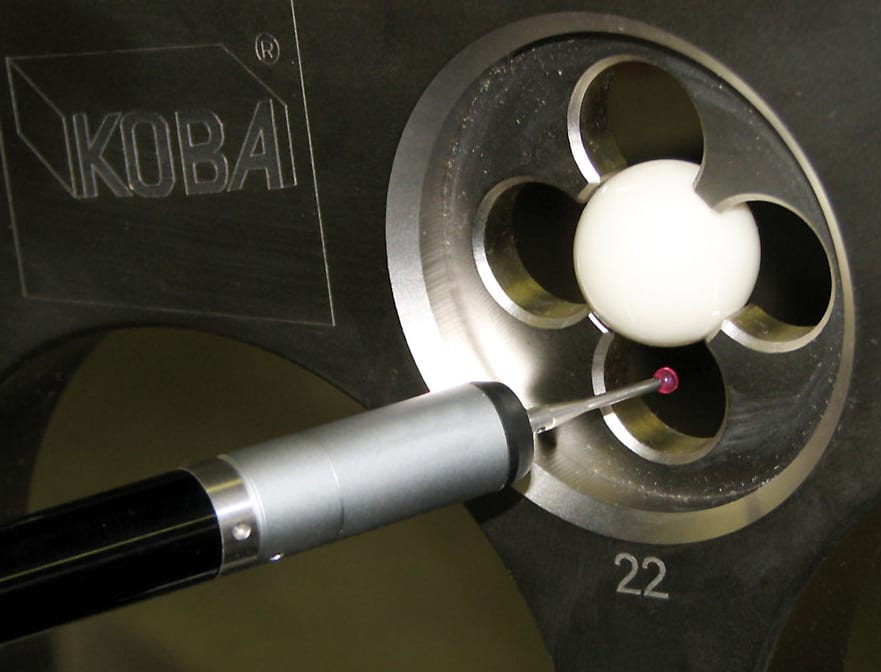
Photos courtesy of Paul W. Marino Gages and Kolb + Baumann GmbH
But there are some uncertainties when doing this:
1. Thermal expansion coefficient (CTE)
The given value 11.5 has an uncertainty of ±1 as the given value is an average value taking different materials into account.
2. Temperature measurement
When measuring the temperature of the gage block the measuring result may vary due to measuring position on the gage, thermal stabilization of the gage and accuracy of the measuring instrument.
Due to the influences mentioned, the measurement of temperature may have an uncertainty of ±0.2 C. These two uncertainties will affect the systematic “correction” of the length using the 23 µm correction value. The real correction value can be somewhere between 18.9 µm and 25.3 µm. And this is only one parameter out of 20!
Calculating the measurement uncertainty for calibration is a big job using complex mathematics and statistical methods. Each type of probe(s) on a CMM has common influencing factors, e.g. temperature, and specific ones, e.g. display resolution.
As calculating an uncertainty budget for CMM measurement is several times more complex than doing it for one-dimensional measurement, most accredited laboratories are using a calculation procedure called “Virtual CMM” to evaluate the measurement uncertainty for a specific measurement. The “Virtual CMM” provides individual measurement uncertainties for different measuring procedures and/or measured parameters.
Measurement uncertainty is extremely important with calibration. It’s a kind of quality statement about the validity of the measuring result. All laboratories accredited according to ISO 17025 must provide measurement uncertainty budgets for their measuring results.
Artifacts like a step gage are used to detect systematic and unsystematic errors of a measuring device, e.g. CMM. The results of the CMM calibration are used to calculate measurement uncertainty budgets for measurements done with the CMM. The common standard for calibration and verification of CMMs is ISO 10360.
There are different guidelines focusing on different types of CMMs, different types of artifacts and tactile or non-tactile probes. Measurement uncertainty will affect “Statements of Conformity” too.
“As you can see, measurement uncertainty is a very complex issue and testing, evaluating and validating usually takes hours, if not days, to achieve rudimentary knowledge.” Martin knows this stuff really well and my thanks to him for making this absolutely clear as mud for me, sort of.
As for the many that strive every day for perfection in inspection, manufacturing and constantly chase the mighty micron, we welcome your ideas, comments and forever questions and discussions on the methods and tools, or artifacts, to perform these tests in the world of coordinate measuring metrology. It’s still evolving but we have come a long way from the yard stick, foot, hand, yo-yo.
For your bedtime reading, may we suggest International Laboratory Accreditation Cooperation and European co-operation for Accreditation guidelines and please don’t tell us the ending!
