This Case Studies Special Advertising Section features manufacturing companies with real-world challenges using quality equipment, software and services to solve their problems and improve their processes. These problem-solving stories describe myriad manufacturing challenges and how the correct application of a supplier’s product or service made the difference, providing quantitative benefits to quality and manufacturing issues.
The suppliers in this special section present these real-world problems and solutions to help Quality Magazine subscribers who may have similar experiences.
Case Studies
— Special Advertising Section —
With GAGEtrak®, Metso Paper Passes ISO Audits With Ease

Metso Paper is a global supplier of sustainable technology and services for mining, construction, energy, metal recycling and the pulp and paper industries. Metso was created in 1999 through the merger of Valmet, a paper and board machine supplier, and Rauma, a fiber technology, rock crushing and flow control solutions company.
Metso’s Aiken Service Center, located in Aiken, SC focuses on the company’s pulp and paper industry utilizing GAGEtrak Calibration Management Software to track its hundreds of instruments as well as hundreds of calibrations each year.
Jeff Vuick, the GAGEtrak user at the Aiken facility, began using the product in 2009. Vuick’s supervisor had used GAGEtrak at a previous company and recommended the software be brought it into the Aiken facility. The move to GAGEtrak was a big one, as the company had previously used spreadsheet programs and paper notices to track calibrations.
GAGEtrak was all new to Vuick as he undertook the task of transferring everything from the old system into GAGEtrak. One of Vuick’s favorite features in GAGEtrak is the gage cloning feature which helped immensely during the initial data entry process. GAGEtrak provides information on when a calibration is due, on which gage or instrument, whether the gage is in-house or outsourced and, as Vuick notes, “…this system is known to the ISO auditors, so this is a big plus for our company.”
Metso does not compromise on their service, customer offerings or their quality management software. That’s exactly why they chose GAGEtrak - to help them keep delivering uncompromising quality year after year.
GAGEtrak is used at thousands of facilities worldwide to improve measurement quality, assure compliance and increase efficiency. Contact CyberMetrics today to learn how GAGEtrak will do the same for your company.
New Automated Data Collection Solution Ensures Speed, Accuracy, Scalability and Security
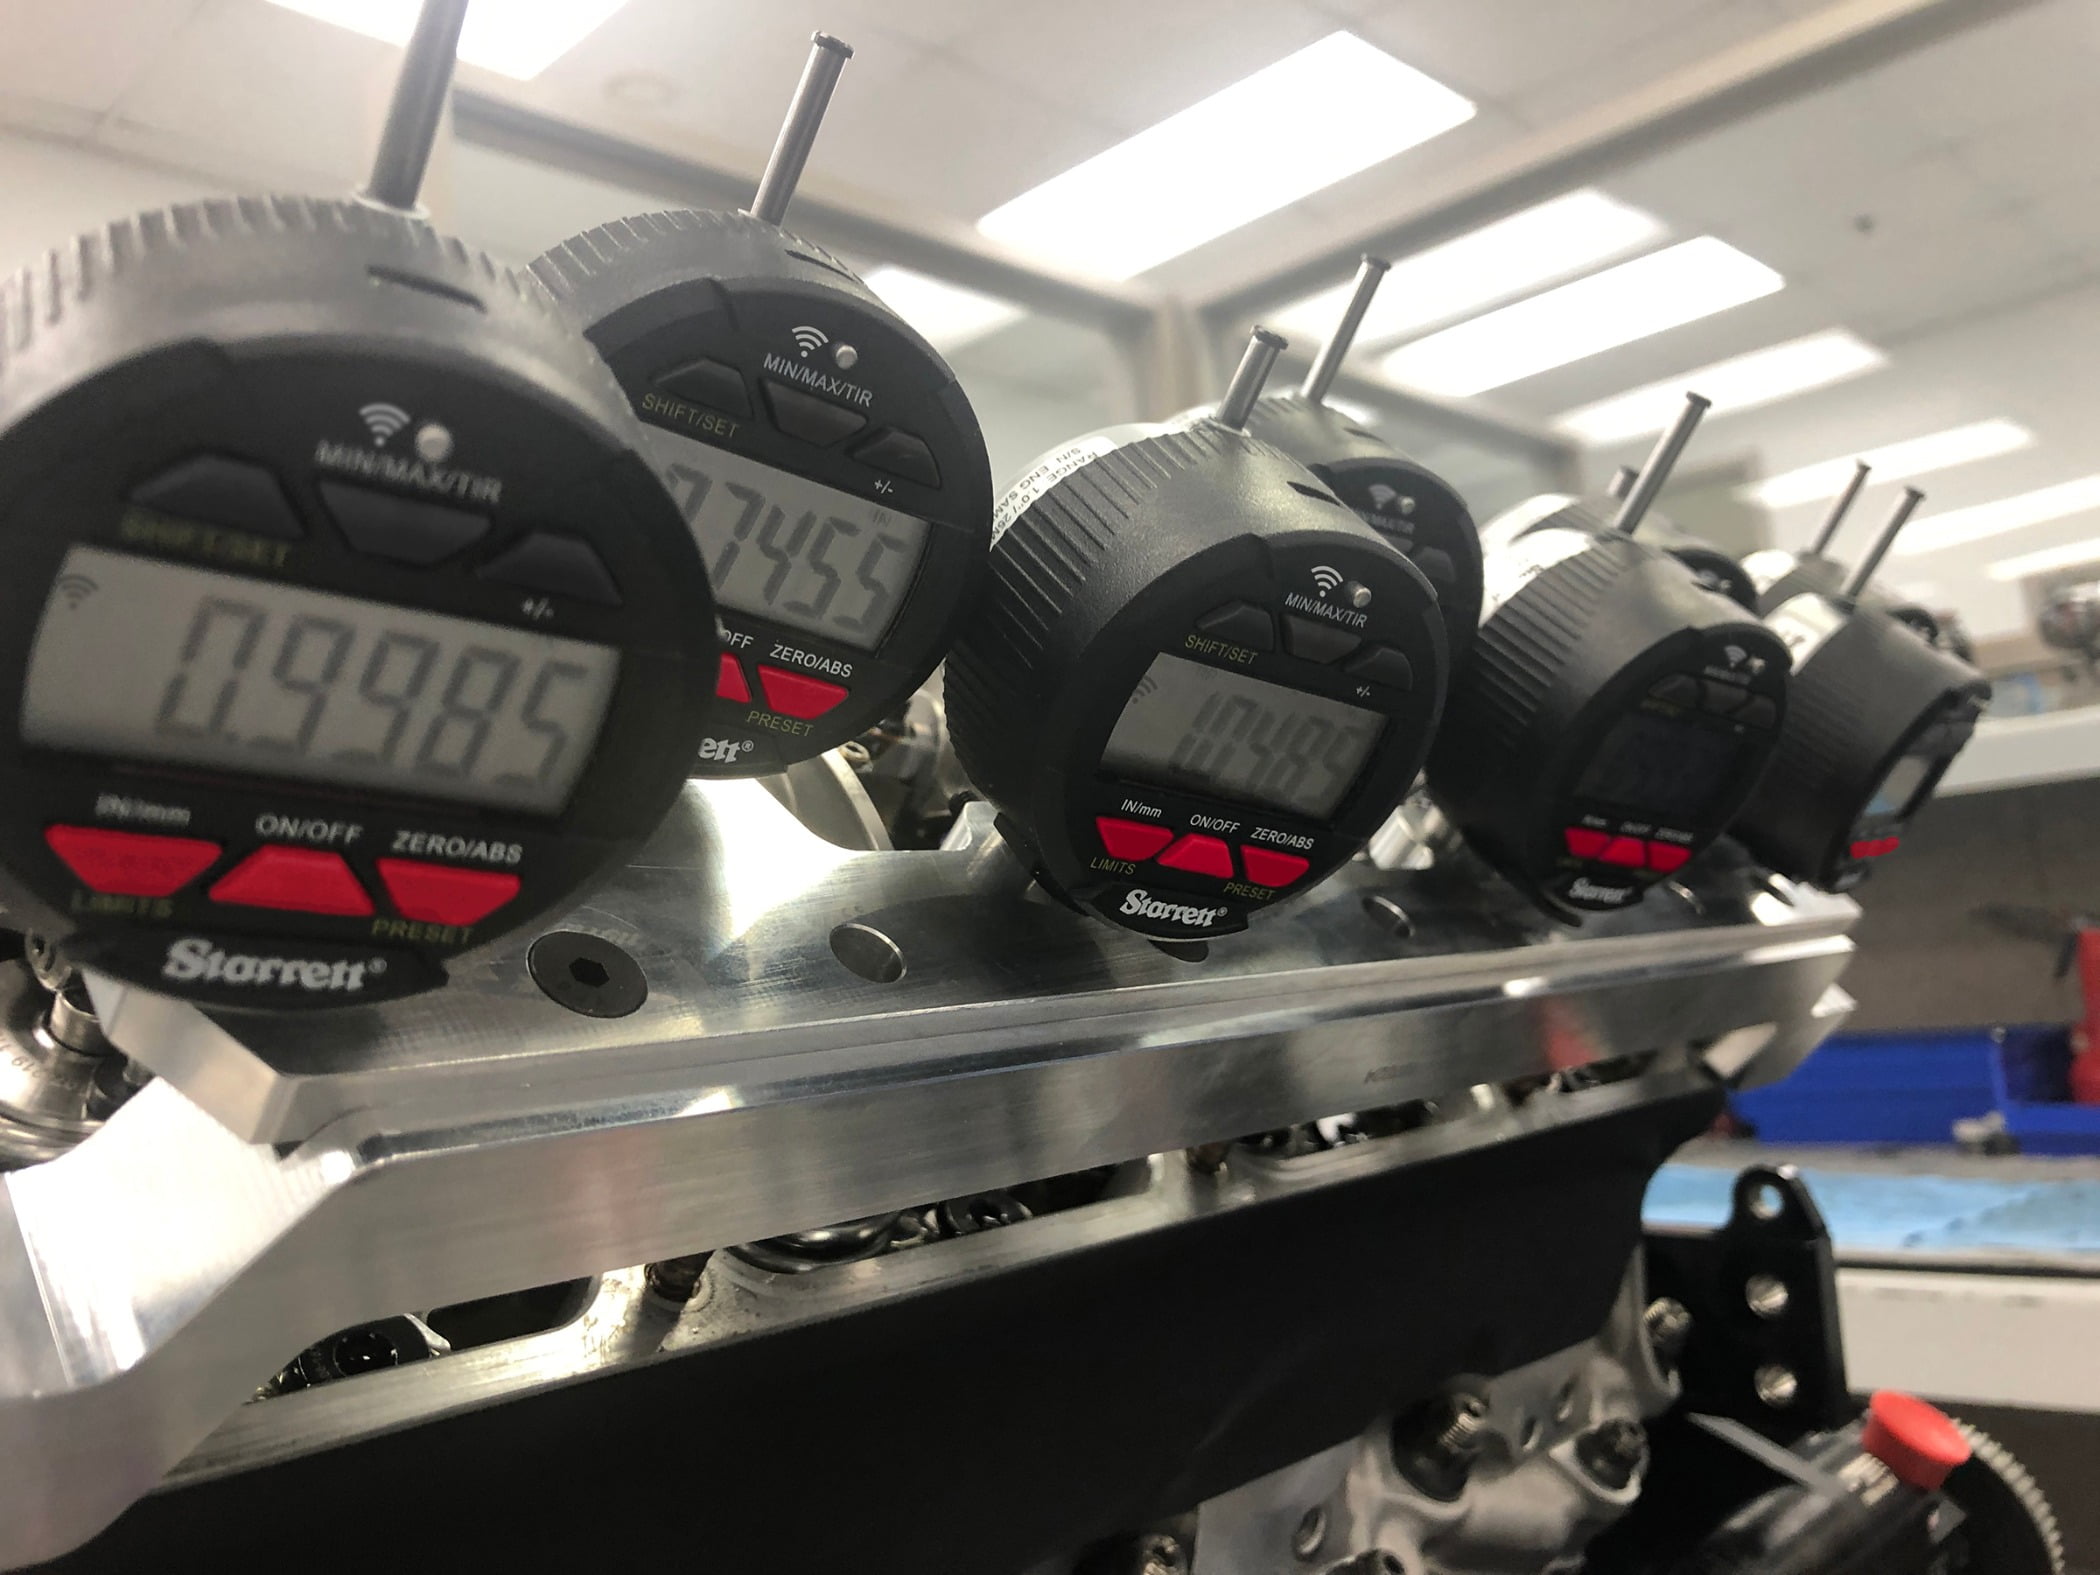
Multiple Starrett Digital Indicators in engine-mounted fixture capture and transmit T.I.R. measurement data to computer devices.
Roush Yates Engines (RYE) of Mooresville, NC and its manufacturing division, Roush Yates Manufacturing Solutions (RYMS), continuously evaluates and decides the most optimal ways to leverage technology. So, when RYE explored ways to improve the accuracy, integrity and throughput of its precision measurement data, the decision was made to deploy DataSure® 4.0 (DS4), the industry’s latest data acquisition solution developed by The L.S. Starrett Co. of Athol, MA.
RYE is the exclusive engine builder of Ford Performance for the top levels of NASCAR including the NASCAR Cup and Xfinity Series, as well as the IMSA Michelin Pilot Challenge. In addition, RYMS is a precision CNC parts manufacturing organization with expertise in multi-axis machining of metal and plastic parts with complex geometries for other motorsports, aerospace, defense and high-tech industries. Two well-equipped quality labs have the tools necessary to measure and inspect a wide variety of parts.
Dogged by Data
Alex Marothy, Quality Control Technician/ Programmer & Automation Lead at RYE, said. “Machinists and inspectors were writing down some measurements in log sheets which then needed to be keyed into computer spreadsheets, taking time and possibly leading to errors, as operators may misread gages or write down incorrect values.”
RYE implemented DS4 by starting with a multiple digital indicator application fixture designed for engine inspection. The DS4 application is running in a 40,000 s.f. CNC machining area spanning from the front to back of the shop, transmitting data approximately 200'. In this area there are at least 15 CNC machines, so noise and signals are omnipresent, but despite the distance and potential ambient interference, DS4 operates smoothly via a remote gateway and an antenna.
“We substantially improved our data collection accuracy and time,” said Marothy. “We found that DS4 saved from 8 to 10 seconds per measurement, and we are doing several thousand measurements per day, thus saving over seven hours of labor daily.”
RYE also needs to be very vigilant of keeping physical parts data in its network under strict security. DS4 is built on a highly secure proprietary wireless platform, and transported data is encrypted using a multi-layered approach that absolutely prevents any outside access to the data, whether passive or active.
Case Study: Measuring The Durability of Swim Goggles
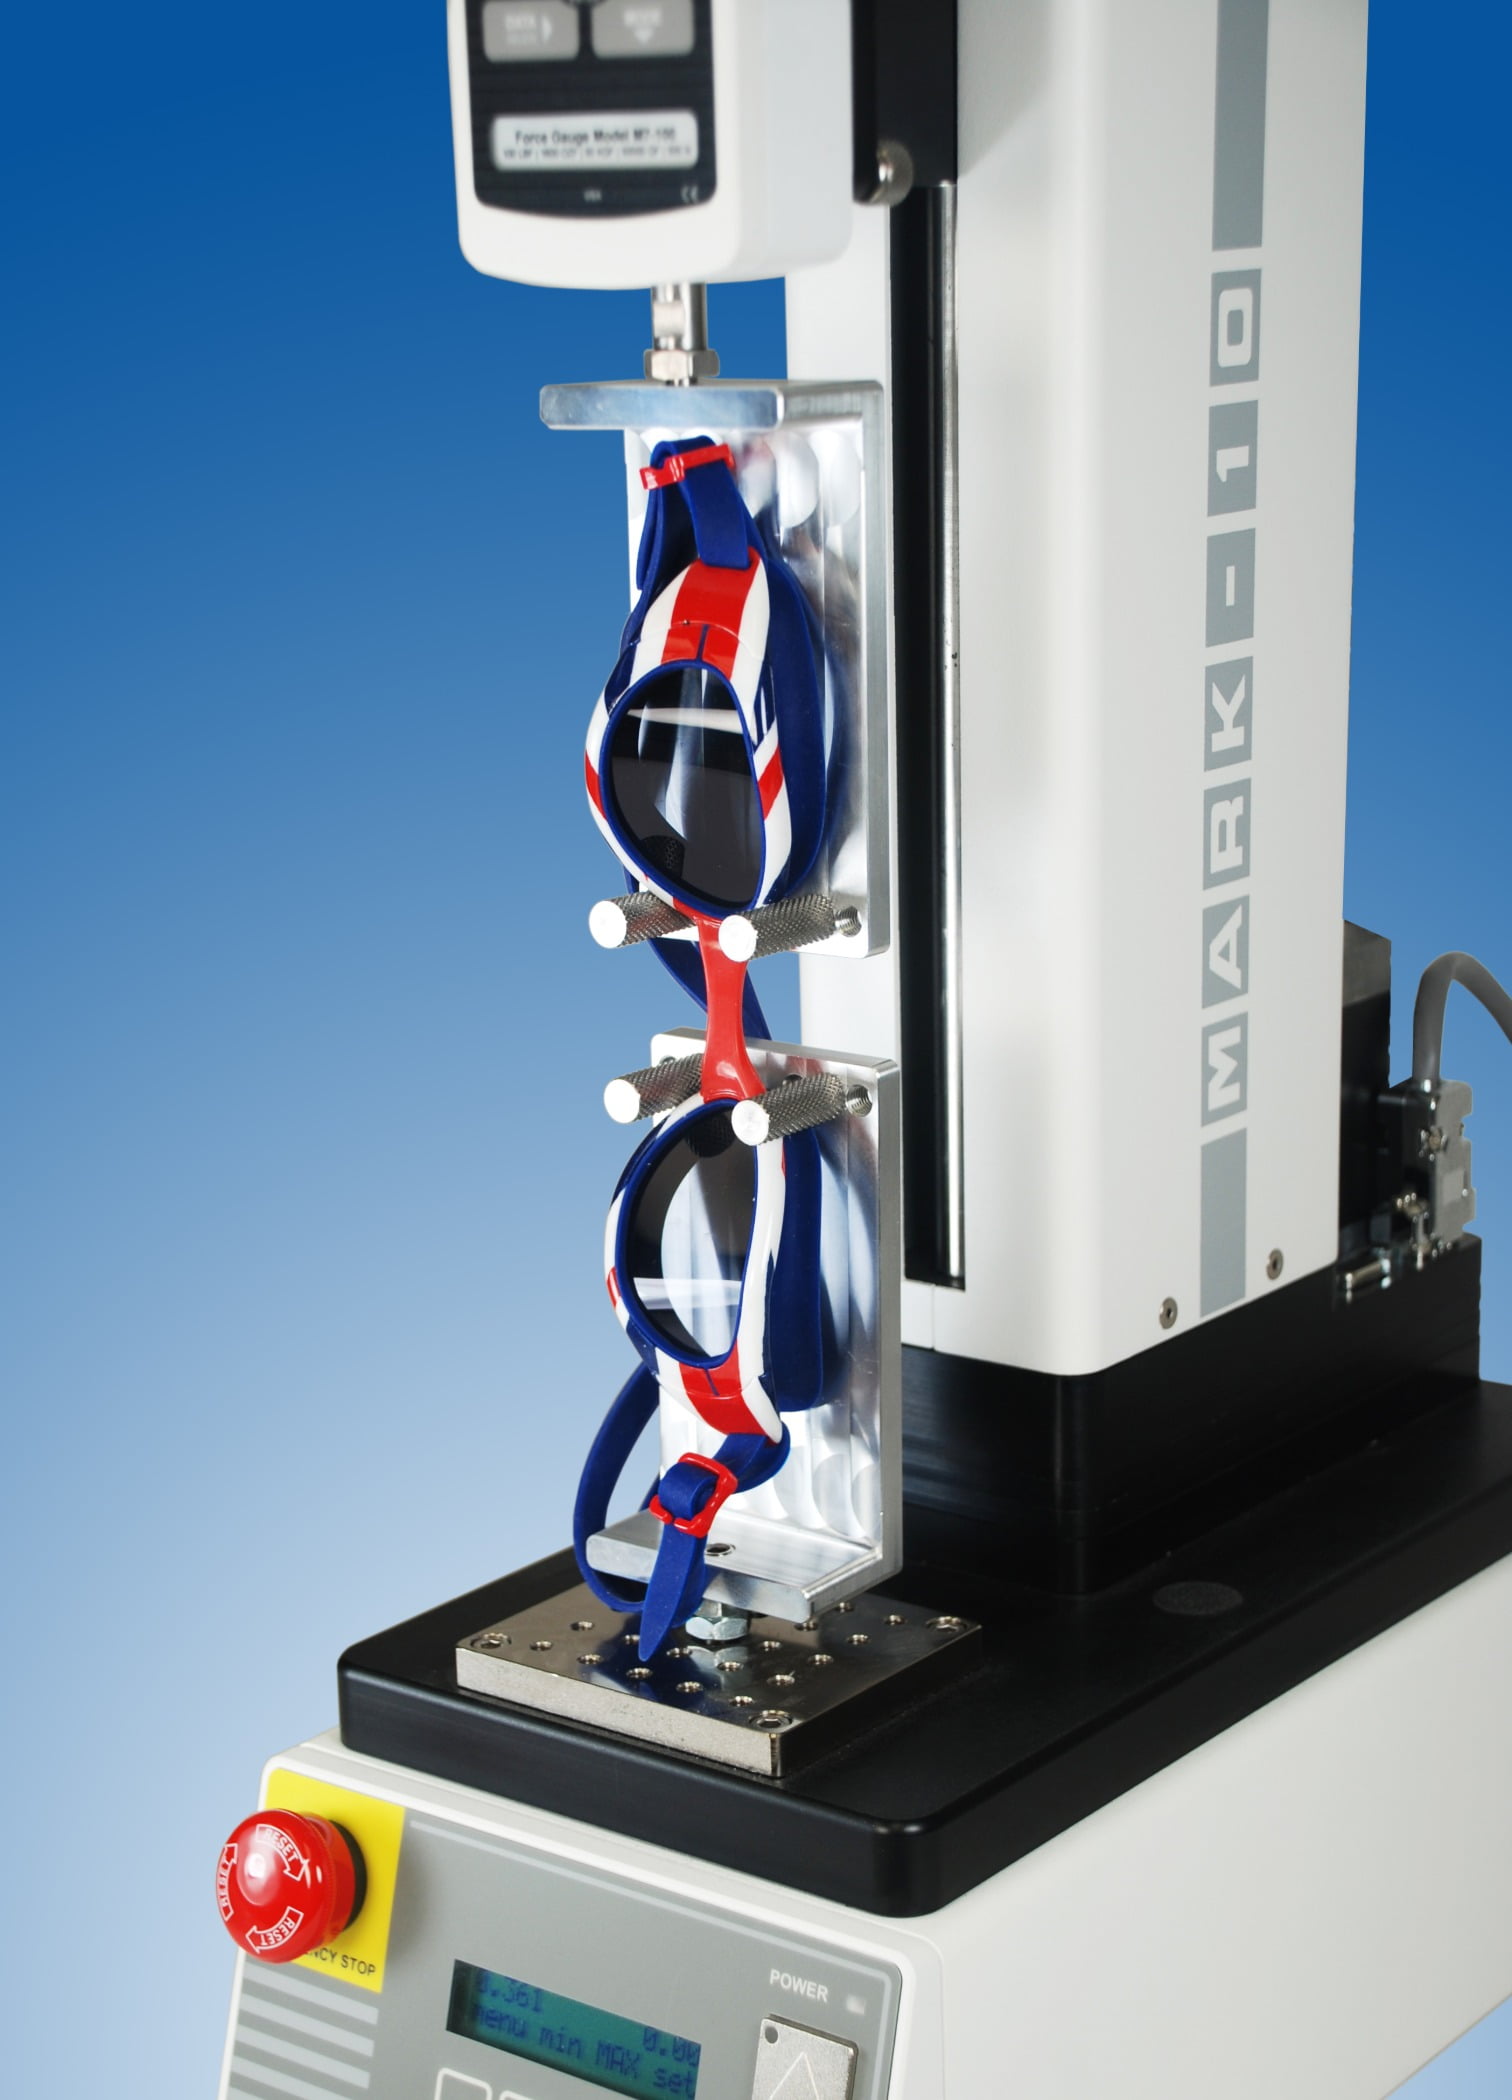
A manufacturer of swimwear and athletic gear upgraded their incoming inspection and material characterization processes through the use of Mark-10 force measurement equipment.
Of principal interest to their Engineering and Quality teams was the strength and durability of the company’s swim goggles. Various components of the goggles require testing, including the rubber straps and lens bridge. Several types of tests were developed:
Pull rubber strapping to a specified force, and hold for a specified time, then cycle multiple times
Pull rubber strapping to destruction, and record force vs. displacement curve
Pull at the lens rims to apply a minimum force to the bridge, and hold for a specified time
Mark-10 supplied a complete testing solution, consisting of a motorized test stand, force gauge, and several types of standard and custom grips. Data collection software records the data for the destructive tests, providing curves, tabulated data, statistics, and customizable reports.
The small footprint of the system easily settled into the company’s busy facility and was quickly mastered by their staff.
Case Study: Connect Any Gage into Any Software
Challenge:
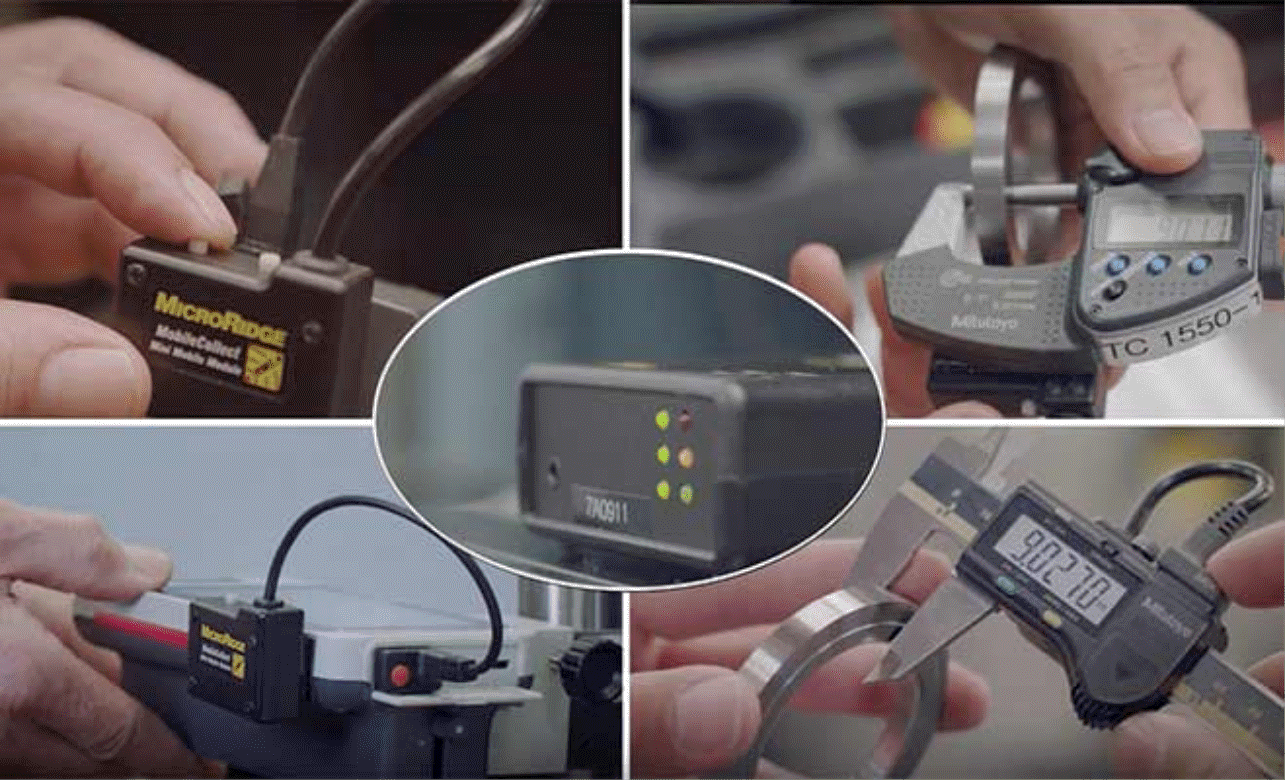
A customer discovered their new Component Engineering TruPosition probes were not compatible with their installed wireless measurement collection system. They asked MicroRidge for a solution that would allow them to collect measurements wirelessly from the TruPosition and their other installed gage devices with the least disruption to their current data collection process.
Solution:
With 38 years of expertise in designing measurement collection products, MicroRidge created a MobileCollect Wireless solution compatible with the customer’s new TruPosition probes and their installed base of calipers, micrometers, and RS-232 serial output gage devices. This solution is now available to other MobileCollect Wireless customers as a standard product.
The MobileCollect Wireless product offers compatibility with over 70 gage brands and thousands of gage models. MicroRidge is constantly researching gage devices to expand the list of compatible devices. Our “connect any gage into any software” philosophy differs from other “single-brand only” wireless system providers in that it allows companies to implement gage devices that best address their specific needs, regardless of the brand or model.
Our gage connectivity expertise and extensive line of wireless receivers and transmitters allow MobileCollect Wireless to offer data collection solutions not available from other wireless system providers. The free MicroRidge product demo program will enable companies to evaluate the MobileCollect Wireless products to confirm it provides the required solution before making a financial commitment.
Surface Quality through Photonics
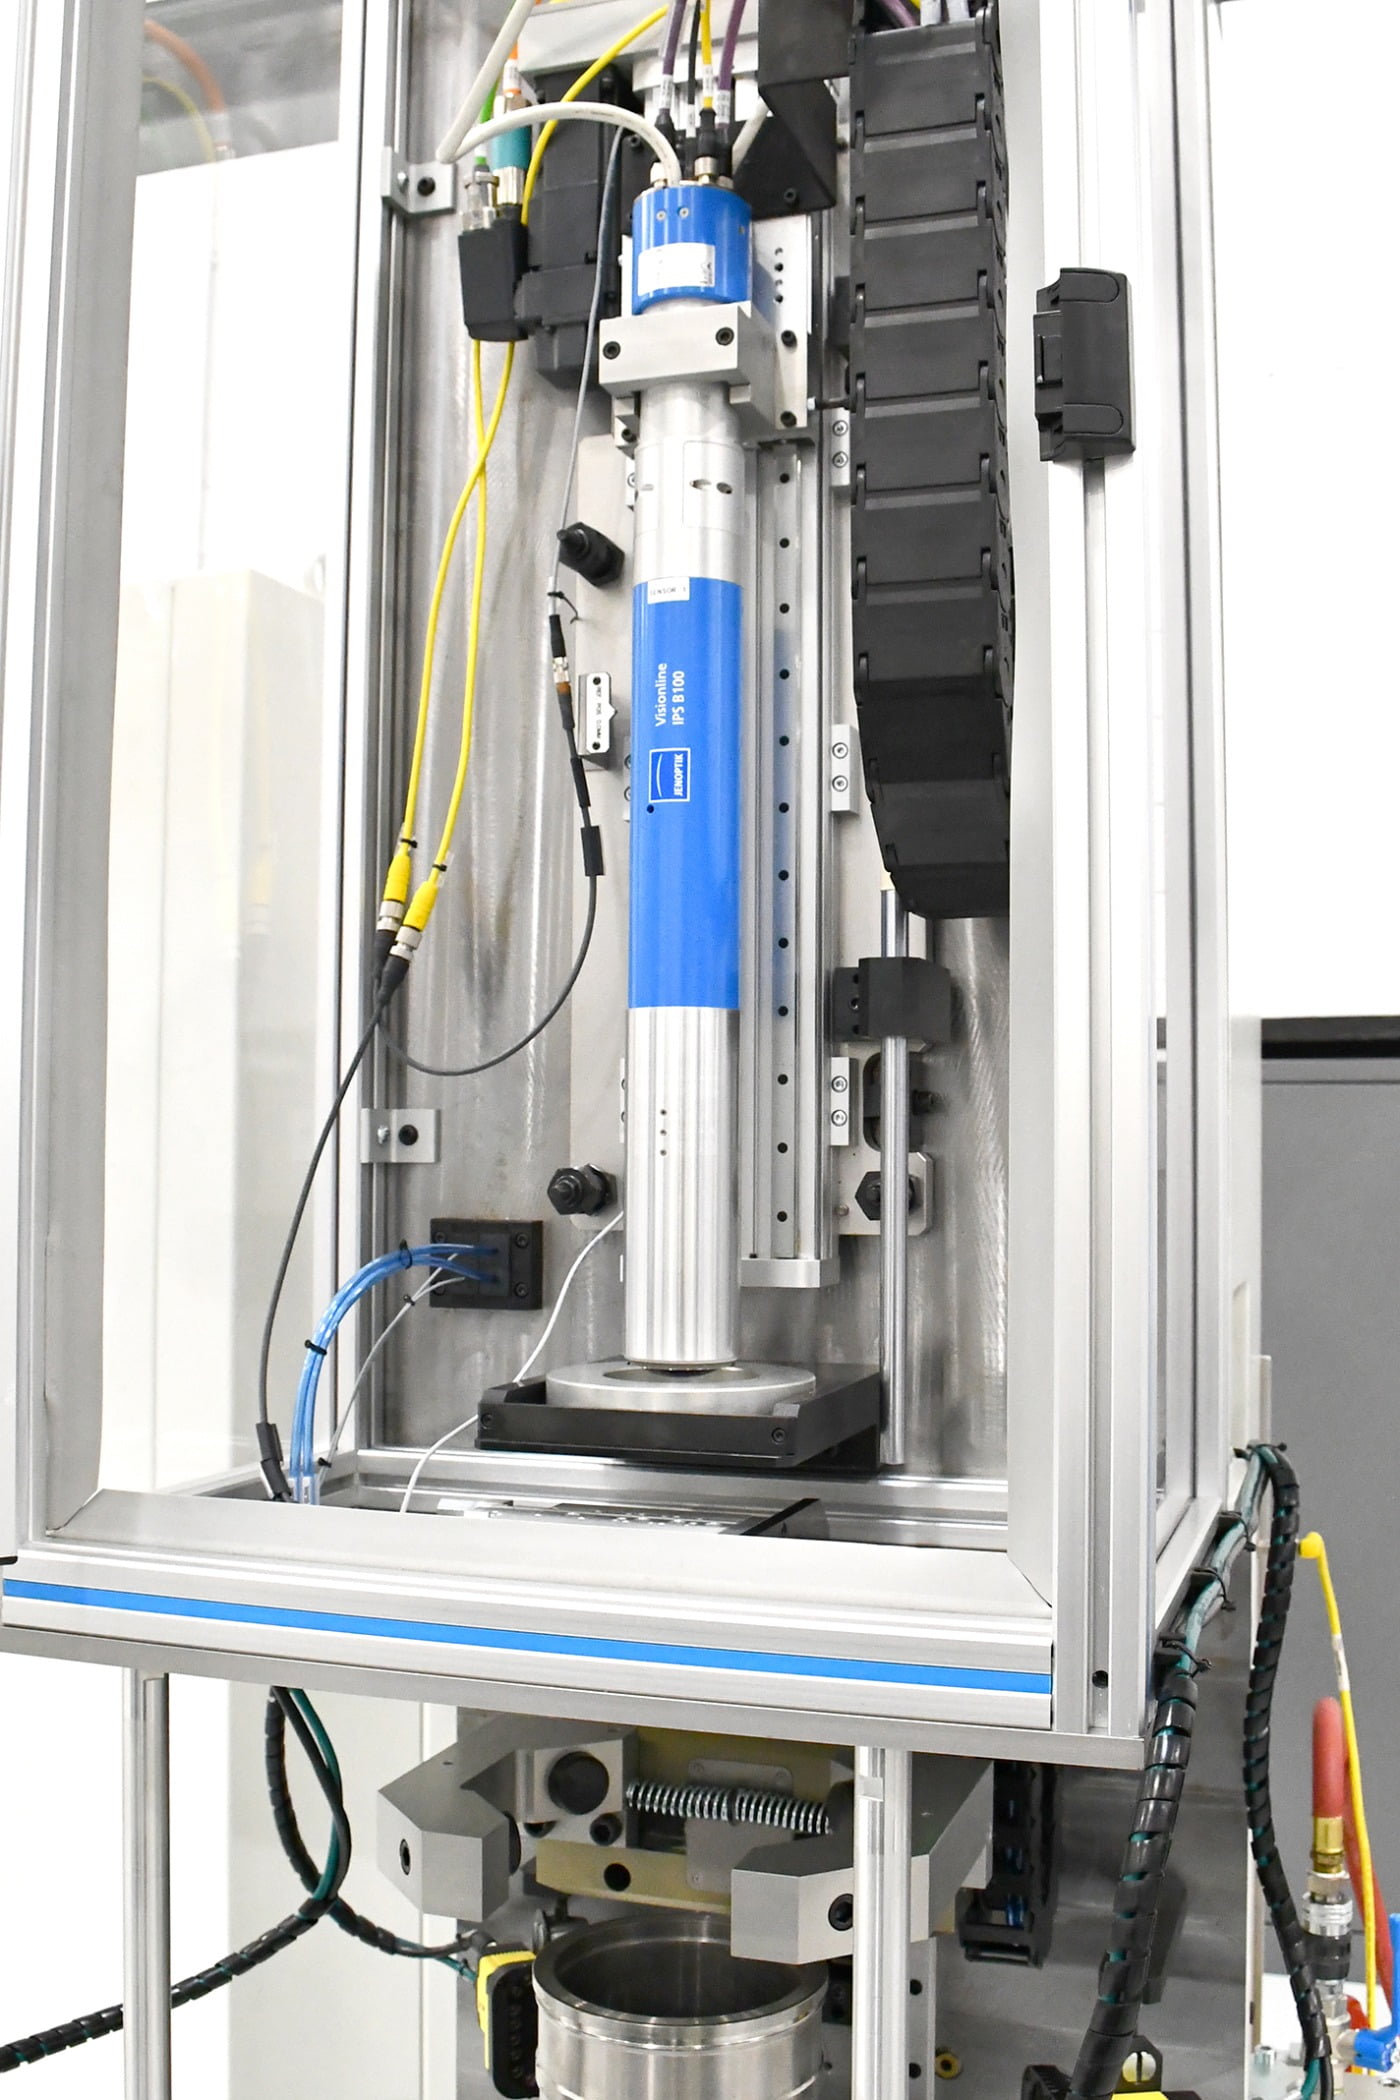
A major OEM in the automotive industry needed to be able to verify the surface quality of cylinder liners before assembly. Quality checks in the past were completed using manual vision inspection, in order to detect surface imperfections ranging from tool marks to casting defects like porosity. Visual inspection by the human eye is tedious, expensive, and prone to errors. Some studies show that manual visual inspection, at its best, is only 80% reliable.
The solution would be to automate the visual inspection using a 2D Bore Inspection System in order to deliver 100% part inspection, while also eliminating inconsistencies in detecting flaws. Additional benefits from automating the visual inspection of the cylinder liners include helping eliminate errors due to human fatigue, better reliability, reduced false positives, and a much lower scrap rate.
The Visionline series products are capable of visually detecting surface flaws consisting of debris, porosity, scratches, machining errors, and much more. The Visionline solution offers high-speed optical inspection of bores and fluid passages using proprietary technology that can “see” what others cannot, spotting defects as small as .2mm. In addition, Visionline 2.5D technology can also tell the difference between simple defects like water spots, to complex defects with depth knicks or burrs.
By automating a manual vision inspection process with a fully automated Visionline solution, the customer was able to substantially improve efficiency, reduce costs related to scrap and warranty issues, increase throughput, and meet their manufacturing goals.
Keeping Everything in Check
PolyWorks® Cuts the Symmetry and Alignment Check Time on Bombardier’s CRJ Series by 75%.
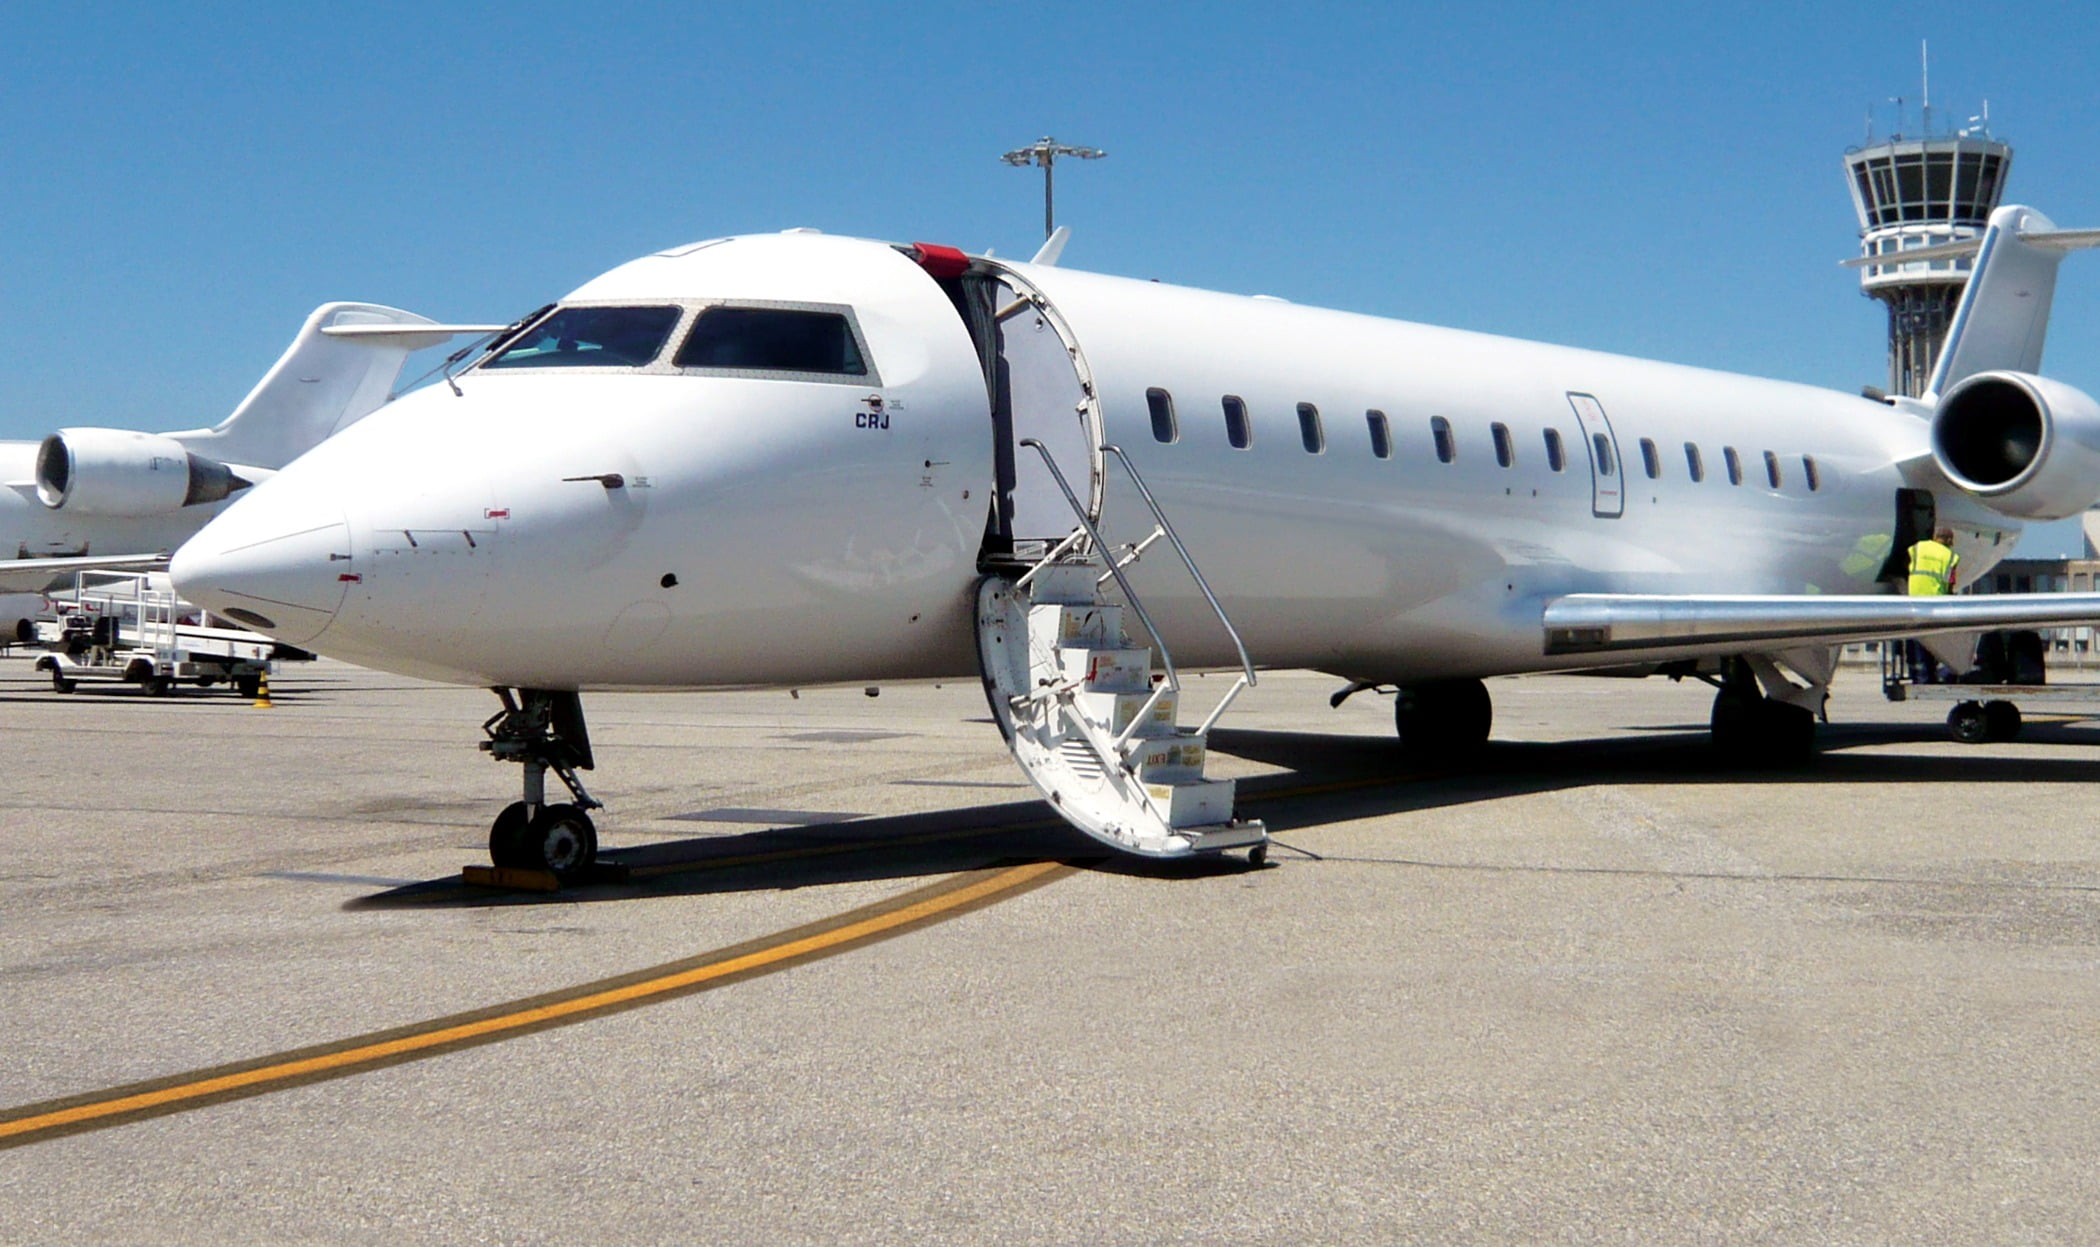
At Bombardier Aerospace, when a commercial airplane is hit by a baggage transporter or undergoes a hard landing, it must be checked for structural damage before its next flight. The In Service Engineering team is dispatched to perform a symmetry and alignment check to diagnose its structural engineering and ensure the airplane is airworthy. Time is of the essence since a grounded plane can lose the company over $100K/day in revenue.
A symmetry and alignment check is a dimensional inspection of the aircraft's airframe to determine whether its wings and tail are symmetrical to the longitudinal axis. The check is performed once the aircraft has been placed in a hangar and jacked, and takes between 12-14 hours to complete using an aircraft-model specific tool kit that includes plumb bobs, precision optical levels, transit rulers, and numerous geometrical accessories. The In Service Engineering team needed to simplify their symmetry and alignment process with a portable system usable for all airplanes.
The team opted for the portable Leica Absolute Tracker AT401 combined with InnovMetric's PolyWorks|Inspector™ software. Add a laptop and a stand for the laser tracker and the new tool kit fits right in the team’s carry-on—greatly simplifying transport logistics.
With this 3D metrology solution, the entire symmetry and alignment procedure is greatly simplified. Driven by PolyWorks|Inspector, the technician measures target points on the airplane with each measurement providing real-time deviations to nominal points from the CATIA CAD model, and allowing to easily determine the longitudinal axis. The ease of which PolyWorks|Inspector generates reports that comply with Bombardier’s strict international standards is a key factor that influenced the buying decision. A symmetry and alignment check now takes one technician 6 hours, and soon 4, helping get the airplane back in the air as fast as possible.
Bombardier likes PolyWorks|Inspector for its dependability, versatility, and ease of use and is evaluating the software to check the symmetry of amphibious aircraft.


