Aerospace Companies Flying High with
3D Laser Trackers
Test & INspection
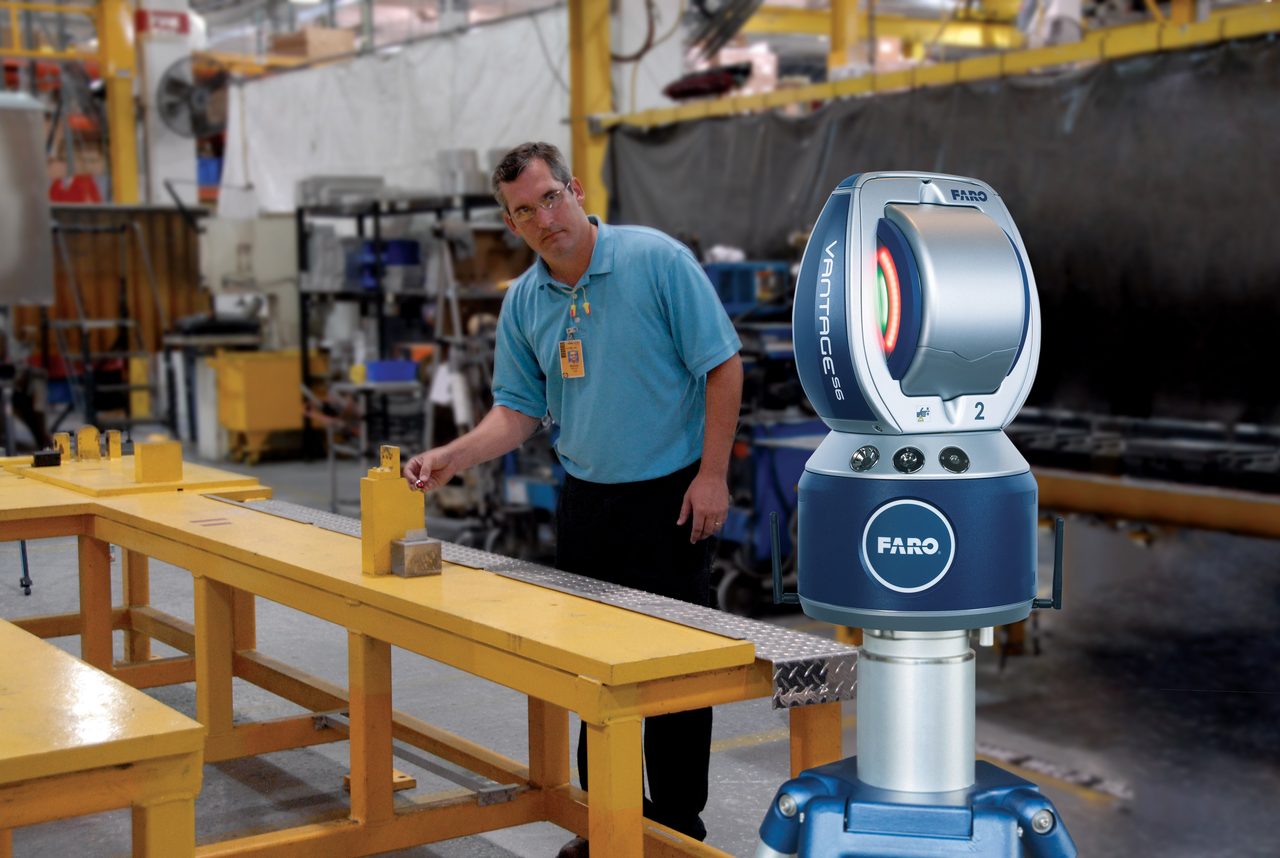
Portable metrology tools like 3D laser trackers are efficient solutions that can be implemented into aerospace workflows.
By Leo Martinez
In aerospace — whether that’s space travel, turboprop or jet manufacturing — a defect, mismeasurement, or slight error can be the difference between a successful launch and mission failure. It’s because of this that aerospace companies have the most stringent requirements for quality and dimensional accuracy.
Manufacturing aerospace parts that have such a high quality requirement is extremely challenging. With traditional post-machining inspections, many of these parts may have to be completely scrapped or reworked. This scrap and rework can lead to wasted material, production line halts, and supply chain issues for both the OEM and connected suppliers. In the end, this will lead to increased cost and delayed programs, results that are unacceptable for any market leader.
One way to greatly relieve these issues is to use portable metrology equipment such as laser trackers, CMM arms, and 3D metrology software. The equipment can be used to quickly inspect first articles, check pre-machined dimensions, and position the rough part to help ensure the machining will run smoothly — preventing the waste of material, energy and time.
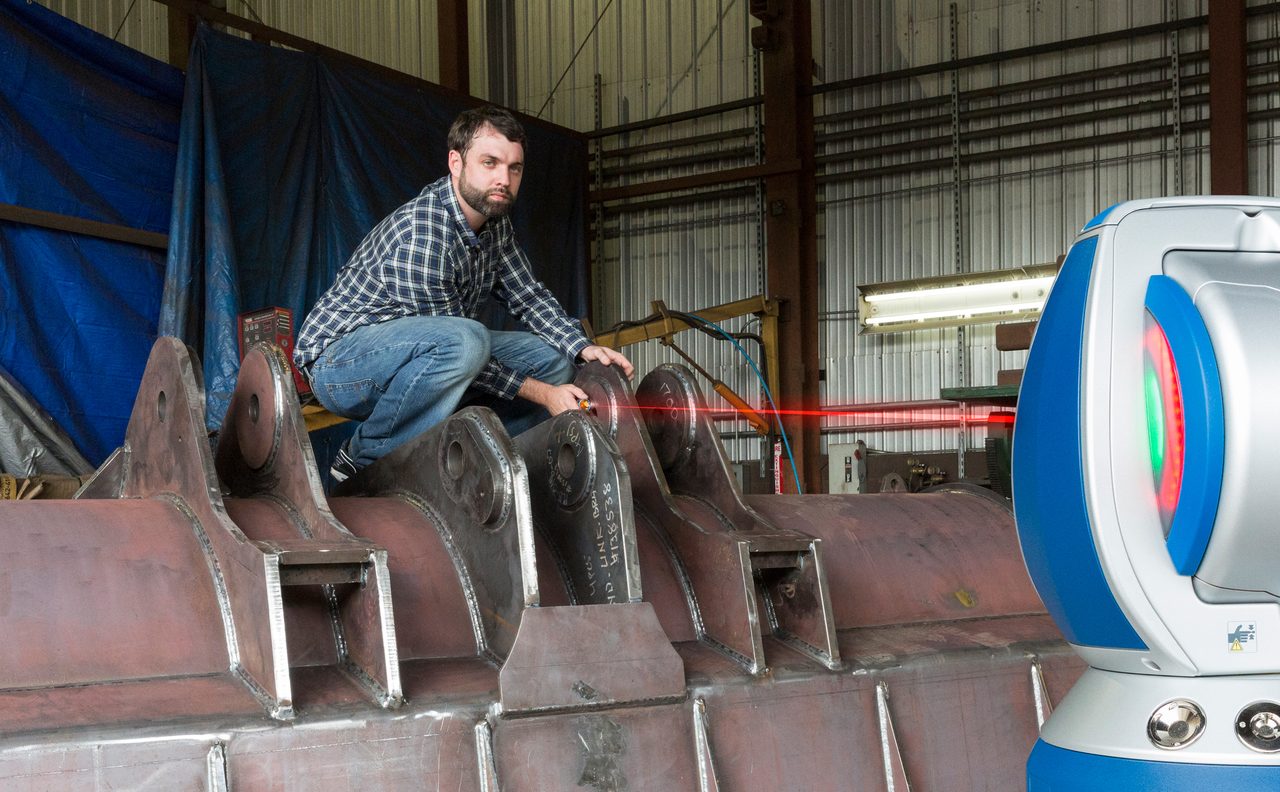
Many aerospace parts are large. Because of this, the machining time for these parts is very high and the rework time can be very large. To minimize rework time, many operators will use 3D laser trackers and metrology software to verify the quality of the part during the machining process. This is a huge benefit, because it allows manufacturers to identify issues as they arise — ensuring that the operator can rework the part earlier and faster, plus ensuring the quality of the part when it’s pulled off the machine. Due to the high accuracy requirements and large part size, in-process verification like this is easiest when it’s done with high-quality 3D laser trackers.
According to a recent case study, one aerospace company found that its quality control workflow could be performed “twice as fast” with 3D laser trackers and metrology software when compared to doing the job without it.
Finally, the machining equipment can also be calibrated using laser trackers. The laser tracker can measure the actual machine position versus the intended position over the full machine travel; this information can then be used to adjust machining parameters for more precise manufacturing. This will help improve the quality of future machined parts, reducing cost and schedule overruns.
After machining, assembling the parts into a final craft can be even more challenging because minor misalignments can lead to critical defects. This is an area where portable metrology solutions — including laser trackers and portable CMM arms — can be extremely powerful. To maximize production and minimize waste, aerospace organizations use these metrology solutions to measure the assembly quality and adjust it with real-time feedback from the metrology software. With this process, the operator can be certain that the final assembly will have the right dimension and they won’t have to rework it later. And when paired with powerful software with automation capabilities, this even allows operators at varied skill levels to feel confident in the execution of their tasks.
This shows how and why 3D laser trackers and metrology software are absolutely essential to the success of aerospace companies — both by ensuring quality meets the highest standards and also by using smarter tools to eliminate wasteful time, scrap and supply chain issues.
However, for an organization to successfully implement laser trackers in its process, there are a few essential requirements. OEMs should take all of these into consideration when updating and optimizing their workflows.


Important aspects of a 3D laser tracker solution for aerospace workflows:
1. Portability.
a. The metrology solution must be exactly that: portable! It must be capable of being transported to where the work is occurring. There’s no point in implementing a solution if it means opening a whole new quality control lab that will slow down operations. Parts need to be measured and quality needs to be checked on the production line itself for the most efficient operations. This is why laser trackers and portable CMMs are an innovative solution to the particular problem of aerospace quality.
b. Aerospace parts and assemblies are very large and bulky. Moving these large objects to the inspection lab can be time-consuming and the risk of damage during transport is low but very costly. Having portable measurement equipment means that OEMs can perform inspection or metrology-assisted assembly directly where the part is, reducing time, cost and risks.
c. Because manufacturing doesn’t typically happen in a temperature-controlled space, the metrology solution must be able to accurately measure parts in that environment. The hardware must be capable of achieving the desired accuracy over a wide range of temperature and humidity, including any compensation procedure. Smart metrology software must also have embedded temperature compensation algorithms, taking care of the thermal expansion/contraction of materials as the temperature changes. Again, if an organization must build a special temperature-controlled lab for their quality control solution, this won’t capture the important benefits of portable metrology.
2. Range
a. The portable metrology tool must have the range necessary to measure the critical dimensions of the project. Especially when it comes to aerospace, parts can be huge — sometimes up to 80 meters for launch vehicles or large planes — thus requiring a tool with extensive range. Of course, for smaller operations like turboprop or small business jet manufacturing, the size of the parts might be smaller. But it’s still important for manufacturers to ensure that their 3D laser trackers have the range required for their past projects and potential future designs.
b. For smaller parts a portable CMM may be sufficient, but it must have the reach necessary to measure the entire volume.
c. It is inevitable that OEMs need to move the device to cover a very large part or assembly. We often think that moving a device can degrade the accuracy of the measurement network. However, smart metrology software can significantly improve the accuracy with network bundling capabilities by leveraging the specific uncertainty shape of laser tracker measurements.
d. With much of the aerospace world also shifting toward drones, EVTOLs and green aircraft designs, it’s not enough for OEMs to calculate their metrology needs based on past projects. The aerospace organizations of tomorrow need to keep an open mind as to what their engineers and designers might send to the production line floor in the future.
3. Reach
a. Besides the range required for an OEM’s 3D laser trackers, whatever hardware they choose to bring into their workflow must be able to reach to probe any critical dimensions, while still maintaining the greatest possible accuracy.
b. Metrology equipment can be relocated around the part to gain line of sight and measure hard-to-reach areas. But aerospace OEMs need to consider that this might slow down the manufacturing process — and consider cost and ROI in accordance.
c. Some laser trackers feature extensions to help alleviate concerns of this nature. For example, a laser tracker can have an additional probe that can limit device moves. Or it can have the ability to integrate a portable coordinate measuring machine (PCMM) arm into the coordinate system, thus eliminating the need to move the part so much.
4. Accuracy
a. After taking the three above factors into consideration, it’s important to ensure that the metrology equipment achieves the accuracy required to inspect the critical tolerances on the parts.
b. It’s essential to test and demo whatever tools are being considered in the actual manufacturing environment that an organization will use them. Aerospace companies should make sure to consult experts in the relevant fields — both within their organization and outside of it — to confirm that 3D laser trackers meet the accuracy standards to fit into their workflows.
c. In order to comply with internal or international standards, aerospace companies evaluating a portable metrology solution should confirm that the solutions they’re considering are certified to a known and traceable standard such as ISO 10360-10.
5. Efficiency
a. Choosing a metrology software with dedicated tools tailored for laser tracker workflows is essential to unleashing the highest efficiency. As an example: A large digital read-out (DRO) provides live feedback for when workers are far from the computer, simplifying the inspection and assembly process.
b. Large parts and assemblies mean large CAD models. Choosing the appropriate metrology software — one that is able to import very large CAD models in their native file format, in the fastest time, while still allowing smooth manipulation — is key for an efficient workflow. The ability to preserve all information from the original CAD, including the tree structure, allows users to search in the imported CAD model and quickly trim unnecessary components for inspection or assembly.
c. Powerful Geometric Dimensioning and Tolerancing (GD&T) algorithms embedded in smart metrology software allow swift analysis and remove hassle from the operator, who now has the time to decode issues, as all tolerances are automatically evaluated. Metrology software with full model-based definition (MBD) allows import of GD&T information directly from CAD models, saving time for the operator.
Ultimately, 3D laser trackers are incredible tools that can be implemented into aerospace workflows. They provide both human-level benefits — by ensuring the utmost level of quality was used on the manufacturing floor — and organizational benefits — by maximizing timesavings and minimizing scrap, rework and wasted materials. Plus, as the world continues to innovate toward zero carbon emissions, efficient technologies like laser trackers are one way the aerospace industry can help do its part in achieving that goal.
