Implementation
Vision & Sensors
V&S
Combining the best of traditional machine vision and deep learning.
By Hanan Gino
The
Hybrid
Approach
Hybrid Approach
For the past few decades, consumers have rewarded companies that customize their products and services to individual tastes and needs. In response, manufacturers have been willing to design, build, and operate production lines that accommodate a growing variety of final products, adding complexity to every step in the process from planning through production, quality assurance, and shipping. Combine this trend with lean operations and just-in-time production, and the manual—and some of the automated processes—that manufacturers depended on in the past can’t keep up with customer expectations and the increasing velocity of business in an e-commerce, always-connected world. Industry 4.0—the age of machine-to-machine communications—aims to solve this problem.
In manufacturing plants and warehouses around the world, industrial automation, including machine vision and robotics, are replacing many manual tasks in manufacturing. However, when it comes to visual quality inspection, or the tedious task of examining products and judging defects, most production lines still employ human workers, often because automated solutions are not up to the task, as replacing the powerful human eye-brain connection is not trivial.
Recently, computing cost-performance has reached a point where neural network–based artificial intelligence (AI) and deep learning (DL) machine vision software offers a practical solution for applications that were either hard or impossible to solve using traditional rule-based machine vision solutions. Today, by combining the capabilities of new AI machine vision solutions with the strengths of traditional machine vision algorithms, including 3D vision, manufacturers are installing automated inspection systems that can check virtually any product with lower false-negative reject rates than possible with either AI or 3D vision solutions alone.
The Real Cost of Poor Quality
The biggest drawback of manual visual inspection is that humans make mistakes. Tired workers often miss defects that escape the quality screens on the production floor and leak into finished goods or are packaged into integrated systems. When these defects surface outside the manufacturing plant, it is often too late and costly to fix. The Cost of Poor Quality (CoPQ) in these cases is significant. It includes—among other elements—the costs of returned or rejected goods (RMA), scrap, rework, and in many cases the negative impact on brand reputation and end customer dissatisfaction. For many supplier-customer relationships, a single defective product will lead to rejection of the entire shipment, with financial penalties thrown in for good measure.
In a survey conducted by Tata Consultancy Services (TCS), “Product quality and tracking defects” was ranked as the highest priority among the other potential drivers and benefits of using big data in manufacturing. Manufacturers spend more than $18 billion every year on manual visual inspection to ensure they meet customer requirements. Despite these costs, major industries lose on average between 4 and 7% of gross revenue correcting defective product.

A single visual inspection process that combines 3D automated inspection filtered with deep learning software enables hundreds of inspections per assembled product, including but not limited to: surface inspection of all 6 sides for scratches, dents, etc., silkscreen and PAD printing quality, edge inspection—sharp and clean without any defects, light-pipe indicators quality and existence, screw quality and existence, label location, edges and print quality, and communication port housing and pin defects (up to 48 ports) among other inspection regions. Source: Kitov
Additionally, in most markets and across most industries, labor costs are rising. In some markets—such as machine tending and welding—the major problem is a dearth of available skilled workers. Shortages in quality control workers often create a bottleneck in production.
As part of their Industry 4.0 strategy, smart manufacturers are looking for ways to leverage AI, robotics, and big data to stay ahead of the game. In addition to the opportunity to perform 100% quality inspection, automated visual inspection solutions produce data useful for identifying the source of production defects, leading to efficiency improvements and correction. A comprehensive database of inspection results with images of defect and defect-free products is a gold mine of information that can be transformed into actionable intelligence. With the help of big data analytics technology manufacturers, OEMs can analyze and track quality, trends, common defects, and evolving quality issues, as well as proactively introduce improvements in the production process, product design, and supply chain management.
Mastering Unlimited Product Variations
In the face of customer demands for custom product offerings delivered at lightning speed, OEMs have little choice but to adopt automated production and quality assurance systems in an effort to keep pace. However, depending on the product and number of available options, OEMs may not be able to leverage the traditional robot, machine vision, and motion control automation technologies they used in the past to be successful.
For example, as manufacturers increasingly adopt mass customization and endorse personalization in production, they must account for increased variance in their production environment. Quality inspection routines for these variations are called “programs” or “recipes” by machine vision system designers. A traditional machine vision recipe includes multiple algorithms conducted in a specific sequence in order to extract useful information from images. The traditional machine vision algorithms define defects by mathematical values and logical rules. Using traditional algorithms, creating an inspection routine that is both accurate and reliable—free from extensive false-negative rates (resulting in unnecessary waste) or a false-positive result (allowing defective product to reach customers)—for one product can take hours to days depending on the product and skill level of the programmer. Now, multiply that time requirement by 100, or 200 product variants.
Furthermore, defining complex assemblies and shapes solely by mathematic values results in a rigid rule set that isn’t the best solution for many modern product lines. If the system is designed to inspect electronic connectors to verify that all pins are present, for example, changing lighting conditions could make it appear as if one pin were crooked or missing and the vision system could fail the entire connector. If the connector were a critical component in a system, requiring the OEM to catch 100% of defective connectors regardless of waste, the manufacturer could scrap 10%, 20% or 30% of its production to meet customer specifications. Based on this example, it’s clear that manufacturers require not just automated inspection systems but flexible inspection technology that can adapt as product, processes, and environmental conditions change.
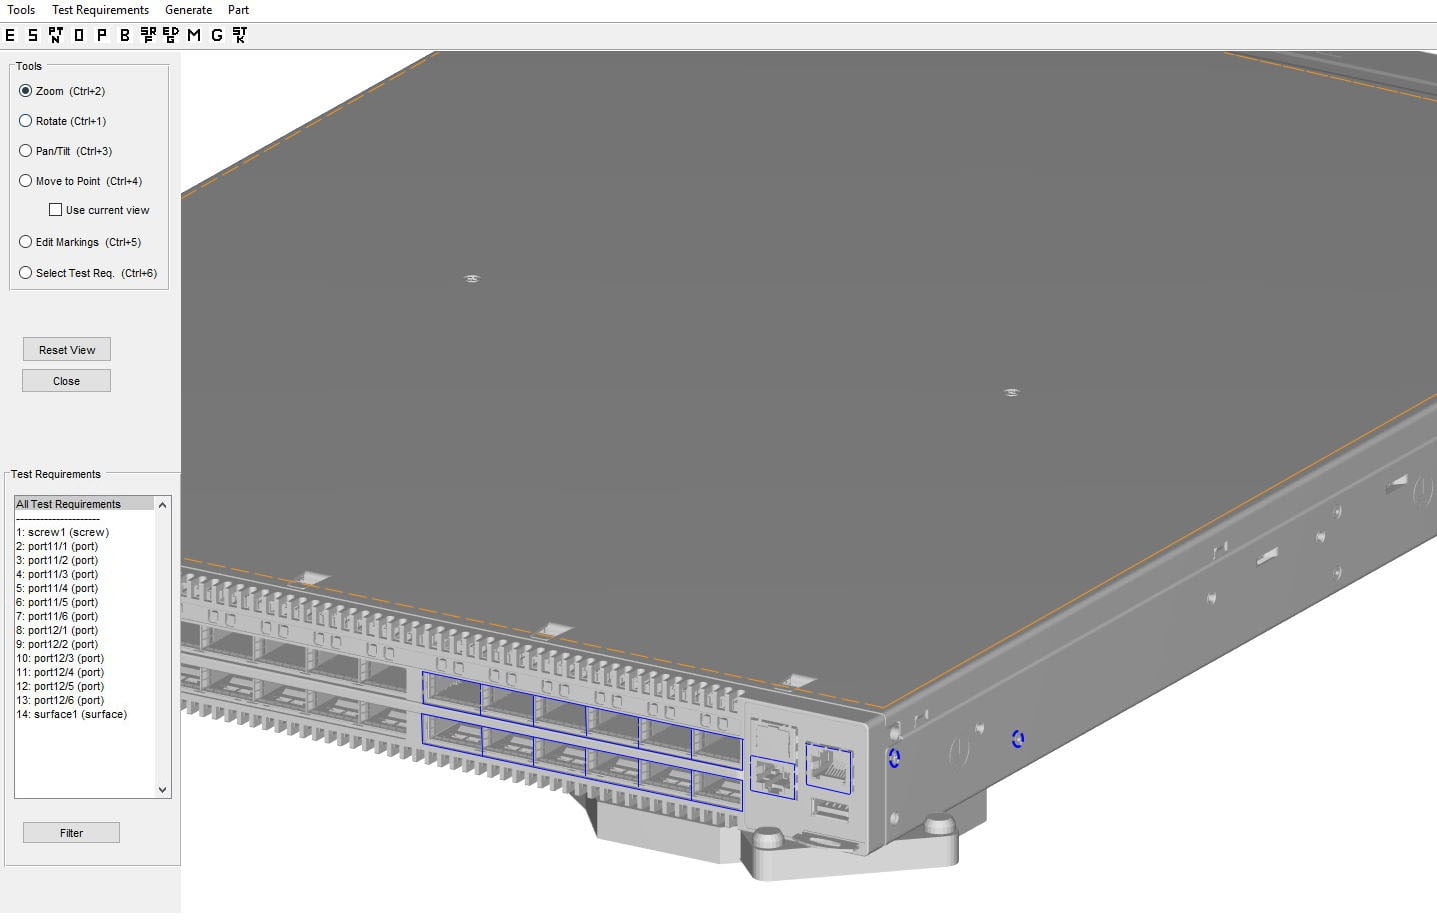
Bent pins inside computer I/O ports are one of the most common reasons for defective electronic products to be returned to the manufacturer. However, inspecting fine wires at the bottom of cavities with reliability and accuracy requires a 3D inspection system, often with additional capabilities such as deep learning defect analysis. This programming interface begins with the system designer loading a CAD file (shown here), or “golden part” image. The designer can then draw regions of interest around important inspection points. Advanced hybrid inspection solutions evaluate each region on the product to determine the right combination of traditional and deep learning algorithms for inspecting each region. Source: Kitov
The Power of AI & Deep Learning
Deep learning image processing software is one of the newest tools available for analyzing highly variable data sets. Deep learning learns what is good or bad similar to the way a child learns to distinguish between the two. The system is shown a series of images of “good” and “bad” parts as determined by an expert. In the case of manufacturing, the expert can be an engineer or a machine operator who is well versed in the operation and potential defects generated by their production equipment. Deep learning software statistically analyzes the images for features and relationships between features and creates a weighted table or neural net that defines what makes a good or bad part.
While this approach sounds simple, deep learning “training” requires intensive computational analysis. During the operational or inference phase, the system uses considerably less computational power to apply what it learned during the training phase as part of an automated assembly line inspection solution. The lower computational needs for the inference step is good news for OEMs that demand real-time, inline inspection but cannot leverage the power of remote server farms due to delays in data communication. These OEMs depend instead on less powerful local PCs and embedded computational systems to meet inspection speed and production throughput requirements.
To simplify the training phase of a deep learning solution, AI solution providers typically supply partially trained neural networks (NNs) designed for a unique purpose, such as inspecting characters in optical character recognition (OCR), reading damaged or distorted bar codes, or even automatically inspecting lung X-rays. Suppliers of deep learning machine software offer additional NNs for 3D parts, enabling AI/DL to identify random scratches on cell-phone cases, for example, or missing components on a printed circuit board (PCB) where every component can look surprisingly different depending on insertion angle, location on the board, lighting effects, and other conditions.
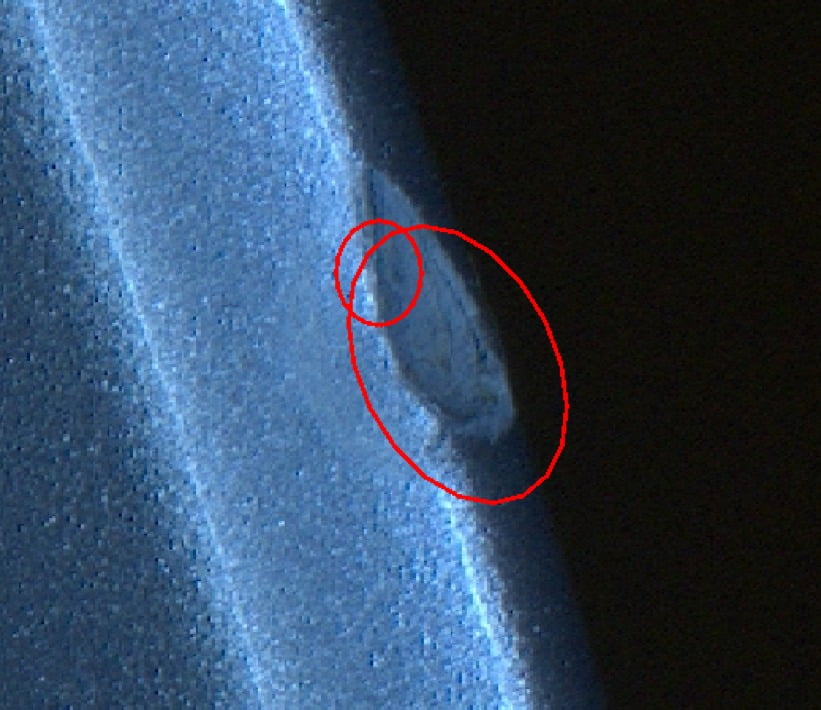
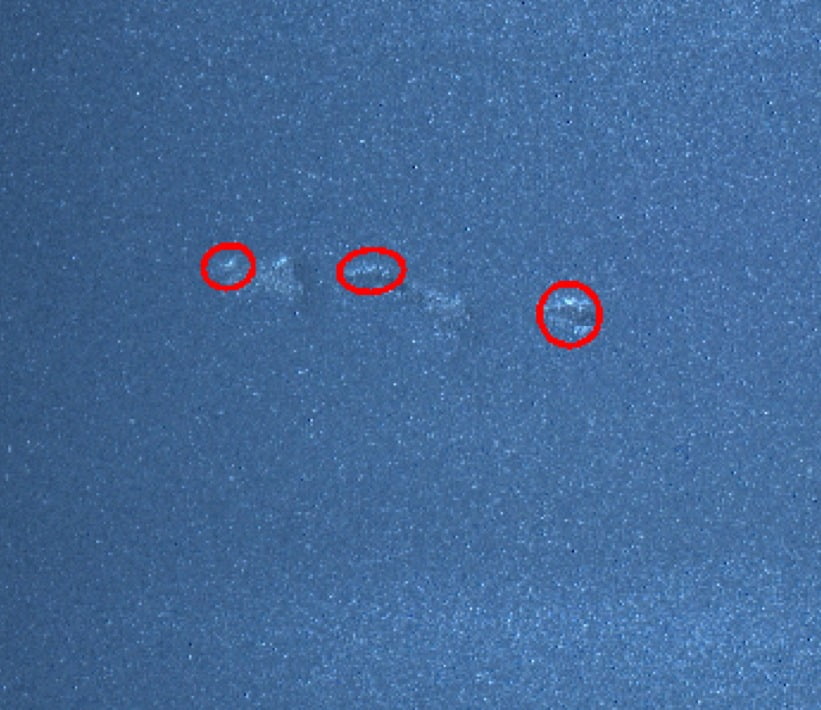
The defects are from inspection of Wheel/RIM from Automotive. The two defects are compared to a picture of same area of a golden, defect-free product (Marked in green).
On the left side, you can see scratches on the side wall of the wheel. On the right side you can see dent on the edge of the wheel, which is difficult to find by other inspection solutions.


GOLDEN
GOLDEN
INSPECTED
INSPECTED
A Hybrid Approach to Deep Learning Inspection
Inspecting finished, multi-component products and assemblies such as electronic equipment, medical kits, automotive parts and other highly variable products are among the most challenging—and most requested—machine vision applications. As stated earlier, attempting to solve this automated quality assurance system using traditional algorithms would be impossible without unacceptably high false-negative rates or false positives. Using deep learning software only to solve the problem would require the system designer to train the system to recognize every component in the assembly and then combine the components into a single assembly for the final quality inspection step. Even in this case, achieving acceptable levels of false negatives without allowing too many defective products to escape the quality check can be difficult even for experienced vision system designers.
By combining the best capabilities of traditional machine vision algorithms with deep learning capabilities, the system designer can inspect complex assemblies and continually adapt to changing conditions—essentially enabling the system to learn what makes a good part and bad part during production runs—not just during the training phase of system development, placing automated continuous improvement of industrial processes within reach.
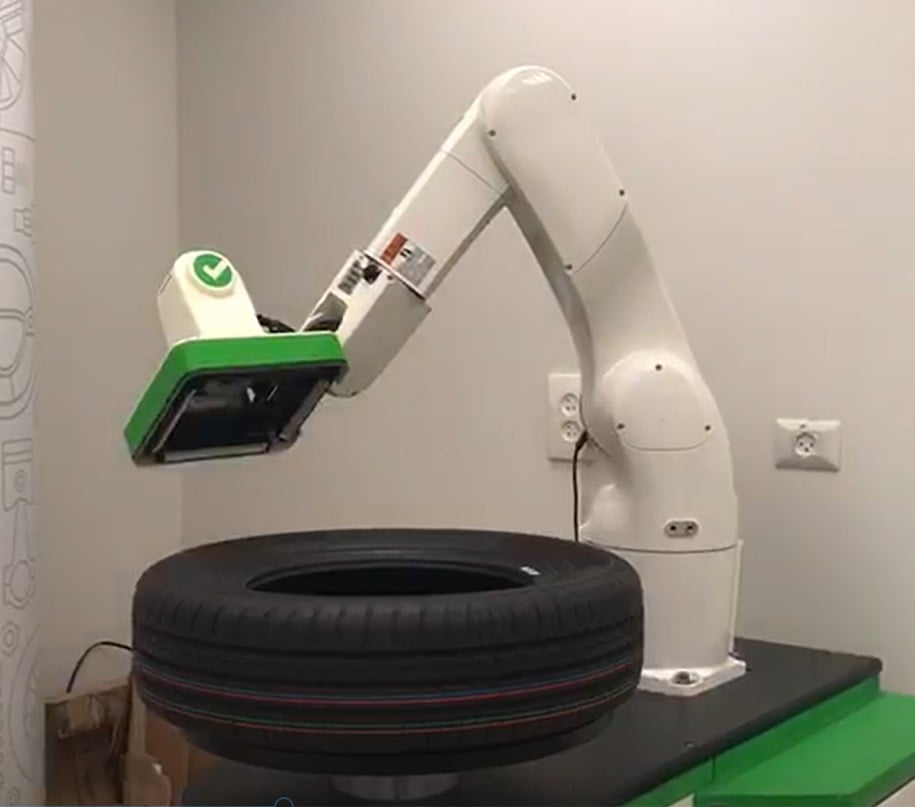
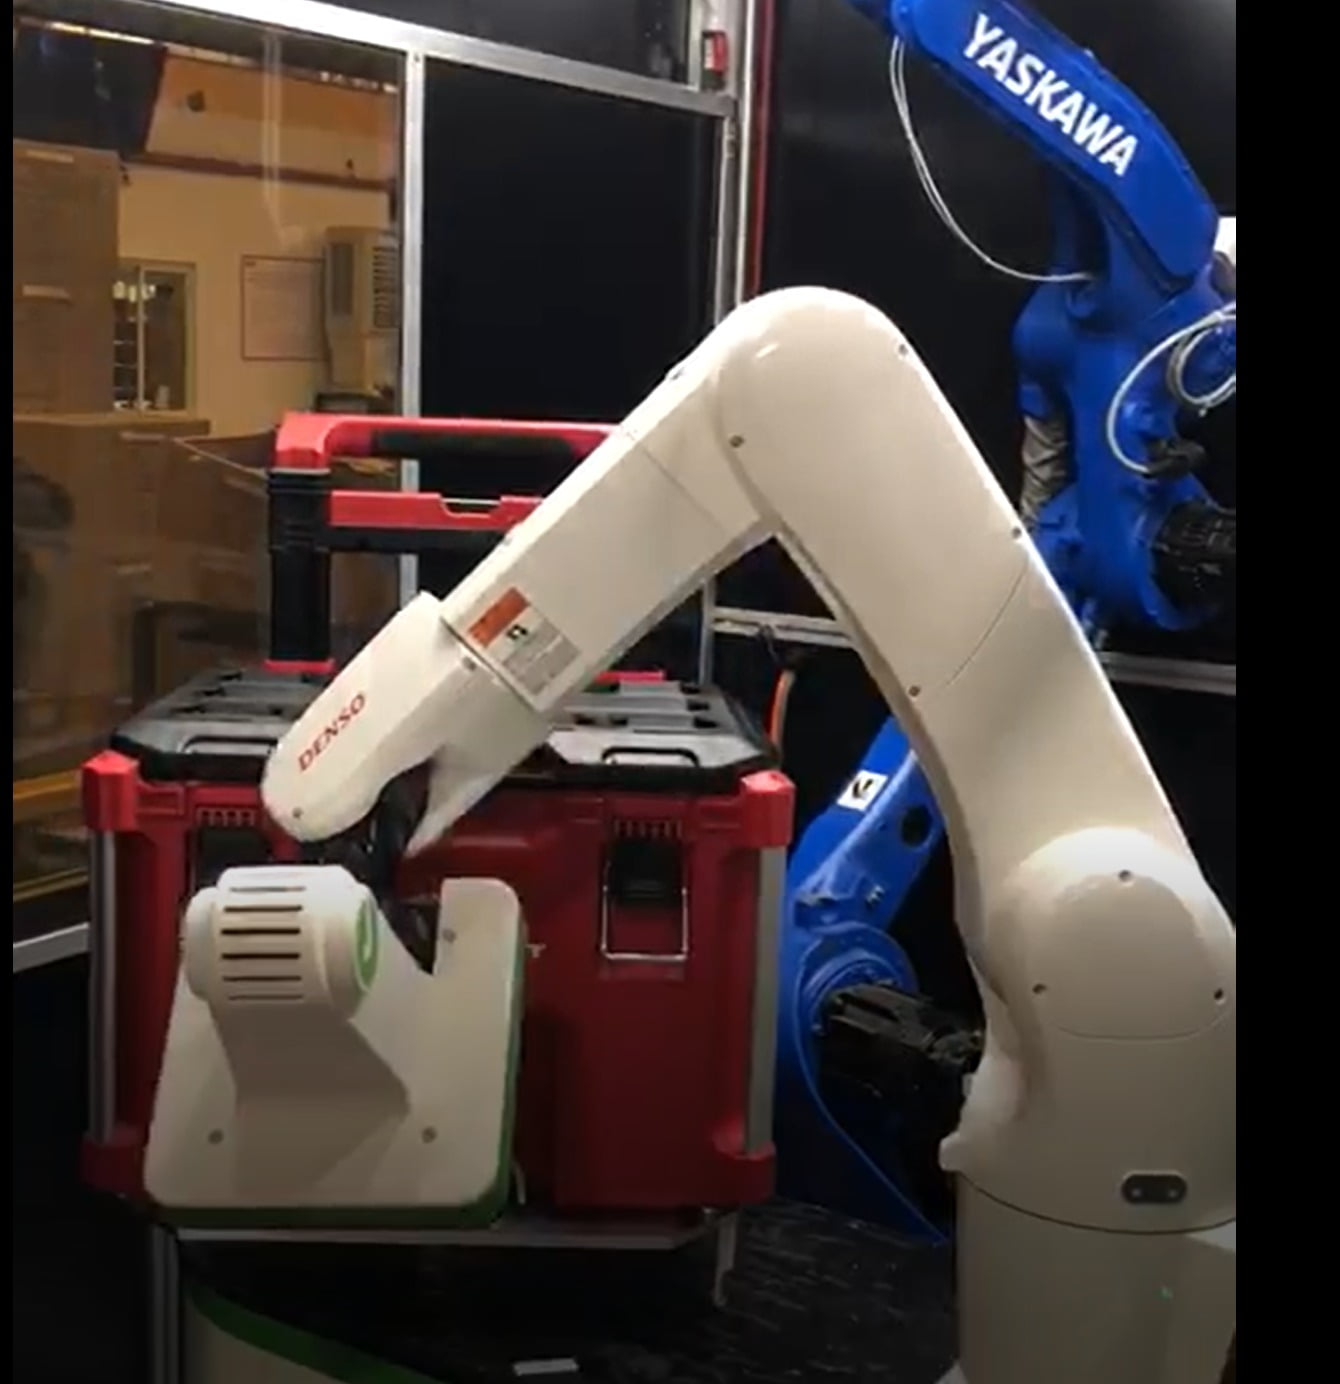
Inspection of a plastic toolbox. Source: Kitov
Inspection of a tire. Source: Kitov
Hybrid Deep Learning Eliminates Hundreds of Thousands of Dollars in Waste
To illustrate the challenges facing OEMs of high-mix manufacturing, consider the challenge faced by one of the world’s largest makers of end-to-end communication solutions, storage, and hyper-converged infrastructure. The company produces hundreds of products, some with hundreds of variations, including a portfolio of high-mix products manufactured by several different contract manufacturers located around the world, posing a unique challenge to provide consistent quality assurance.
The company had been using manual inspectors to review the final switches prior to shipping. However, one of the contract manufacturers shipped a large batch of new product that wasn’t discovered to be defective until the switches were fully installed. The cost implication of this quality crisis was significant, exceeding several hundred thousand dollars in product repacking, repair, logistics, and inventory in addition to damage to the manufacturer’s brand reputation. With this in mind, the company sought an automated solution that could replace human workers for final visual inspection with a much higher degree of precision.
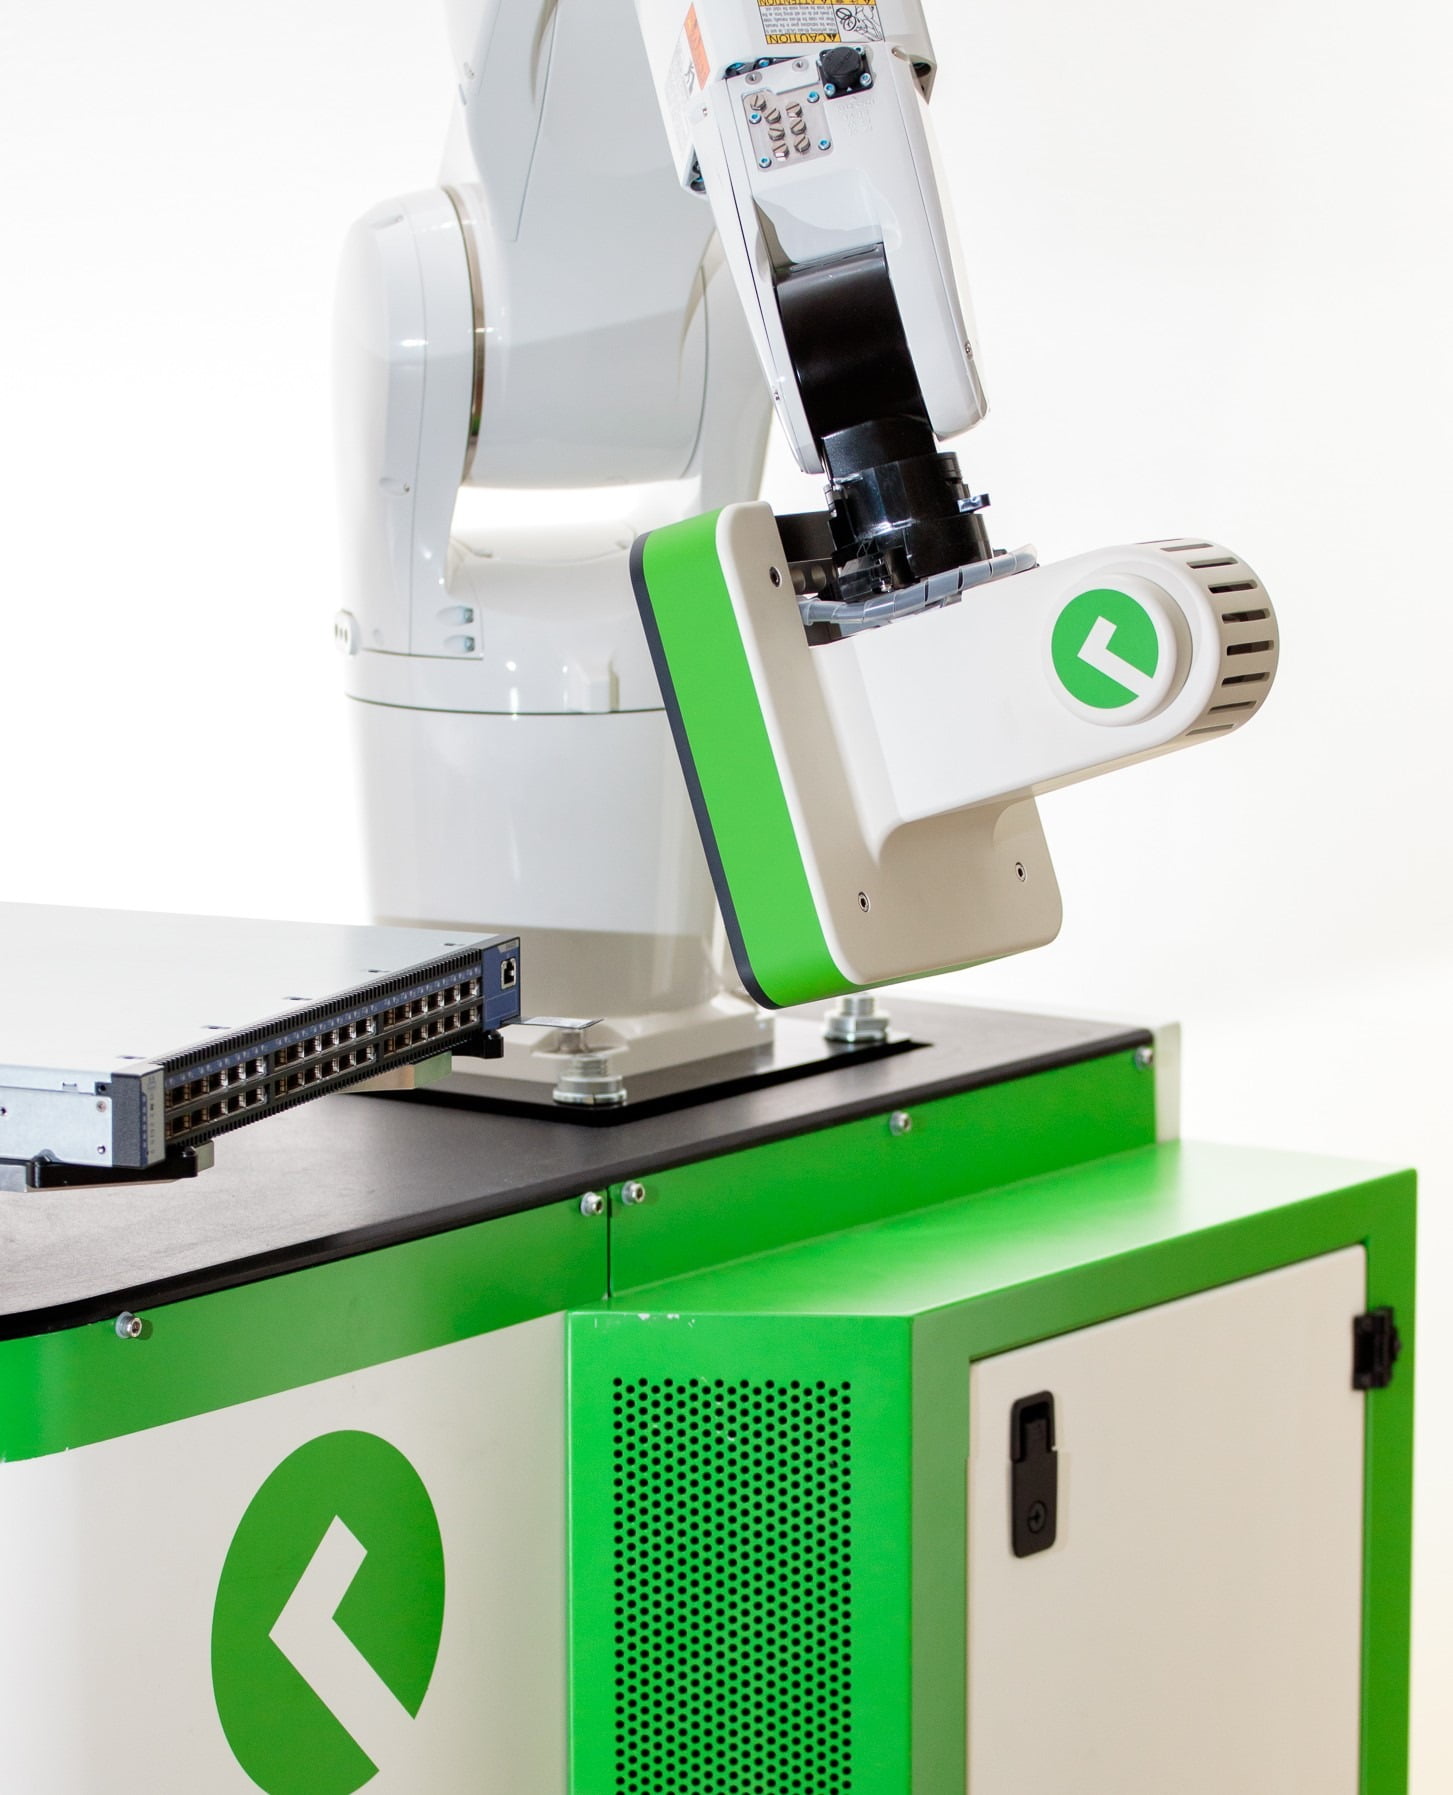
The X factor on top of the hybrid model is the fact that the inspection solution is trainable to inspect any product by a non-expert, at the customer premise. This automated training capability is achieved by mathematical algorithms that automatically “maneuver” a robot with the optical head, in the space without the need for the operator’s intervention. The algorithms dictate where to locate the camera, which illumination conditions are required (out of a set of onboard lighting elements), how many pictures to capture for each test point and how to move optimally from point to point during the inspection. All is done by the “intelligent robot planner” SW platform embedded in the smart visual inspection solution.
A traditional machine vision solution failed after six months, providing an opportunity for a hybrid 3D/AI solution from Kitov.ai. The system begins by using a single CMOS camera integrated with multiple bright-field and dark-field lighting elements in a photometric inspection configuration. Kitov.ai combines the various 2D images into a single 3D image. With the aid of proprietary technology utilizing common semantic terms (screw, port, label, bar code, surface, etc) versus complex machine vision programming language (blob, threshold, pixel, contrast, etc) , non-experts are able to modify or create new inspection plans in a very short time.
To achieve the desired levels of few false negatives, Kitov.ai then uses deep learning software to filter the potential defects discovered by the traditional machine vision 3D algorithms. As a result, the computer equipment company was able to achieve 100% ROI within months by enabling an application that wouldn’t have been possible with either traditional machine vision or deep learning techniques alone.
