Case Study
Case Study
Quality assurance at ZKW Lighting Systems had increasingly reached its limits with conventional measurement technology.
By ZEISS Industrial Quality Solutions
A Complete View:
Quality Assurance for Premium Headlights
ZKW Lighting Systems develops and manufactures innovative, high-quality lighting systems for the automobile industry. But new materials, complex designs and tight tolerances push conventional metrology to its limits. Two ZEISS METROTOM computer tomographs offer completely new possibilities. They enable nondestructive measurement and inspection and deliver in-depth results fast. That saves time during development and creates stable processes in production.
“In 200 meters take a right turn into Calwer Street.” An arror of light is now projected on the street which visually underscore the directions from the navigation system. That’s a welcome relief when you’re driving home at night after a long day, the driver thinks. Shortly thereafter, a snowflake symbol appears on the asphalt – a frost warning. “It’s a good thing I already have the winter tires on,” the driver thinks. “I’m still going to drive more slowly.” For good reason: amid the darkness, a pedestrian is suddenly seen walking on a side street toward the street where the driver is. “I have to drive more slowly anyway, so I‘ll let the person cross.” The driver presses a button and the front headlines project a zebra crossing of light on the street. This informs the pedestrian that he can now cross safely.
The drive technology in today’s cars is not only becoming smarter. Road users can literally look forward to a bright future. This is something that ZKW Lighting Systems is working on with great dedication and élan. At its main headquarters in Wieselburg in Lower Austria as well as at different sites around the world, this company produces innovative, high-quality headlights, rear lights and fog lights. Increasing safety through optimal lighting when visibility is poor and through HD projection technology, as described in the previous scenarios, is the core business of lighting-system specialist ZKW Group. Its main customers are premium producers of cars, trucks, and motorcycles, who install ZKW’s solutions into their top models. But these manufacturers place enormous demands on the quality and reliability of ZKW’s innovative lighting components.
Quality assurance at ZKW Lighting Systems had increasingly reached its limits with conventional measurement technology. Therefore, the company has two ZEISS METROTOM computer tomograph (CT) systems that provide a complete view of components: one system is in production and does inspections related to serial production; the other is in the measurement laboratory and is used to perform specialized inspections during development. The results are convincing through and through. “The possibility to do nondestructive measurement allows us to measure assembled components. This reveals insights that were impossible to obtain the past,” explains Bernhard Voglauer, manager testing system development at ZKW Lighting Systems. “And we get the results much faster, which speeds up our development time and enables us to react quicker to any instability in the process.”

Manufacturers place enormous demands on the quality and reliability of ZKW’s innovative lighting components.
Modern headlights: From light source to HD projector
Headlights and rear lights fulfill two functions. On the one hand, they’re a source of light and signaling for drivers and other road users. On the other hand, they’re a defining part of a vehicle’s visual appearance. So it’s no wonder that a lot of effort has been put into their development in the last few decades. At the same time, the complexity of the components has increased massively. “In the past, a headlight consisted of maybe 100, maximum 150, individual parts; today, it’s 300 or more,” explains Bernhard Voglauer. “Furthermore, in the past we only have one lens, today we have objectives with various lenses for the highly precise HD projection of light, which must be positioned exactly.”
In addition, new materials for optics, such as silicon, impose new demands on both production and the quality assurance. And finally, the measurement tolerances are getting tighter and tighter all the time. “There were times when we calculated to the one hundreth of a millimeter; today we’re dealing with accuracies of thousandths of a millimeter for our HD lenses,” says Bernhard Voglauer. “To achieve the desired lighting results, it’s necessary to have the correct distances and the right light axis and to avoid any tilts and turns.” Automobile drivers and other road users today already benefit from these things through such features as non-glare high-beam lights and the possibility to illuminate travel signs at night very precisely. These developments mean that ZKW Lighting Systems also needs to take a new path in terms of quality assurance. The reason is that lighting modules have become too complex and new materials like silicon too difficult to capture on a coordinate measurement system or an optical scanner.

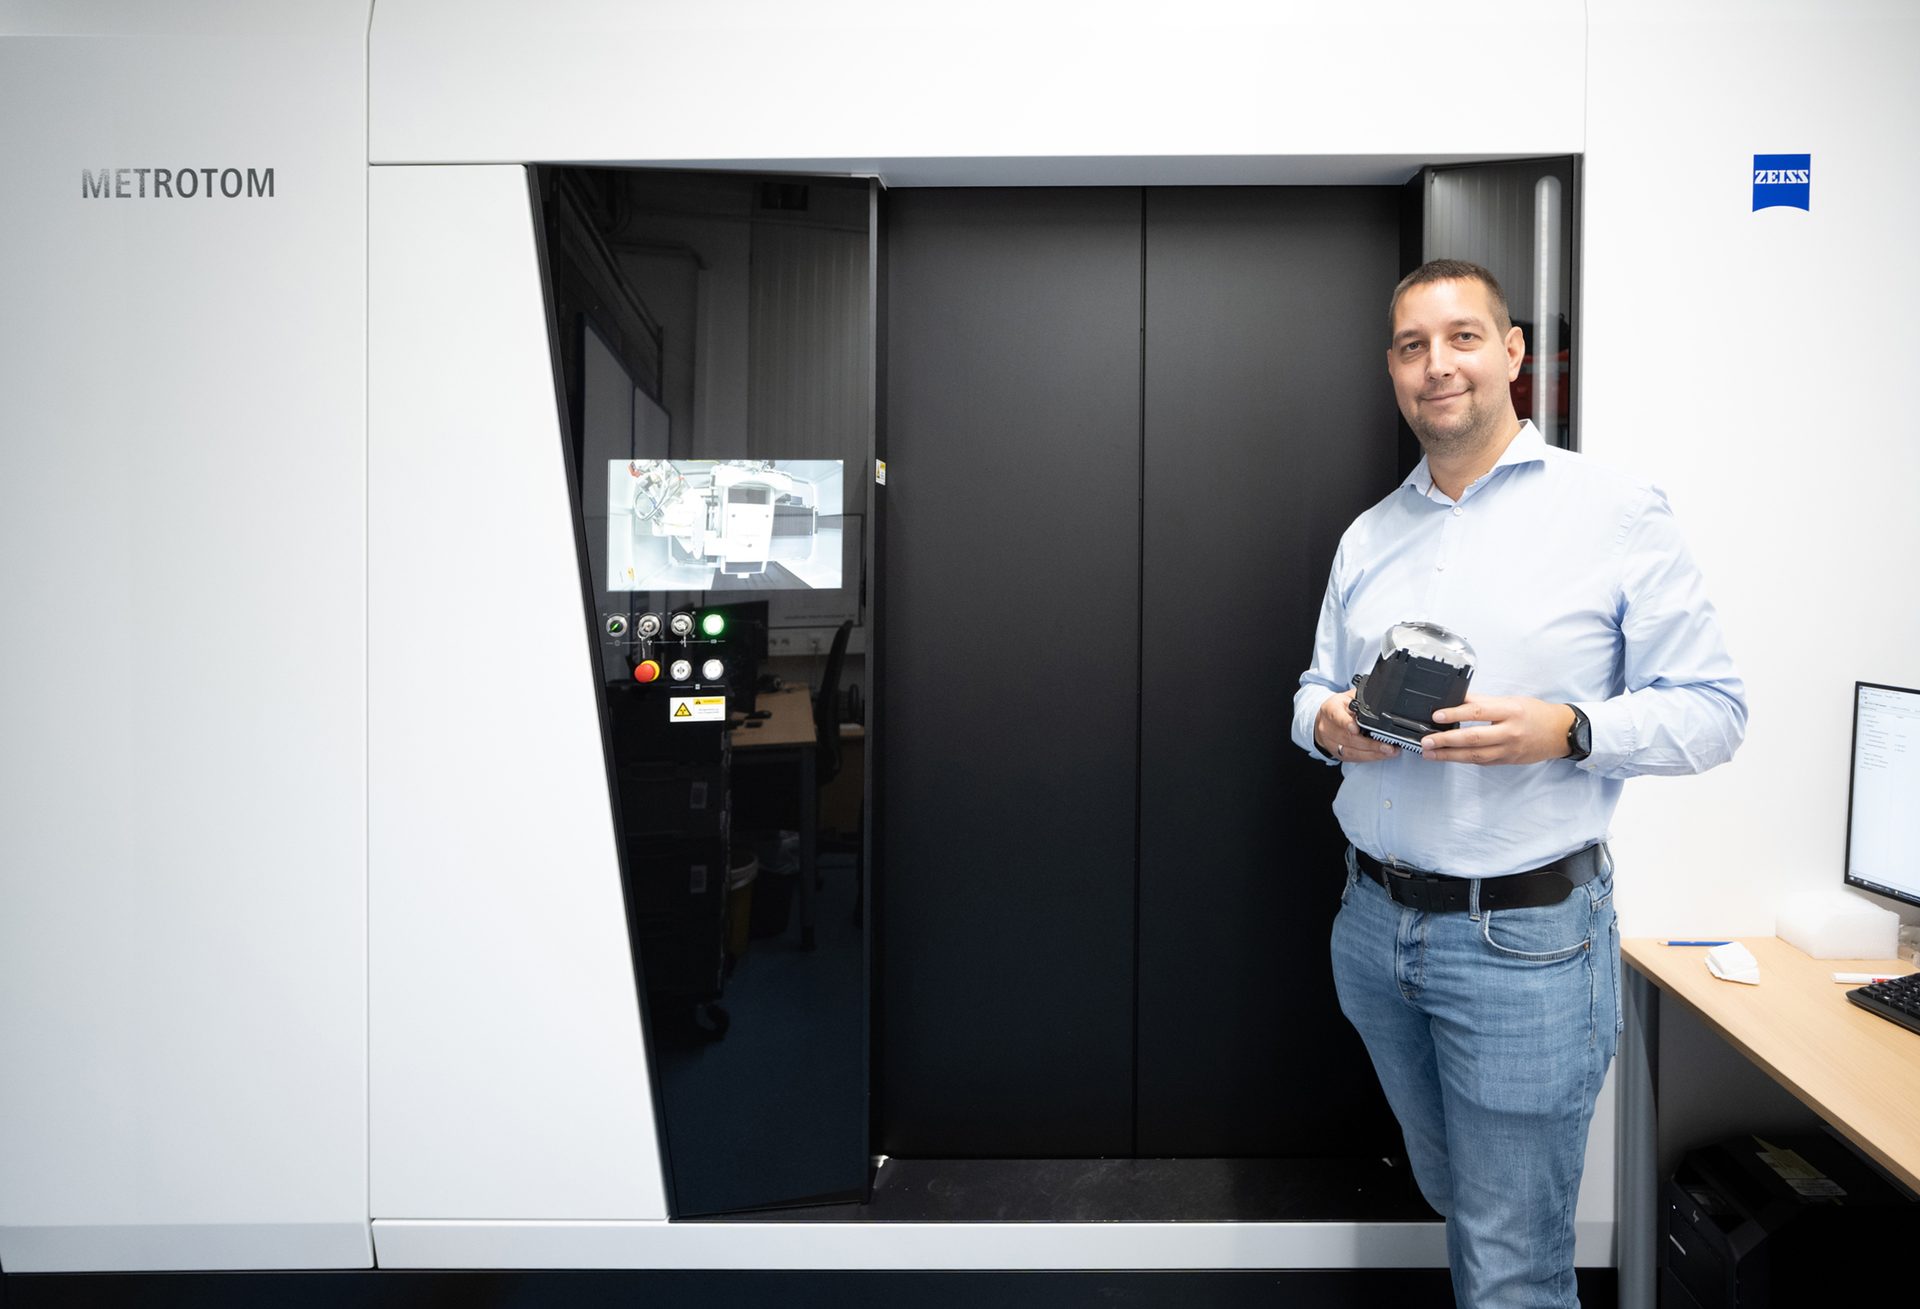
Martin Janisch, team leader in the measurement laboratory of ZKW Lighting Systems, appreciates the high performance as well as the high resolution of the ZEISS METROTOM 1500.
Some defects are visible only after part is assembled
Voglauer holds up a light module that is used in many headlights and explains how it’s been assembled. In the front of the module is the lens with a microstructure on its surface; this distributes the light to achieve homogeneous bright/dark transitions. Behind that are the lens holders and a light source with 84 light diodes. These are controlled individually by a circuit board and lead the clearly-defined light through the silicon lightguide to the lens. This is how targeted fade-out scenarios can be achieved. A metal cooling element and a fan regulate the temperature.
“An important point is this: We have to inspect our components after they’ve been assembled because otherwise certain error sources cannot even be identified,” explains Voglauer. “Our coordinate measurement machines and optical scanners can’t do that, of course.” During the validation process, ZKW pays special attention to how the light optics have been installed in order to avoid potential damage later on. For example, it once happened that some thermal stress, caused by the light diodes, led to some abrasion on the lens holder and lens. “We would have never been able to identify that if we had only inspected the individual components in a disassembled condition,” stresses Voglauer. But such insights are critically important as they enable ZKW Lighting Systems to ensure stable production processes and deliver the premium quality their customers expect.

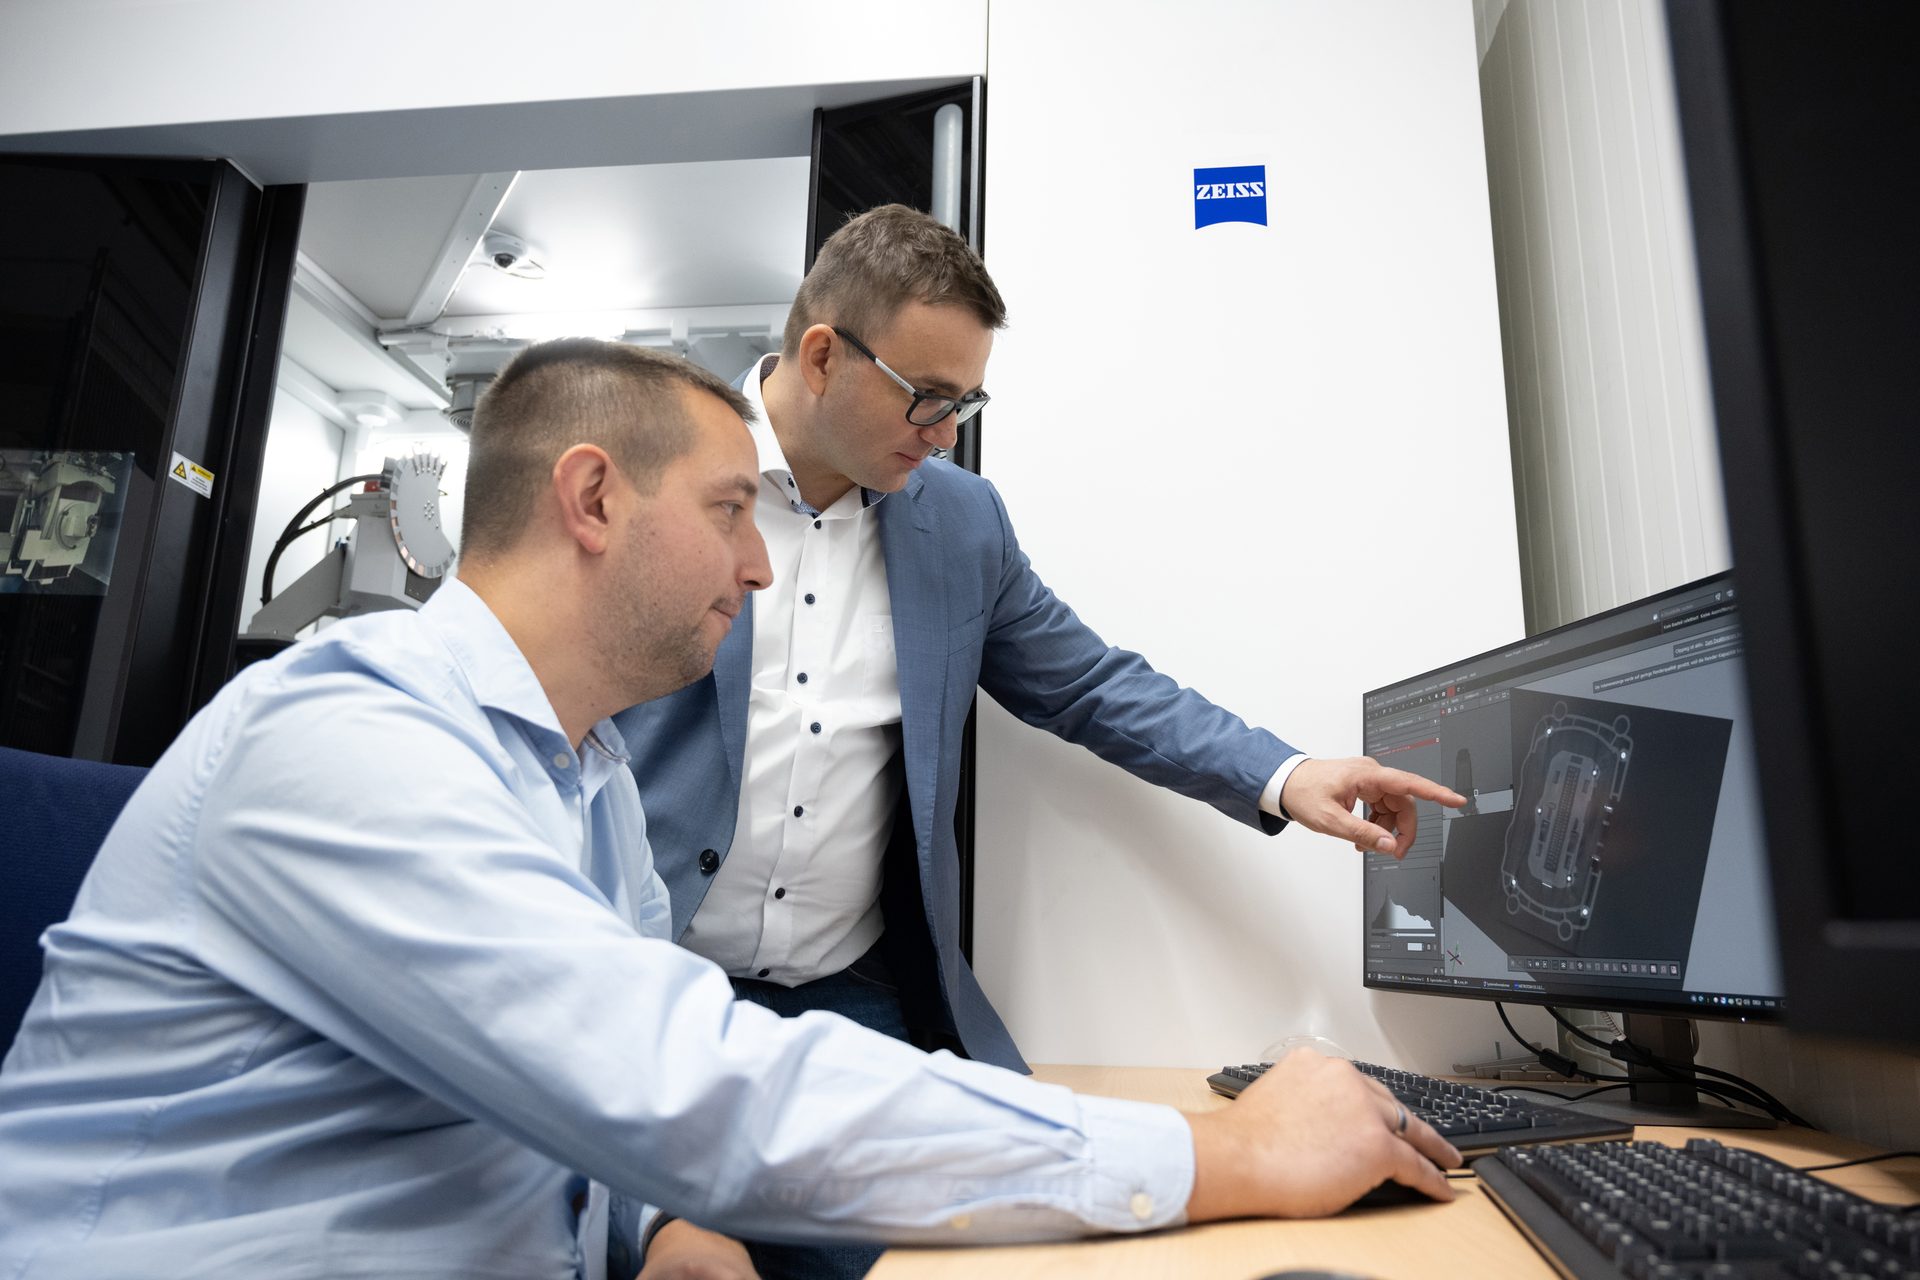
Bernhard Voglauer and Martin Janisch fine-tuning an X-ray scan with ZEISS METROTOM OS.
ZEISS METROTOM reveals the hidden
The measurement lab at ZKW Lighting Systems therefore uses the industrial computer tomograph ZEISS METROTOM 1500, alongside various coordinate measurement machines and an automated optical measurement system. A ZEISS METROTOM 800 is also on the shop floor. ZKW has relied on X-ray technology for a long time to inspect and measure assembled modules or entire headlights, but this was always done by an external inspection laboratory. “But we had a lead time of around three to four weeks,” explains Voglauer. “This of course was much too long and didn’t fit our idea of efficiency. With our own devices, the final results are available much, much faster, which saves us valuable time in development and allows us to react much faster. That in turn lowers our costs in production.”
A high performance of 500 watts and a high resolution thanks to the 3K detector (in the case of the ZEISS METROTOM 1500) guarantee fast results and a clear view. Even when faced with a complex design with different types of materials, such as copper, aluminum, or different types of plastic with different thicknesses, the computer tomographs can handle it all. “We can do everything very well thanks on the one hand to the different filters and light settings. And on the other hand, a lot can still be done in post-processing too,” explains Martin Janisch, team leader in the measurement laboratory of ZKW Lighting Systems. “Whether correcting artefacts or correcting scattered rays, the software offers numerous possibilities to prepare the result in an optimal way.” The high performance of the CT systems also enables ZKW Lighting Systems to scan more than 20 parts at once, in addition to scanning entire headlights — an important advantage.
Convincing package of powerful hardware and intuitive software
In addition to the powerful hardware, the software was another important criterion in deciding for the ZEISS METROTOM. The analysis of the results is done in GOM Volume Inspect. The employees of ZKW Lighting Systems were already using the GOM ATOS ScanBox, an optical measurement device. ZEISS PiWeb is used for recording all results. “This seamless interplay between the hardware and software was a huge factor for us because GOM software is very user-friendly and it offers a visually clear interface with functionalities that are intuitive and easy to find,” stresses Janisch. “For us that means a substantially lower training effort. It’s always been easy to use and we never have any problems.”
Voglauer confirms that: “This focus on good, intuitive usability and the fact that the hardware and software work together so well were the key factors in our deciding for ZEISS.” In the software itself, ZKW Lighting Systems takes advantage of the possibility to do visual volume inspection in order to mainly inspect the assembly of the components. 3D volume and 2D cross-sections show whether the silicon lightguide is in the right place. The measurement-technical inspection of the components, including the verification of form and position, are also done completely in GOM Volume Inspect. Fly-through videos of the interior of the component and PDF measurement reports are regularly shared with the colleagues from tool development so they can jointly determine the required optimizations. All inspection results from the measurement laboratory are fed into ZEISS PiWeb and then integrated into all systems.
Reliability in delivery, the service, and the strong operation of the systems were also important factors for ZKW Lighting Systems: “We have had so many good experiences with ZEISS in the past – they’re a competent partner that offers great service. You can always rely on them to fulfill every promise they make,” says Voglauer. ZEISS therefore remains a firm partner for ZKW Lighting Systems when the task at hand is to illuminate the way into the future – with high definition and glare-free.
