Form measurement.
By Chris Koehn
Beyond the Basics
Air Gaging
Measurement
In this article, I wanted to go beyond the simple go/no go measurements that most air gaging is used for. Air gaging is a highly effective and efficient way for measuring these simple diameter requirements. It is also extremely repeatable on tight tolerances, but for this article, I wanted to focus on using air gaging to measure form requirements such as roundness, flatness, perpendicularity/squareness, taper, straightness, matching, and others.
So, let us dive into how air gaging can be used to measure some of these other form requirements. Before I get into how specifically these gages are designed and work, I should state that a lot of these form dimensions are reliant on the display unit or operator to keep track of the MAX and MIN and then the delta of MAX-MIN. A lot of the more modern display units will keep track of this for you, making these calculations quite simple to achieve. As an example: Roundness would require you to know the MAX and the MIN value and do simple math of MAX-MIN to achieve your roundness dimension. As stated above, the display unit can keep track of this for you or the operator can watch on the screen and visually see the MAX and the MIN and do the math in their head.
We will start with how to calculate roundness. The great thing about this requirement is that it requires no special equipment besides the air probe or ring that you are already using to check the diameter. It simply requires you to rotate the part or gage 180 degrees and either have the device or the operator keep track of the MAX and the MIN and MAX-MIN for your roundness calculation. I should state that this works best on a standard 2-jet gage. If you have more jets than that, you are going to average the roundness and underreport the actual deviation. The reason for rotating 180 degrees is because with a 2-jet gage, it is averaging in that one plane and once you have rotated 180 degrees, you are simply measuring the same thing a second time.
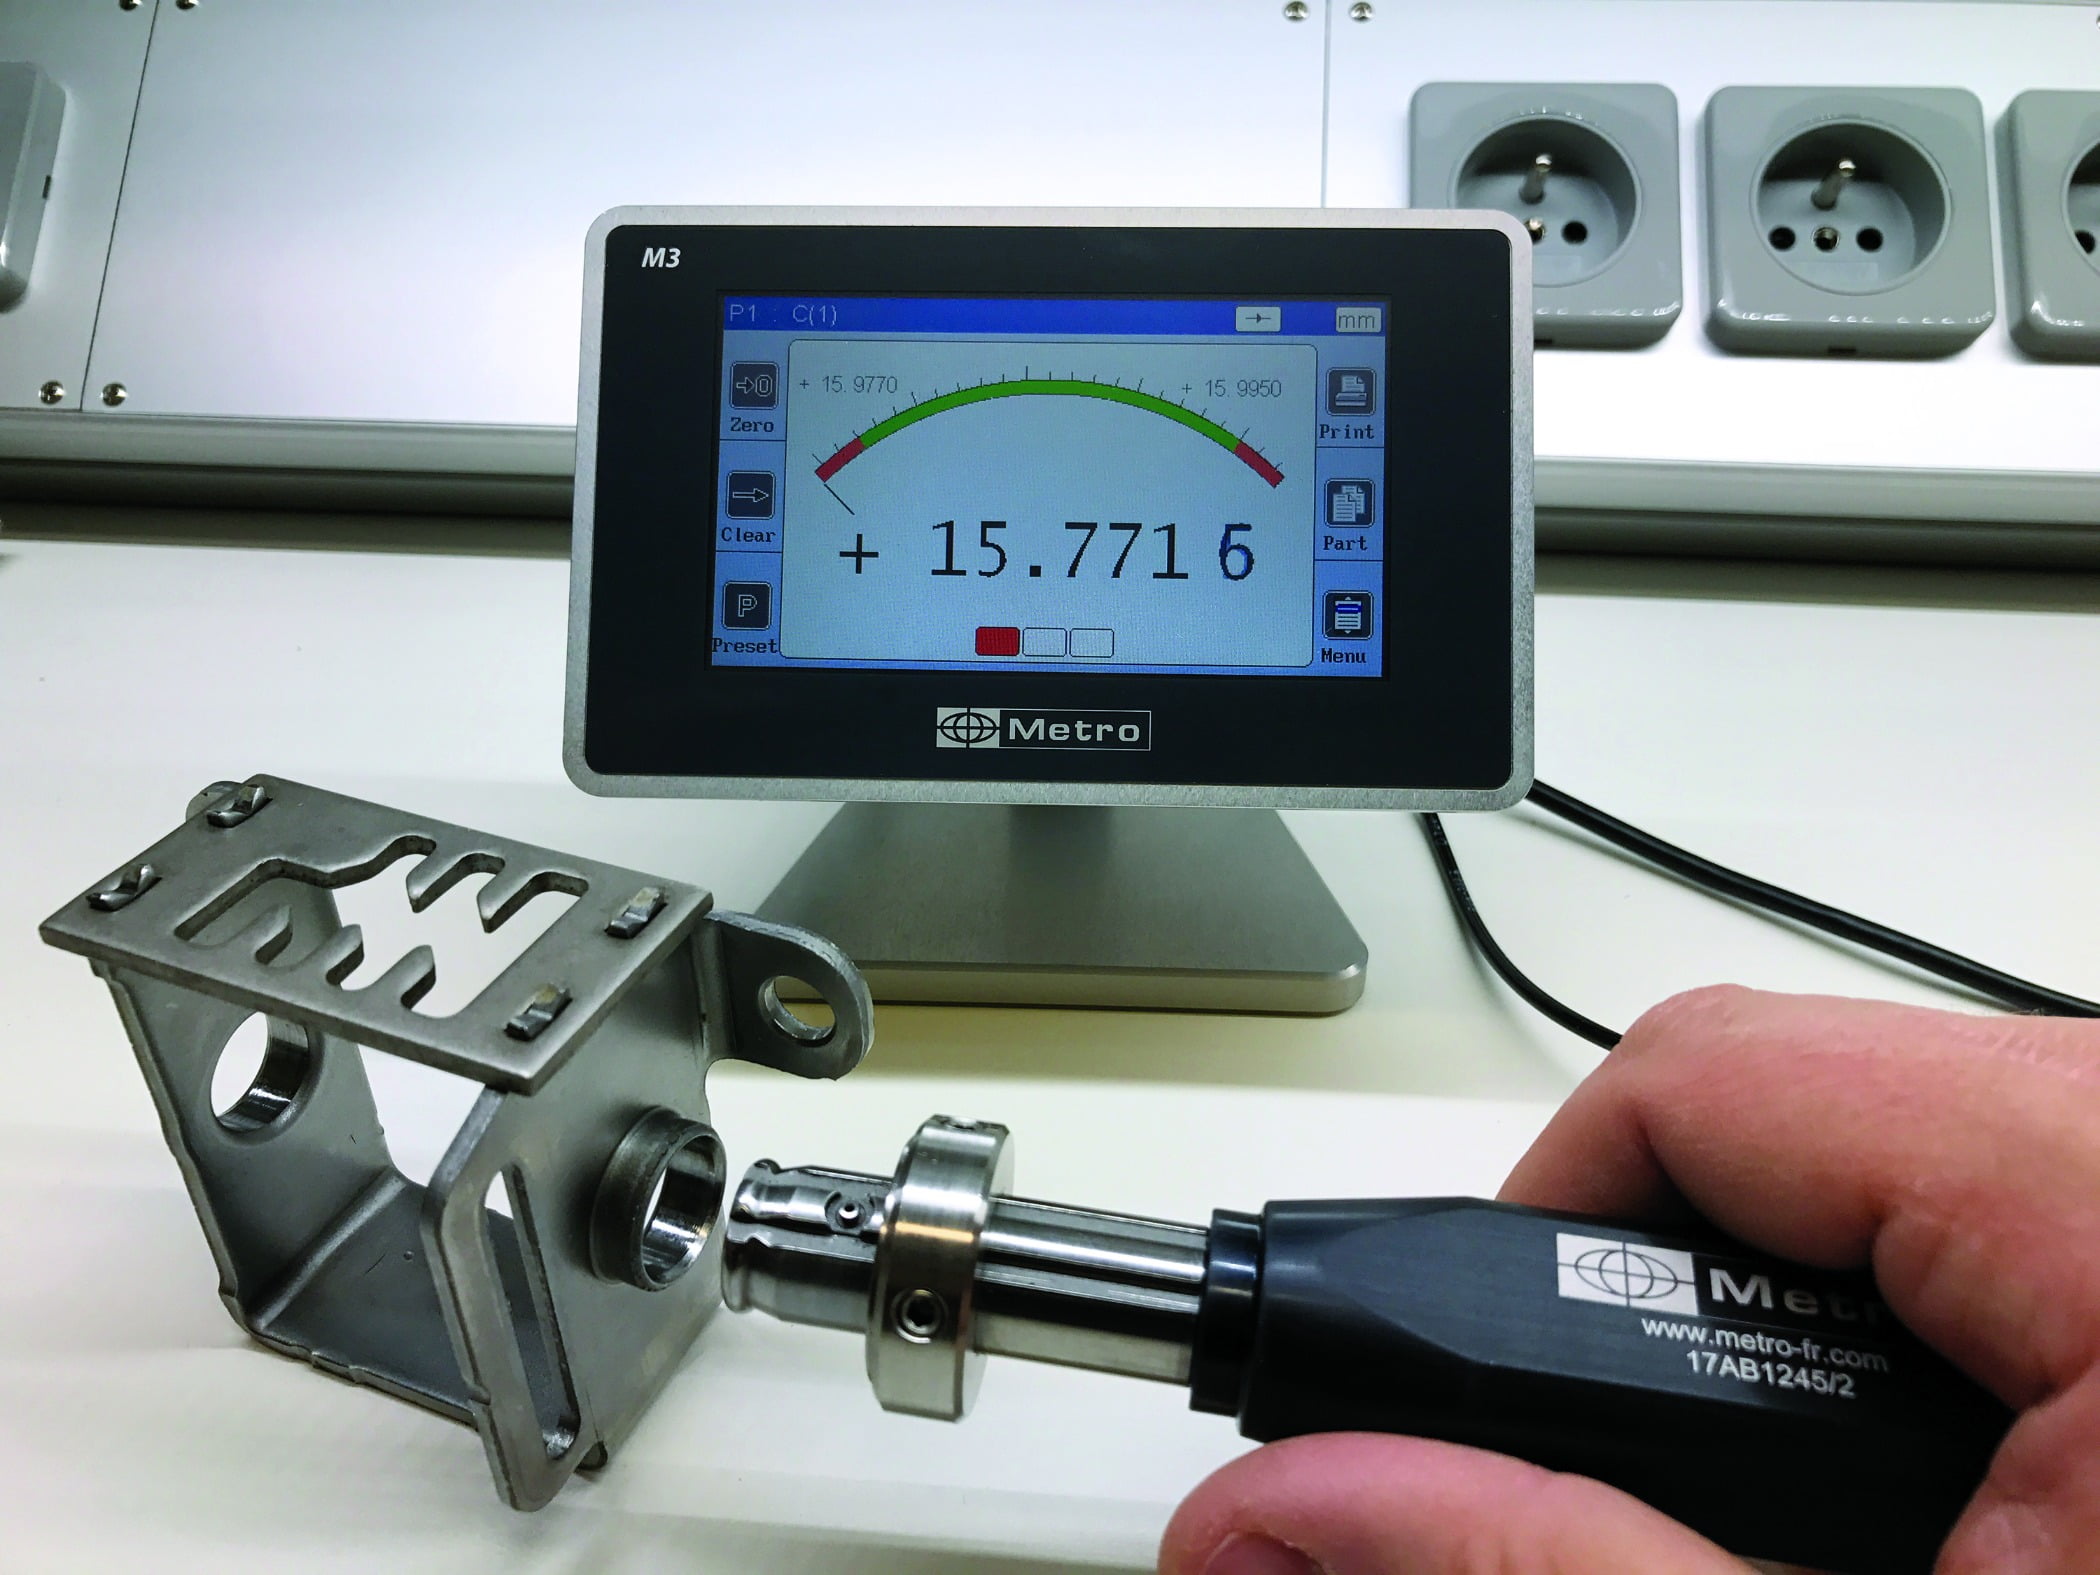
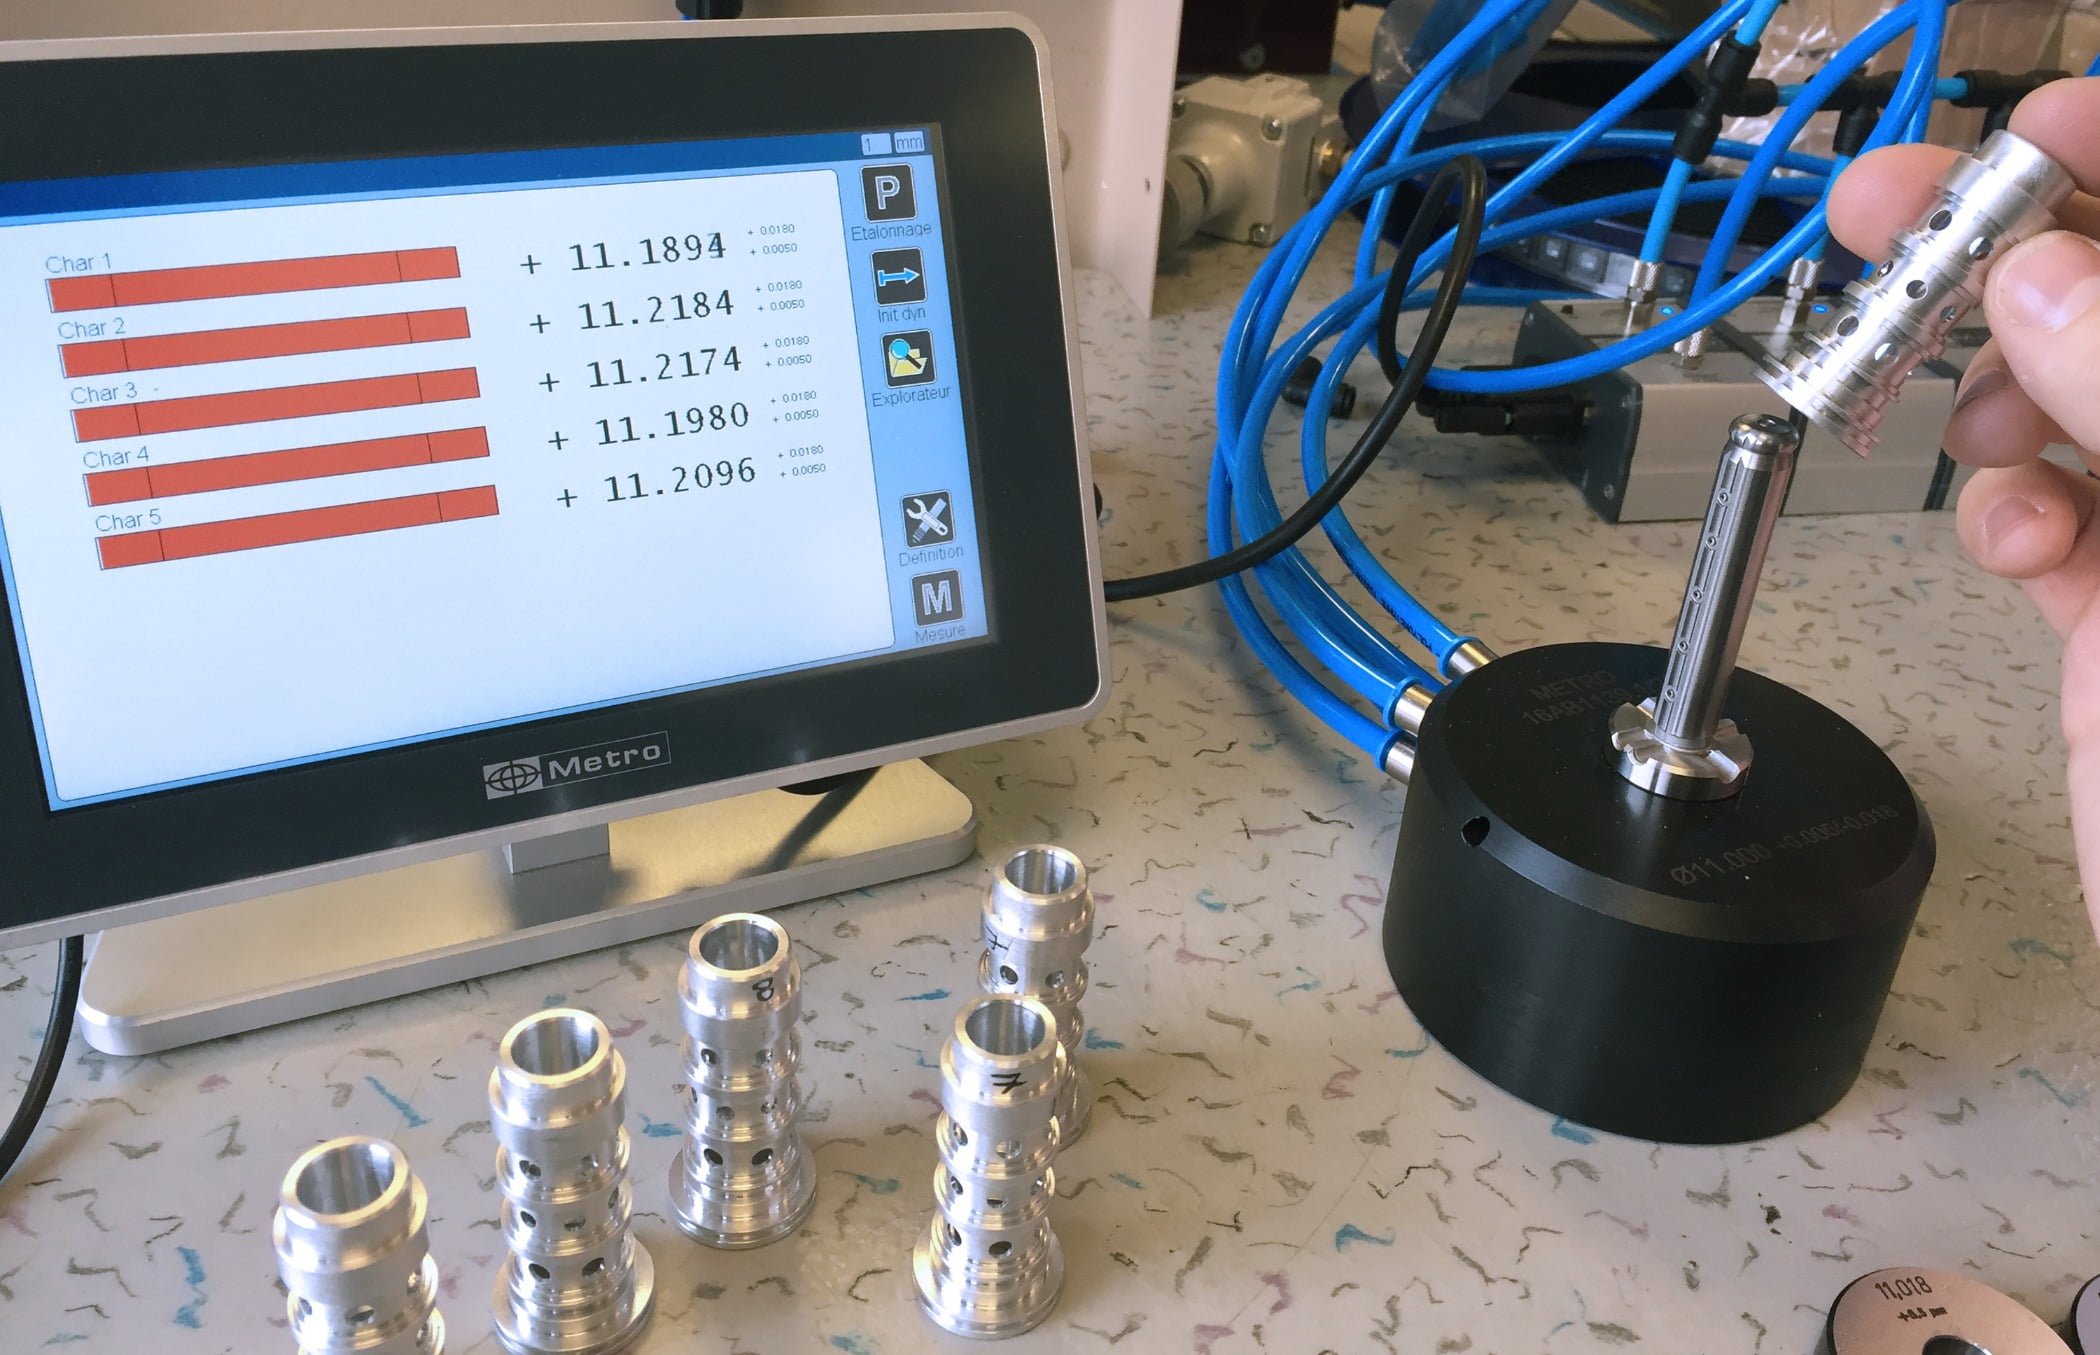
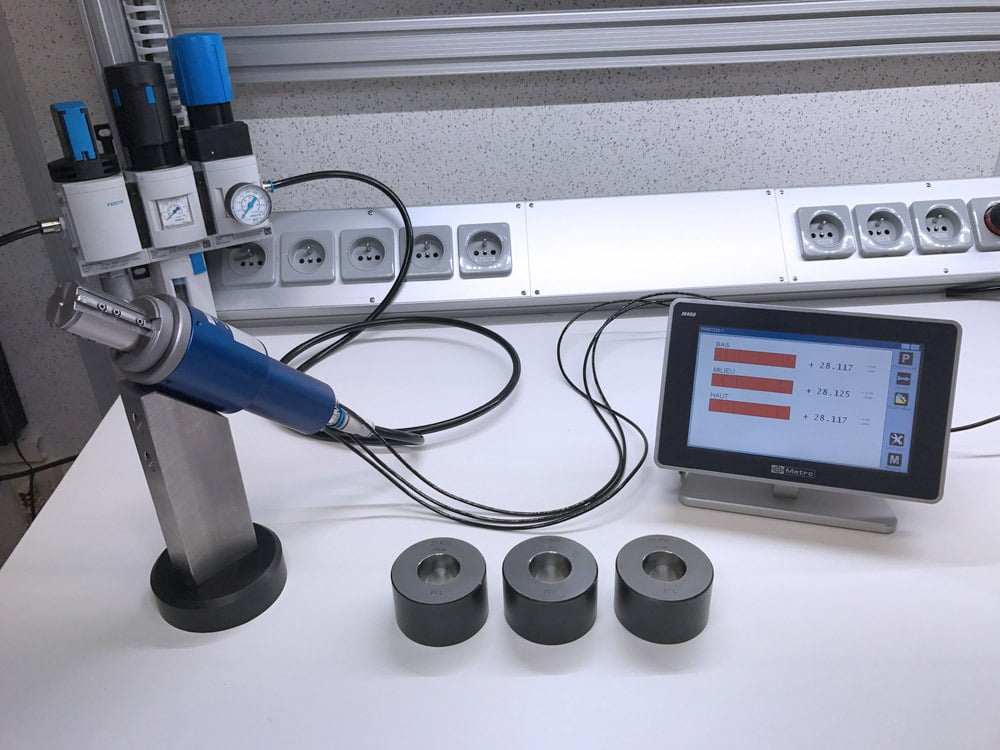
Flatness is achieved by using just a single air jet built into a granite or steel surface plate. You simply slide the part over the air jet from one end to the other. Again, you must keep track of the MAX and MIN and the MAX-MIN to determine the flatness of the part.
Perpendicularity/Squareness is calculated by using two air jets that are at different heights 180 degrees apart and have a perpendicular stop to rest the part on. One of the air jets will be towards the top of the part and the other will be near the bottom of the part. You would rotate the part or the gage, whichever is easier, and keep track of the MAX-MIN to determine the squareness.
Measuring the taper on a part is accomplished by having at least two separate levels of air jets. There would be one level on the top of the part and another separate set of jets on the bottom of the taper. The two diameter sizes are reported and by inputting the distance between the two levels, the display unit can calculate the degrees, minutes, seconds of the taper using trigonometry calculations. With higher-level display units, you can also calculate the diameter at the face or finding the location on the taper where a certain diameter size is at.
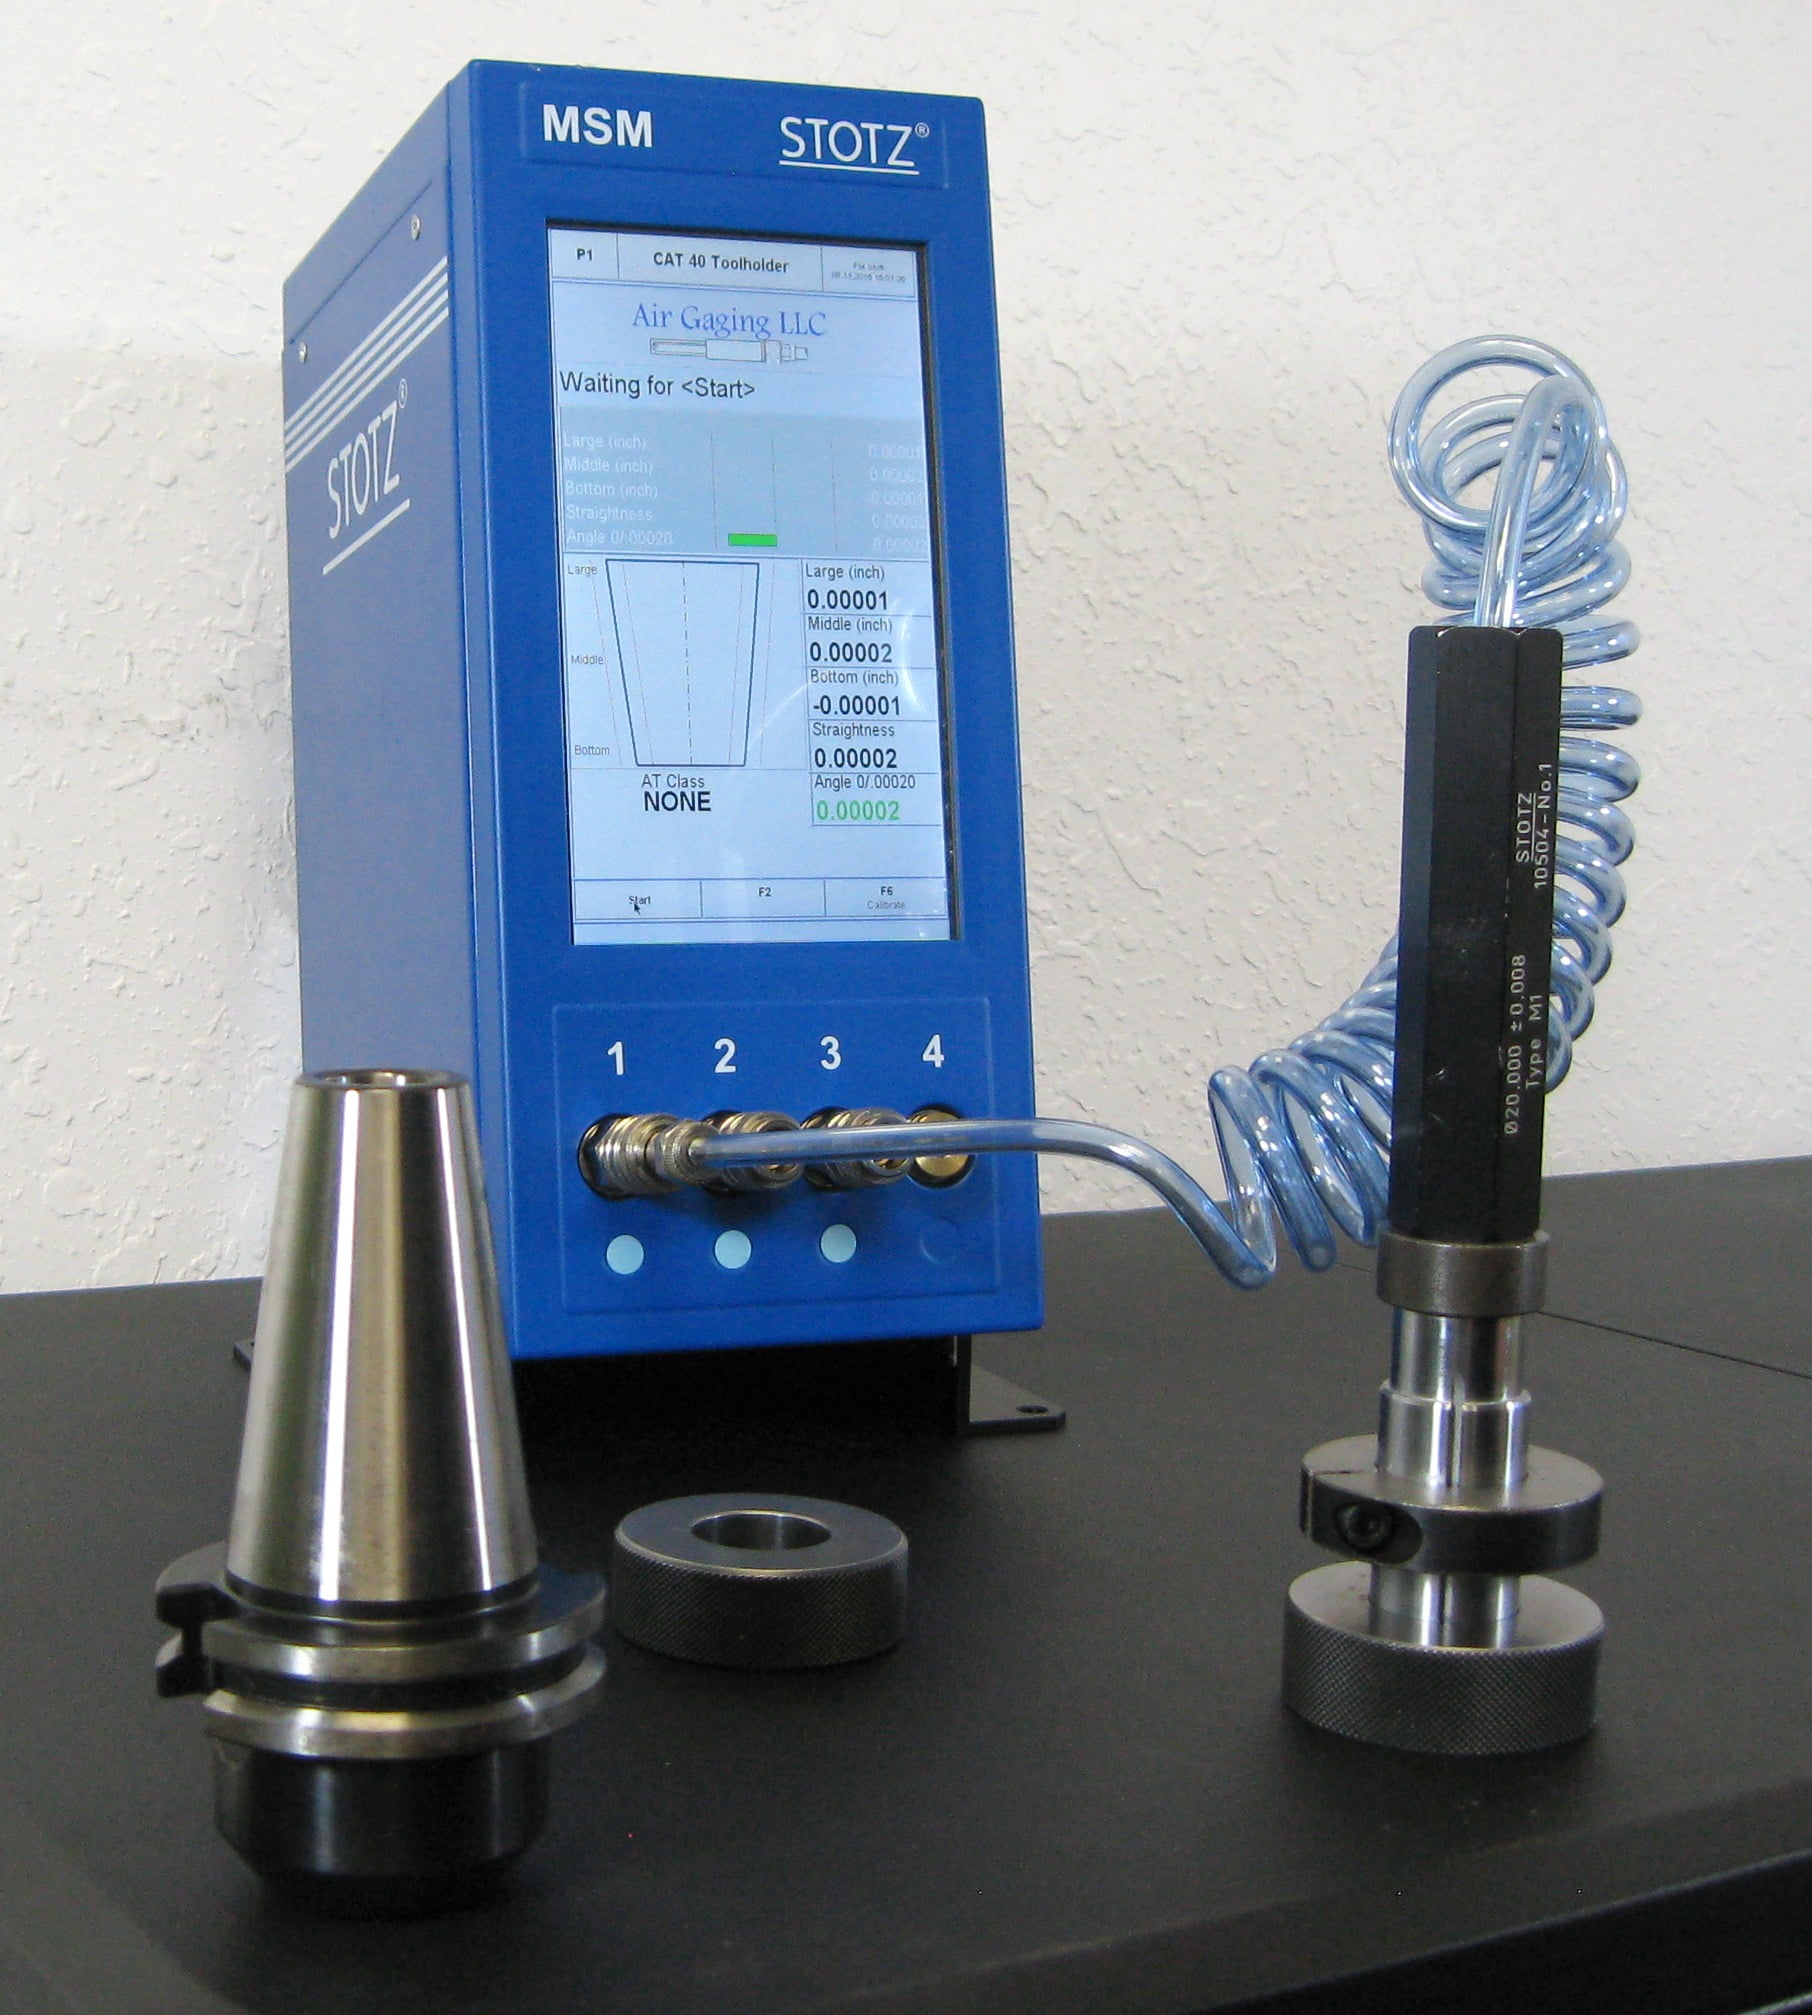
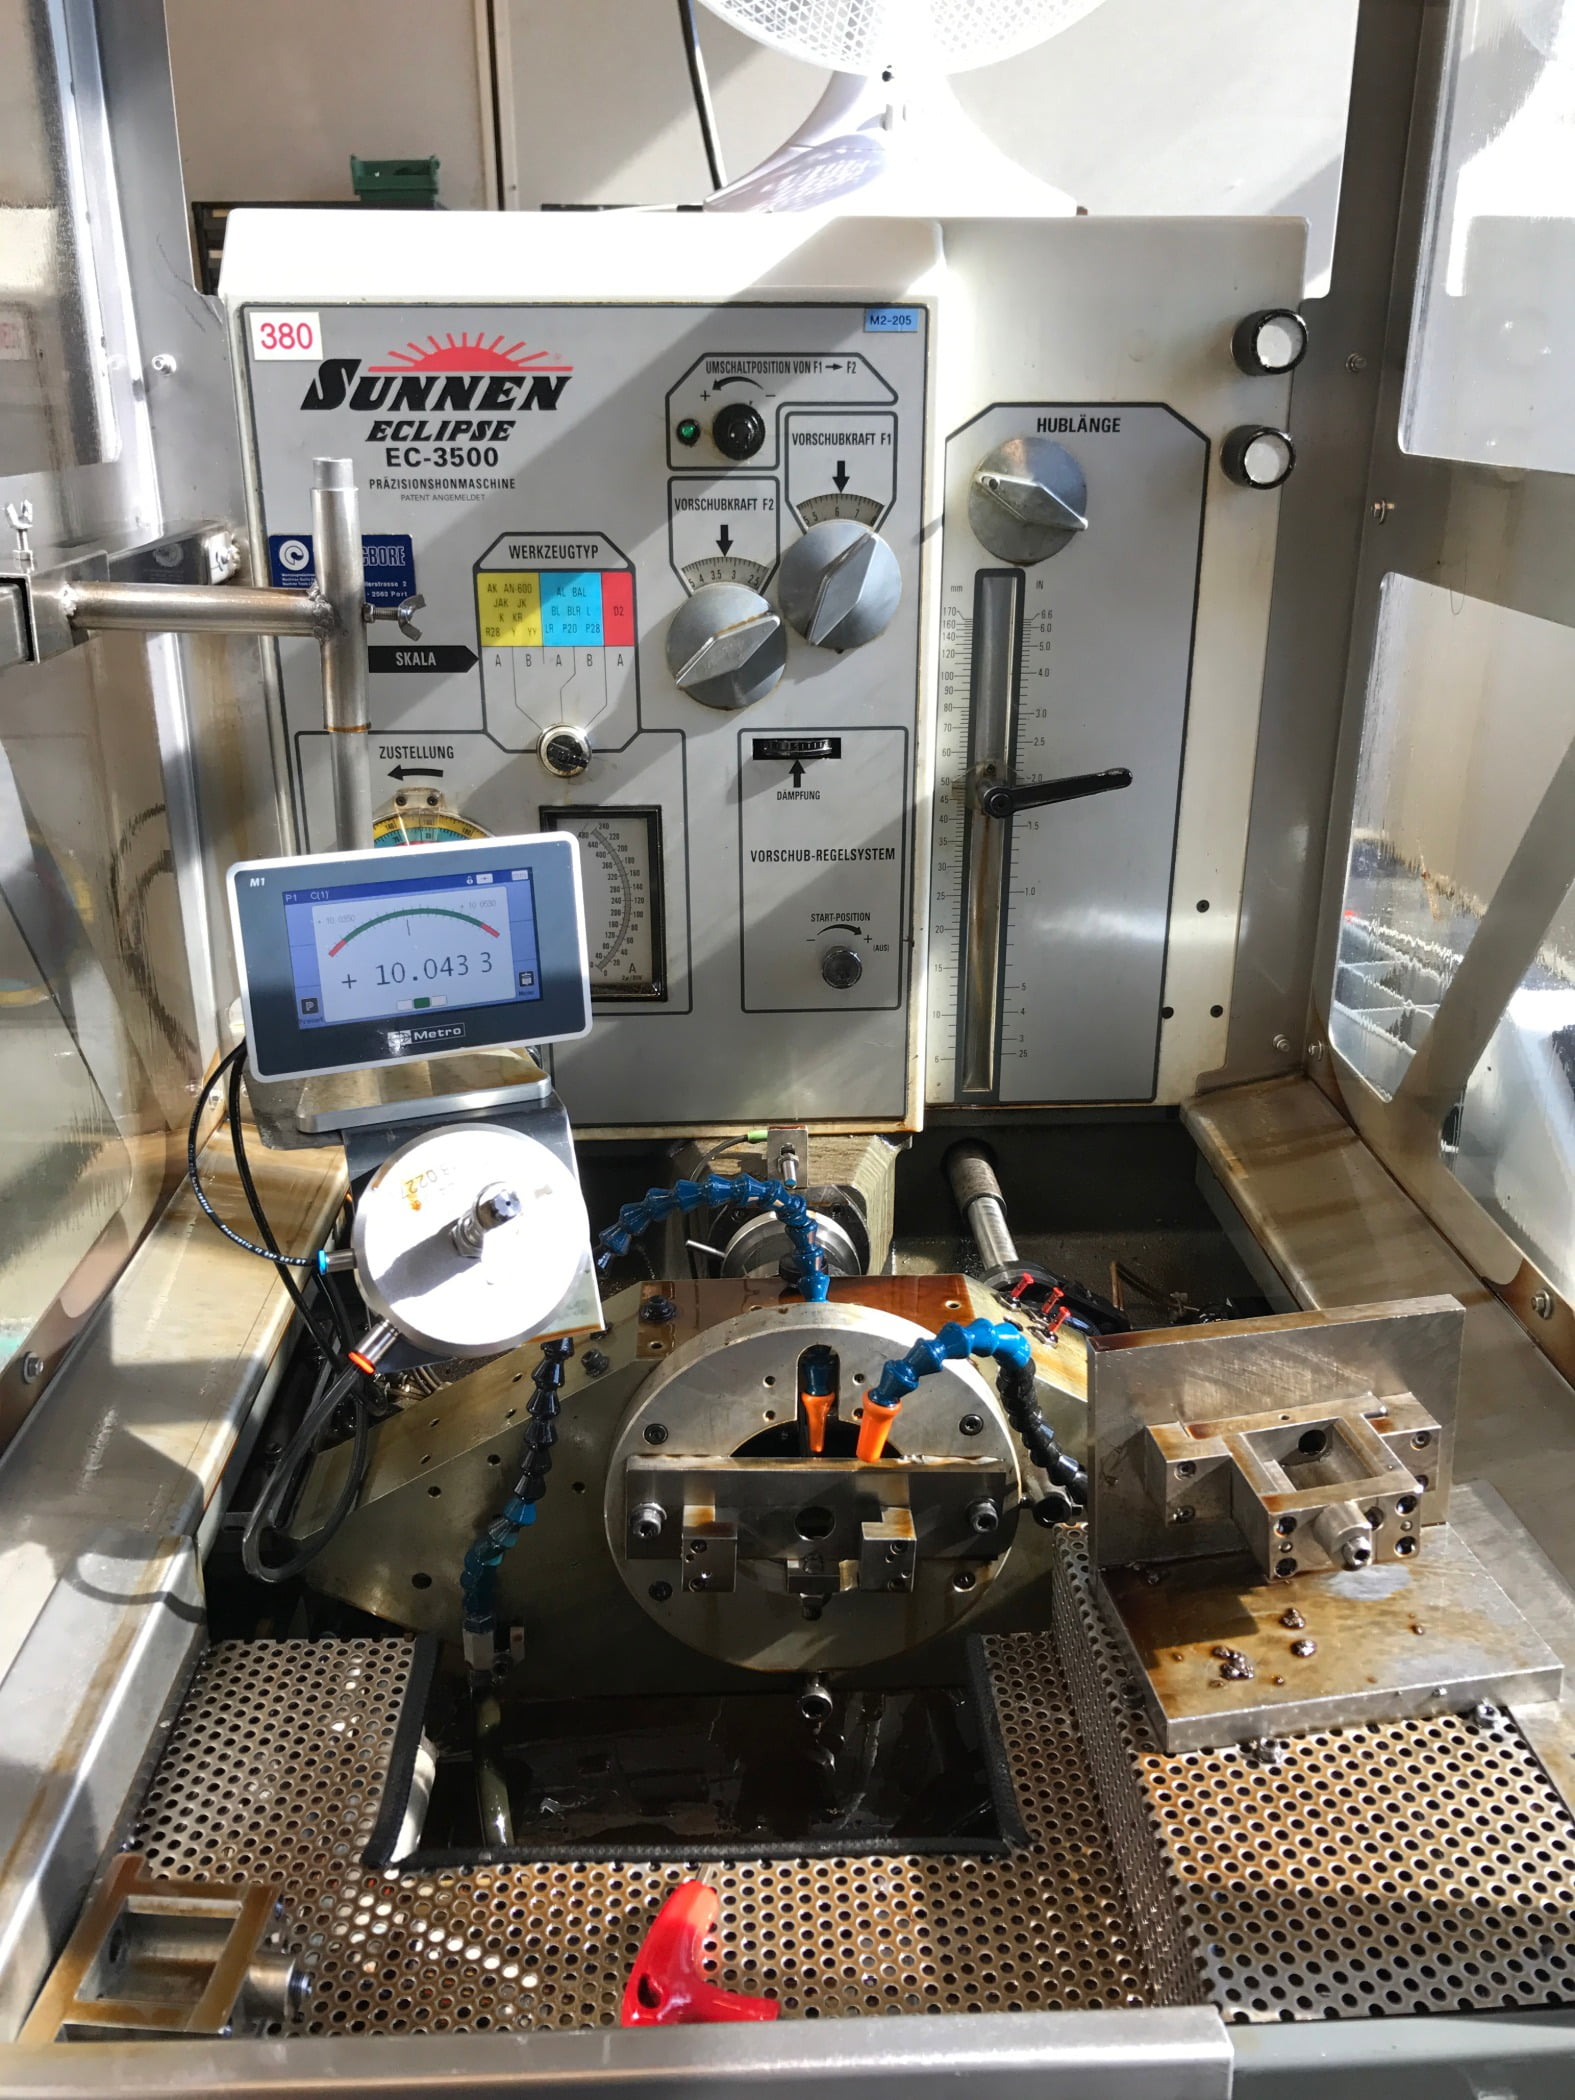
There are a couple of ways of measuring straightness depending on the part. This can also be referred to as bow. If it is the bow you are looking to measure, a special gage is manufactured with four jets, two on each side. The jets on one side are closer together and the jets on the other side are further apart. All four jets are on one circuit. You would then keep track of the MAX-MIN for your bow size as you move the gage linearly and radially. If you want the straightness on a tapered part, a third measurement is added to the gage. You could then see if the taper is concave or convex in shape. With some of the modern display units, you can see a graphical display of this taper shape.
Another common use for air gages is the matching together of two mating components. For instance, in the hydraulic industry, they match sleeves and spools. You measure the inside diameter of the sleeve using an air probe and the outside diameter of the spool using an air ring. You measure both parts at one time and can see the clearance between them to verify the match. This method is also quite common in fuel injectors.
I hope that this article will open your mind to consider using air gaging for some of these common form geometries. The advantages of using air gaging are many but one of the most important is that it is an extremely fast gaging method that can save you from spending critical time and money on the CMM.
