H2 Deck By Bold Name
h2 xxxxxx
H1 xxxxxx
h2 xxxxx

measurement

As manufacturing becomes more automated, probes and styli now include features like 3-D scanning and connect with optical measuring systems. By Genevieve Diesing
Probes and Styli Are Becoming Smarter
measurement
H2 Deck Info By Paragraph Style Bold
Headline
Despite their small size and relative obscurity, probes and styli are helping to lead the shift to smart manufacturing.
These tiny, often unseen tools are evolving from simple mechanical devices into sophisticated, data-generating sensors — generating data that enables automation and improves quality control. As probes and styli evolve, they allow factories to make more complex products with higher precision.
Probes and styli measure parts and guide machines, ensuring products meet size and shape requirements. They work in CNC machines, measuring machines, and now with robots, helping control production processes by providing accurate measurements. For example, new CNC machines use these sensors to position parts before cutting. As manufacturing becomes more automated, probes and styli now include features like 3-D scanning and connect with optical measuring systems.
Integration with Digital Technologies
Probes connect to machines using wires, light signals, or radio waves. They work with computer-controlled cutting machines, inspection equipment, and recently, in robotic cells. Because probes and styli connect directly to machines, teams can use their measurements to adjust production instantly.
Touch-based measurement tools are highly accurate and help control manufacturing processes. In fact, tactile measurement technology is one of the most accurate methods for measuring components and controlling production processes, said Scott Lowen, senior product manager, ZEISS Industrial Quality Solutions.
Probes and styli are also used as safety devices, helping protect the more expensive parts of a machine from damage.
Because CNC machines can travel at very high speeds, and high-speed collisions can be dangerous and destructive, machine tool styli often feature a stiff — but brittle — ceramic stem, also called a mechanical fuse, said Mark Osterstock, president, Q-Mark Manufacturing. The stem shatters in the event of a collision, helping to prevent more serious damage to the sensor and the CNC machine.
“Nearly every new CNC machine tool has a sensor to determine workpiece presence and position before machining,” Osterstock, said. “The sensor aligns the CNC path to the workpiece location.”

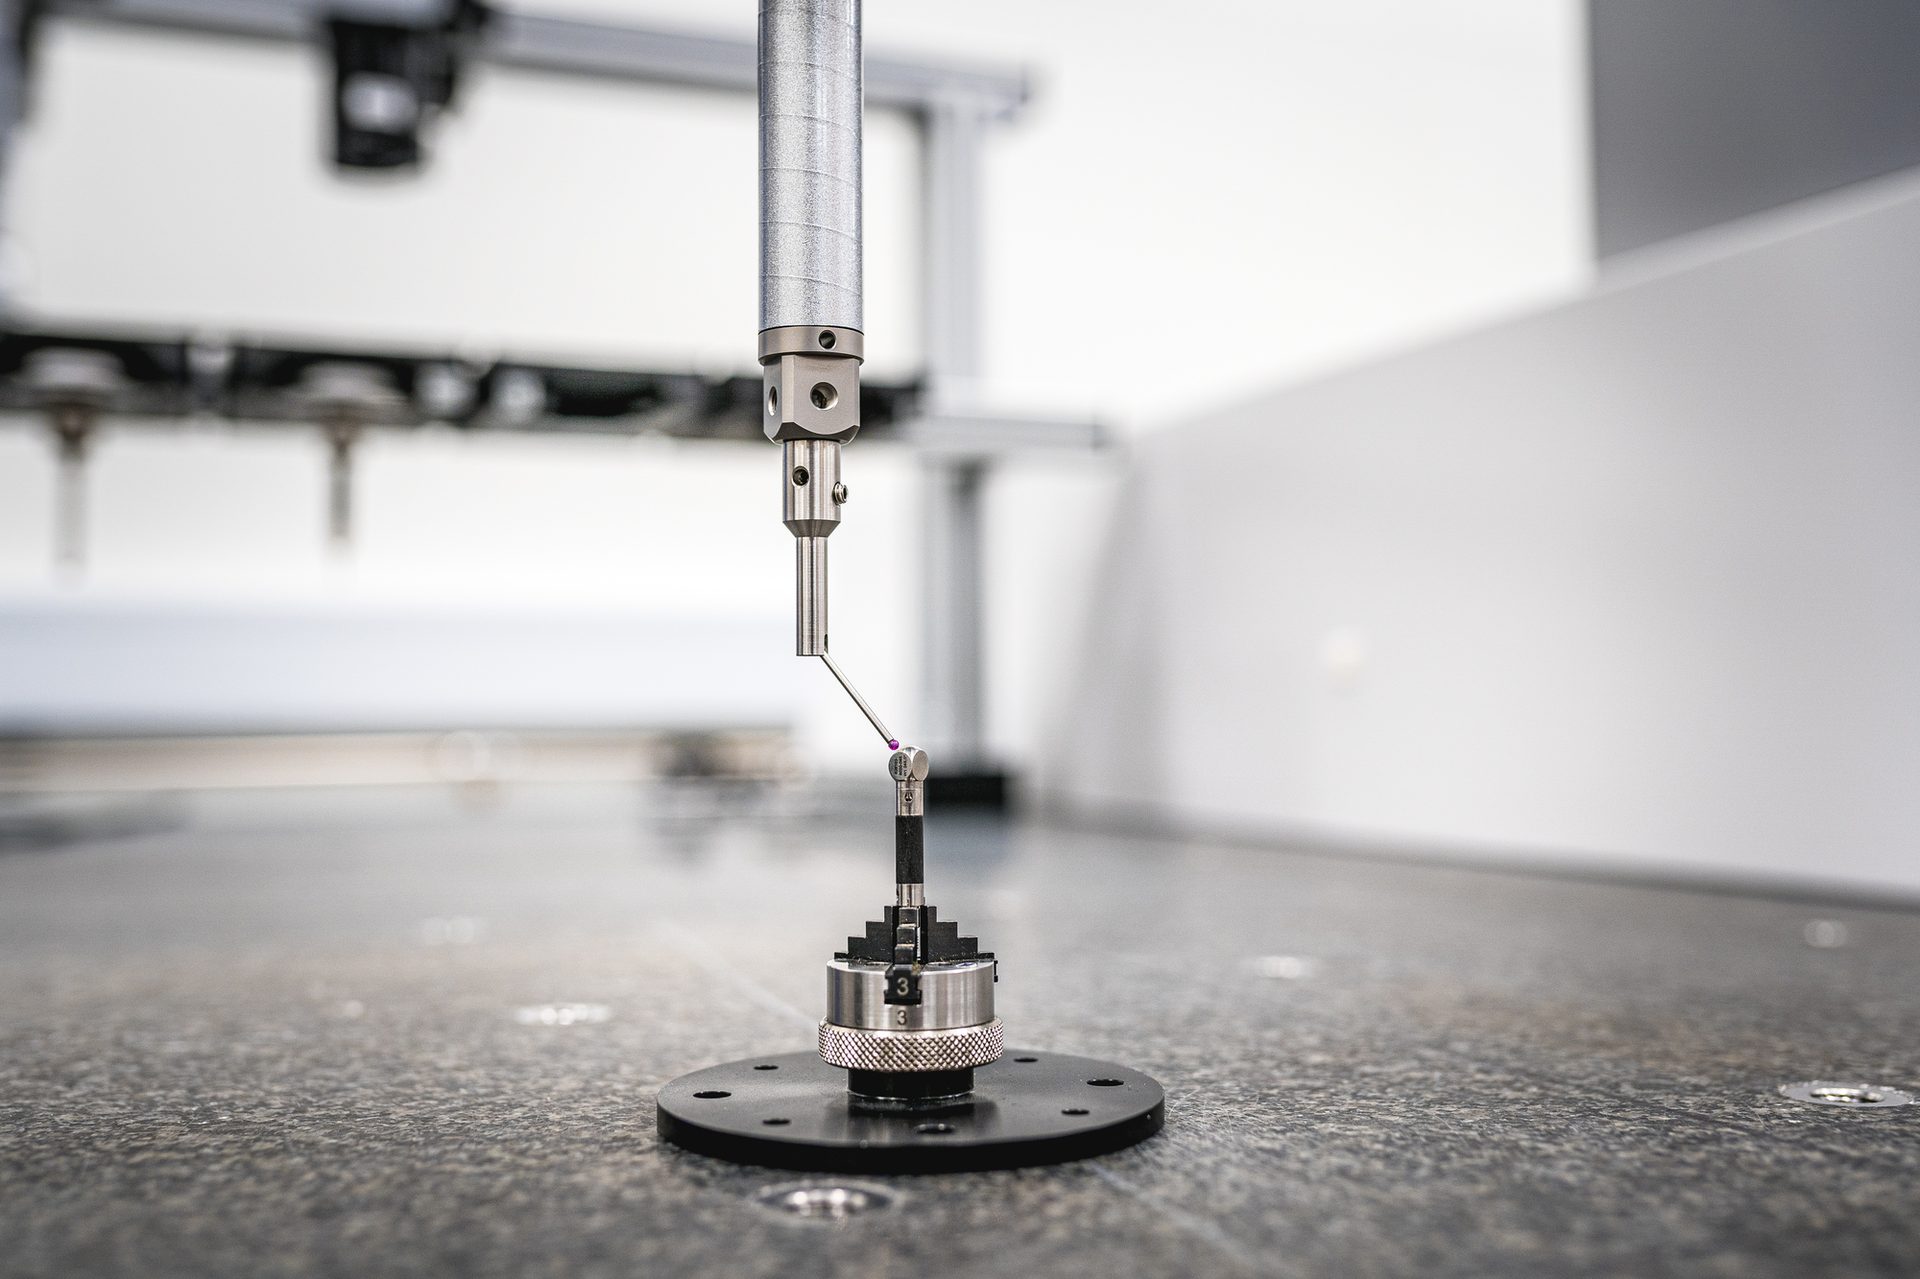
Using the right styli supports accurate and reproducible measuring processes and can significantly reduce measuring time. Image courtesy of Capture 3D, a Zeiss Company
Maintaining Quality and Consistency
Well-made styli can detect small changes in parts over time, helping quality teams spot problems early and preventing defects before they happen. For example, an operator can tell if a cutting tool is wearing out or if temperature changes are affecting part size.
This helps organizations to maintain quality continuously, rather than just checking finished products.
“Close-tolerance machined parts and documented assembly procedures make good, repeatable styli,” Osterstock said. “Once in use, a stylus and its sensor can detect tiny changes in workpiece dimensions over time. The changes could stem from cutting tool wear, temperature fluctuations, material differences, or other reasons. Because the sensor and stylus work together consistently, the manufacturer can usually detect a dimensional change well before it drifts beyond its tolerance limit.”
The precision of these tools matters, as the geometry and rigidity of styli determine the accuracy and reproducibility of the measurement, Lowen said.
Meeting Quality Standards
Calibrated probing systems provide measurements traceable to national and international standards like ISO, ANSI and ASTM, said Dan Skulan, general manager, industrial metrology, Renishaw Inc.
Styli can help factories waste less by quickly measuring parts and adjusting machines.
“High-quality styli reduce scrap rates through fast, production-related feedback of measurement results,” Lowen said. “A reliable production-related measuring process monitors a production process and adjusts the manufacturing machines quickly and accurately. Many factors influence this process, such as the environment, the operator, or the accessories used.”
Special stiff styli are used to calibrate measuring machines, so they give reliable results. “Quality standards generally require calibrated measuring tools,” Osterstock said. “CMMs, and to a lesser extent, CNC machine tool calibration procedures, employ special extra-rigid styli to achieve consistent results from traceable standards. Most stylus manufacturers offer special extra-rigid styli for use during equipment calibration.”
Evolving Trends and Technologies
Organizations are using probes more in automated systems, allowing real-time adjustments and easier robot programming.
“As automation increases, probing systems gain popularity to reduce manual operations in part setup and inspection,” Skulan said. “Closed-loop in-process control uses probing for real-time adjustments to control variation. Probing systems on robots allow for off-line programming to be used more effectively — rapidly setting Tool Center Point (TCP), part and user frames when the robot is deployed.”
New technologies, such as CT scans and 3D scanners, are being used alongside traditional probes for more detailed part inspections.
“The trend moves towards CT/X-ray and optical methods, including 3D scanners and vision measuring machines,” Lowen said. “These technologies provide accurate visual data that enables the detailed inspection of parts. One of the great advantages these technologies offer is the ability to evaluate features that were not in focus during the measurement process.”
Osterstock is seeing styli become smaller, more durable and lighter — to better measure tiny parts, reduce machine downtime, and to pair with advanced sensors.
“Manufacturers of medical devices and computer components must measure smaller and smaller part features,” Osterstock said. “That’s why we now offer styli with spheres as tiny as 0.1 mm (0.004”). That’s about the thickness of a blade of grass!”
As parts get smaller, especially in medical, electronics, and aerospace industries, we’re reaching the limits of how small we can make styli, Lowen said.
“Increasingly smaller features and tolerances, especially in medical technology, electronics and aerospace, are pushing the styli requirements to the limits of what is technically feasible and sometimes beyond. It is, therefore, extremely important to pay attention to which stylus geometry can be used for which application,” Lowen said. “Not only is the feature achieved with the sphere, but it also means that the resulting outcome meets expectations. Physical limits are quickly reached, especially with styli with small spheres and thin shafts.”
Because worn styluses must be replaced, meaning CMM and product line downtime, solid diamond spheres “really stand out,” Osterstock added. “They will never wear, even when used to measure highly abrasive materials.”
Demand for lower weight styli with titanium and carbon fiber parts is also rising. “Many of today’s advanced sensors limit stylus weight, so the need for ultra-low weight styli has increased,” Osterstock said.
Changes in styli production methods, like laser processing and improved connections between parts, are making the styli more precise and robust, Lowen points out. “New manufacturing processes such as laser processing and soldered connections between the shaft and sphere help significantly increase not only the quality, but also the service life of the styli,” he said.
Recent Advancements
New probing systems can perform 3D scanning on machine tools, not just on CMMs, Skulan said. They can also use lasers to measure rotating cutting tools.
Skulan is also seeing the increased use of red and now blue light noncontact laser systems to measure cutting tools while rotating.
Q-Mark Manufacturing is now combining touch and non-touch measuring tools on one machine, which boosts inspection speed, Osterstock said.
“Noncontact measurement devices, like lasers and optical sensors, are now being combined on the same inspection platform with conventional touch sensors,” Osterstock said. “This expands the capability and versatility of the measuring device by allowing both measurement methods to be used during a single inspection cycle. Previously, these technologies were discrete and required two different devices. Combining them on one machine obviously increases productivity.”
However, touch measurement is still necessary for some features, like internal grooves.
“I’m often asked, ‘Can noncontact measurement replace conventional touch measurement?’ My answer is ‘no,’ Osterstock said. “Workpieces with internal features, like O-ring grooves, don’t lend themselves to noncontact measurement — at least not yet.”
Choosing the Right Tools
Choosing the right tools matters, experts say. Skulan advises quality managers to select the “shortest, stiffest styli configuration for best metrology,” and recommends materials like Silica Nitride and Zirconia, which “can outperform traditional ruby in some applications.”
Lowen recommends using certified tools designed for each specific measuring task, to guarantee precision and compliance.
“With the right styli, not only are accurate and reproducible measuring processes achieved, but measuring time can also be significantly reduced,” he said.
Styli should be tested for accuracy before use, Osterstock said.
“Every stylus must be qualified before it can be used to measure,” he said. “The qualification cycle typically involves probing a traceable standard, like a reference sphere or a ring gage. During qualification, a stylus must perform consistently while probing the standard from several different directions. There’s a preset limit to the variation in the values obtained during qualification. If the stylus performs within this limit, it’s ready for use.”
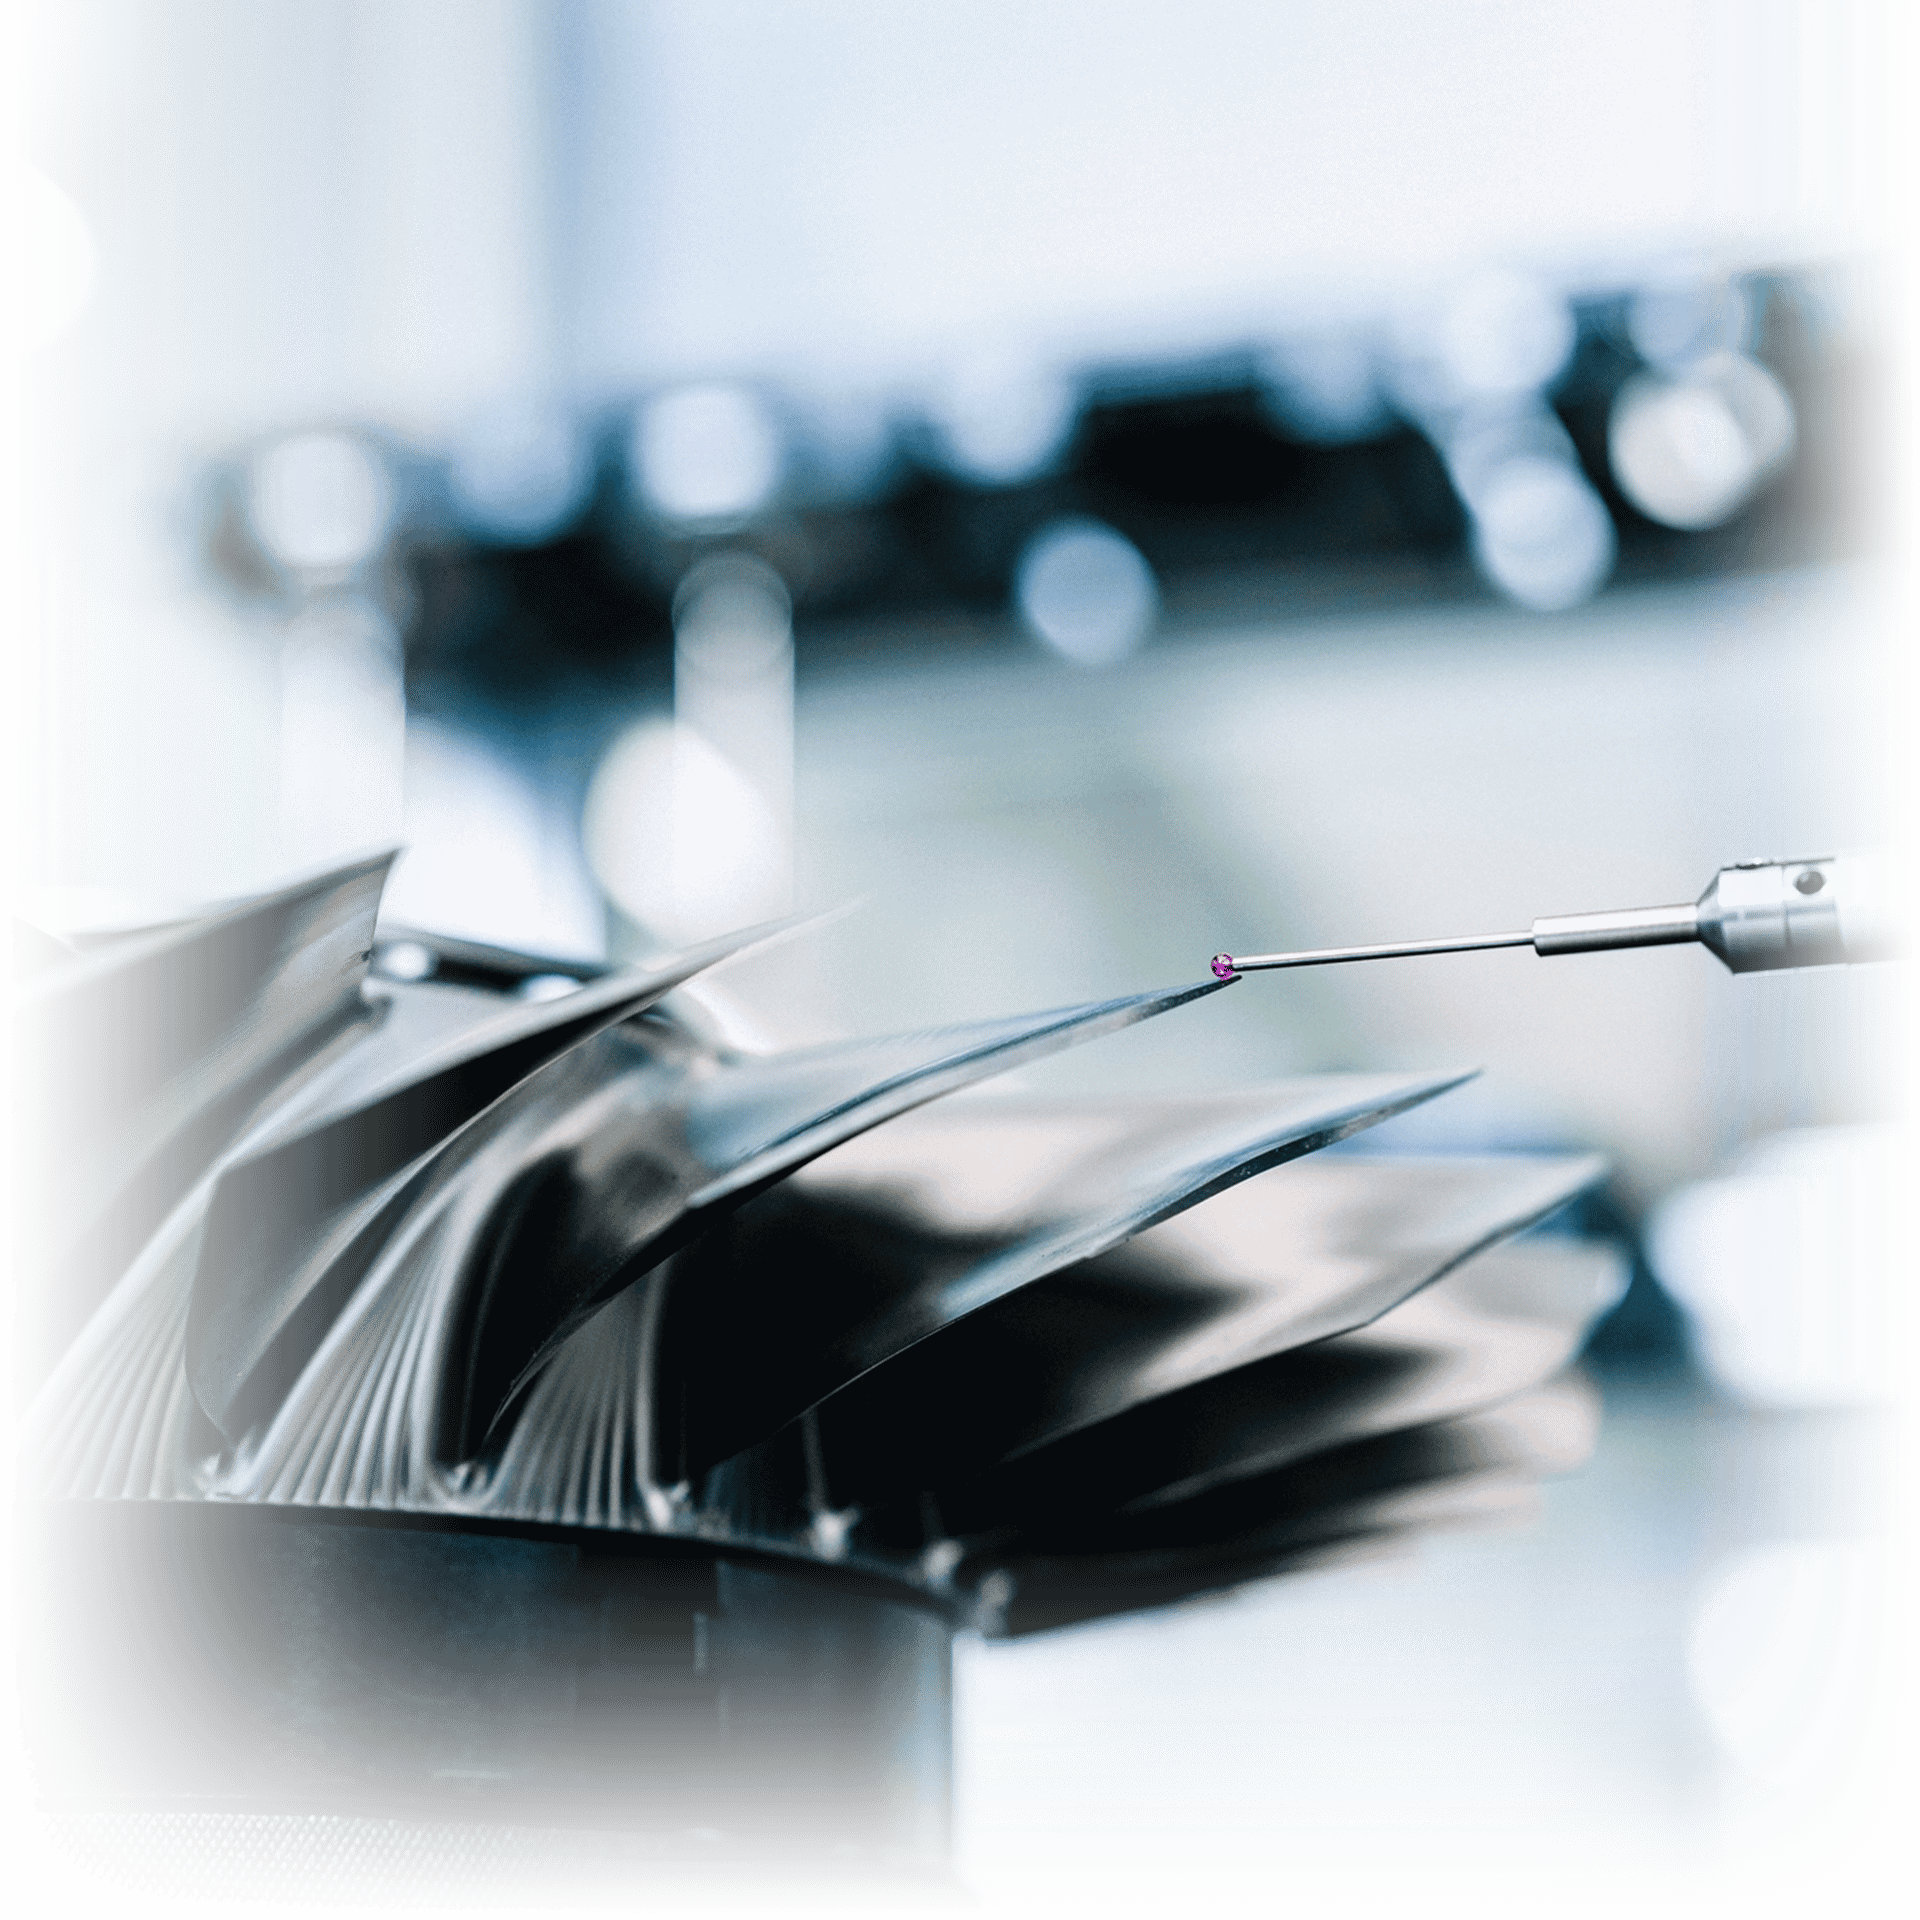
Opening image: High-quality styli and process-reliable stylus systems can significantly reduce the scrap rate of extremely precise components with very small tolerances. Image courtesy of Capture 3D, a Zeiss Company.
Genevieve Diesing is a contributing editor to Quality.
READ MORE:
