Measurement
Gage design is continually being enhanced and refined.
By Tim Cucchi
Gaging Evolves
for Precision, Productivity, Ergonomics & More
Precision has not always been associated with measurement. In fact, at the dawn of civilization, man began to use parts of the body to estimate dimensions, and in about 6,000 B.C. from such measurements, there evolved the inch, hand, span, foot, cubit, year and fathom – the first standards of measurement. Of course, the tools of the past did not demand great accuracy as most products were manually and custom made, so a fraction of an inch in one way or the other made little difference to satisfactory operation.
However, today’s mass production demands precision measuring because the parts in any product must be uniform to be interchangeable. Eli Whitney first conceived the basic idea of mass production through interchangeable parts, and it was only through improved methods of measurement and mechanically powered machines that would make mass production possible. There was tremendous growth in mass production of all types of goods during the 19th century. Yet, it was not until after the Civil War that machines and measuring tools approaching the accuracy of modern standards were developed.
For precision measuring, skilled machinists, toolmakers and inspectors must have accurate tools and gages, produced from quality materials, carefully manufactured and rigidly inspected, to ensure lasting dependability. Gages have evolved throughout the years beginning with mechanical, then electronic models, and now convenient wireless electronic versions have come on the scene. Each type has an important place in today’s quality control and inspection processes.
Mechanical
The first precision gages were mechanical, featuring analog readout, and are still widely used today. It is safe to say that one would be hard pressed to find a manufacturing operation that is not actively using a mechanical tool. Some precision tools are still only offered in mechanical versions, while many have digital and wireless versions. For linear and round measurements, gages and tools that are used vary with the size of the dimension, the nature of the work and the degree of accuracy required. Mechanical types range from a steel tape, rule, divider or trammel, to a micrometer, Vernier caliper, dial indicator and many more.

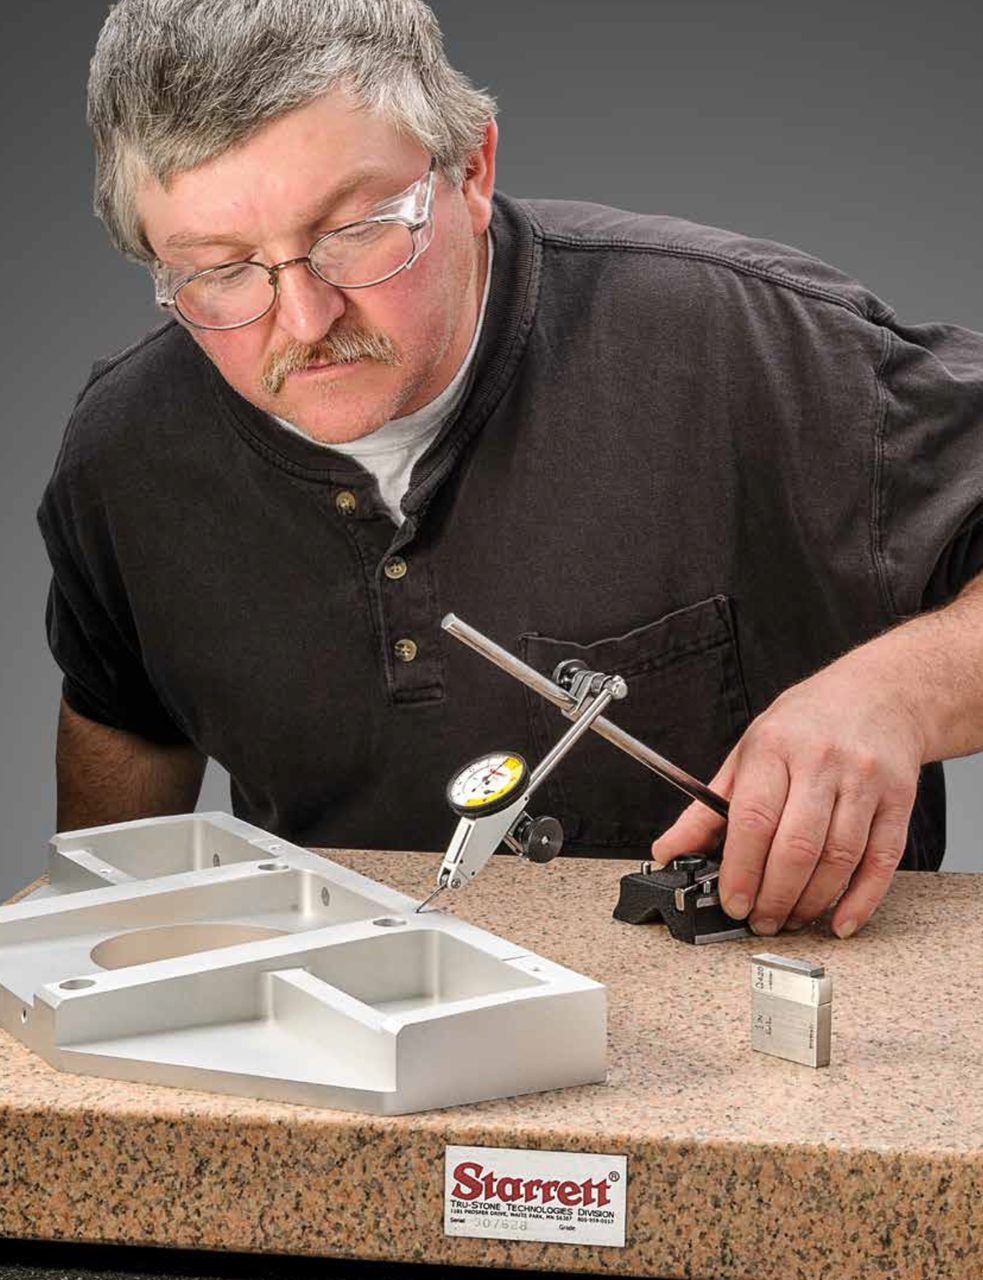
Test indicators are a versatile offering a swivel head feature to allow positioning to suit your line of sight from horizontal to vertical and at any angle up to 90°. To ensure surface accuracy, measurements are taken on a Starrett Crystal Pink Granite Surface Plate. Source: The L.S. Starrett Company
Electronic
Over the last several decades, electronic gages were introduced offering digital readout and the ability to acquire measurement data for collection purposes and for statistical process control (SPC), analysis and documentation. These types of gages make readings faster and easier for every machinist, regardless of experience.
Electronic gages are capable of transmitting data through cables or wireless without cables, to collection devices to provide a permanent record for SPC, required for many industries today. Properly used, the data collected can provide printouts for analysis and can help a machinist control processes, as well as predict and prevent out-of-tolerance conditions.

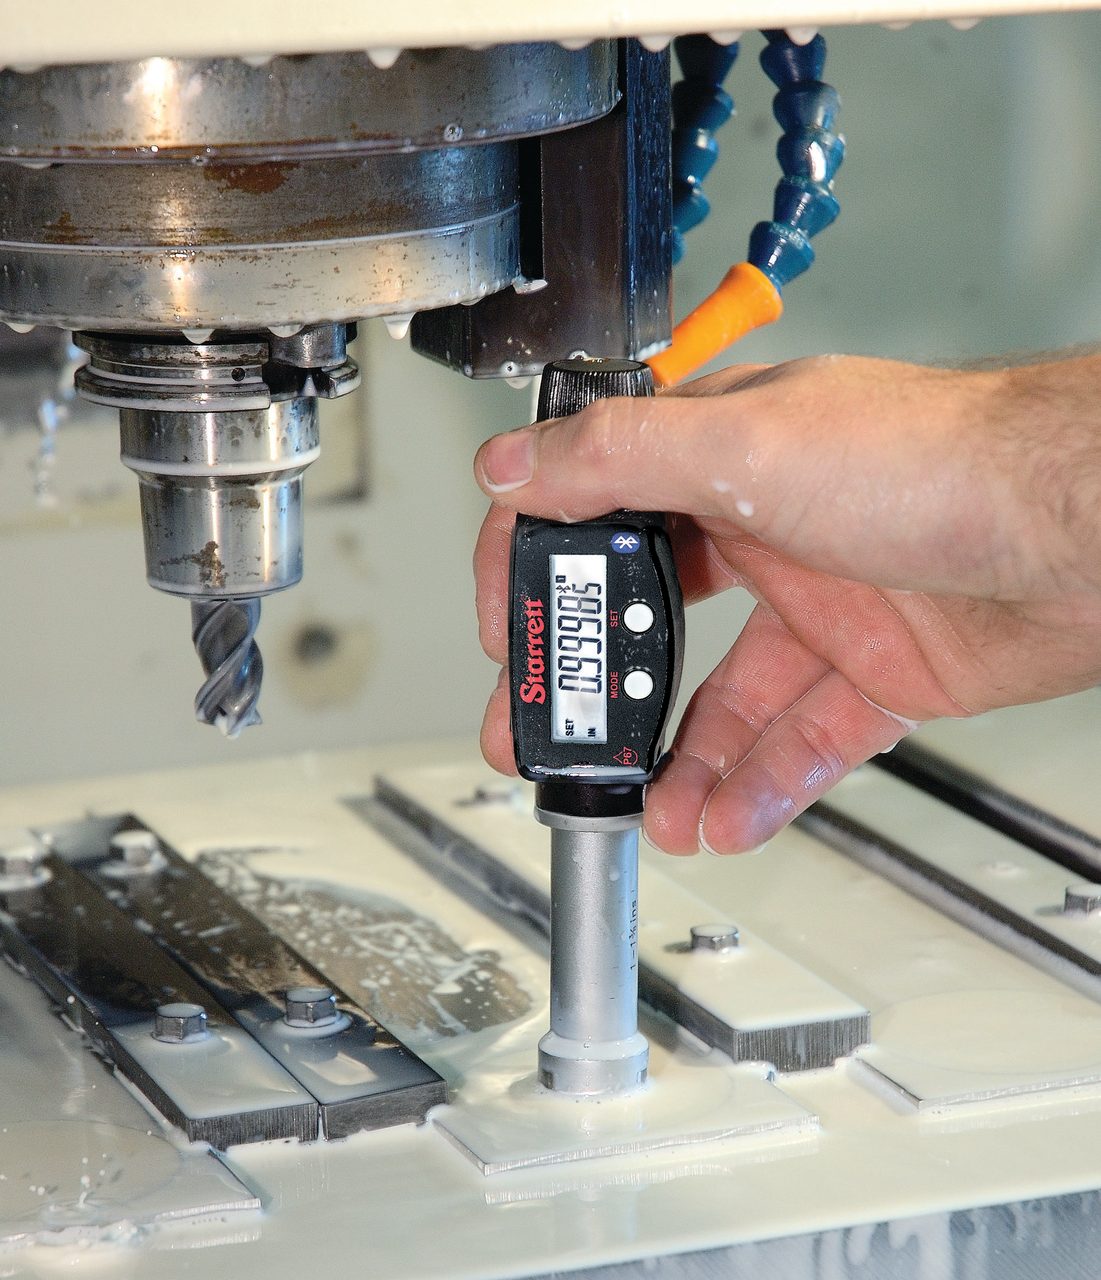
This electronic bore gage provides IP67 level of protection as well as built-in wireless connectivity. Source: The L.S. Starrett Company
Wireless
Relatively recently, wireless precision gages were introduced. Key benefits of using wireless gages, including using them as a gage only or within an advanced data collection system, are as follows:
- The need for bulky and cumbersome hardware such as backpacks and cables which can be safety hazards is eliminated. Also, by eliminating backpacks and cables, there is less equipment to purchase, so startup costs are decreased, and related maintenance requirements are reduced within the manufacturer’s shop tool calibration program.

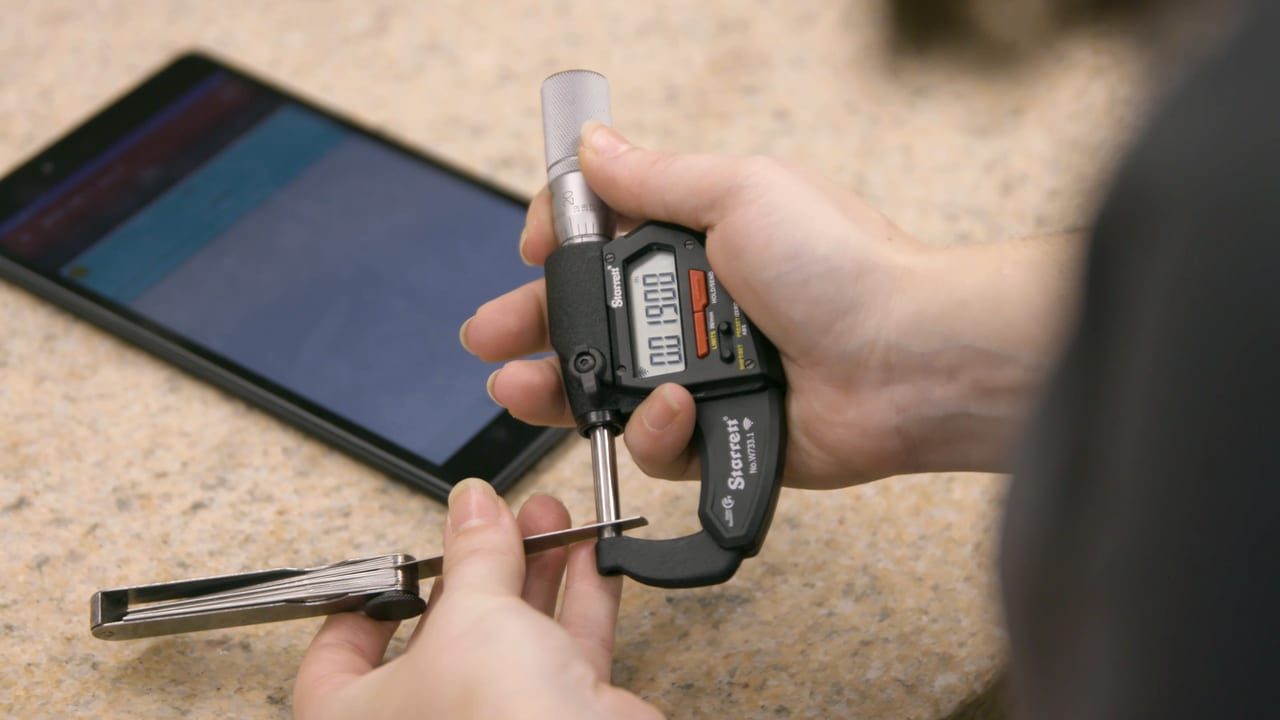
The micrometer is one of the most accurate handheld gages available, shown here with built-in wireless connectivity. Source: The L.S. Starrett Company
- Collecting and transmitting measurement data is faster and less error-prone, facilitated simply by measuring and pressing a button to send the data to a mobile phone, tablet, or PC. In this way, operator subjectivity and recording measurement errors are removed, and time is saved when not manually transcribing data. Wireless provides speed, convenience and ease of collecting and storing data.
- Wireless precision measuring tools are engineered for efficient data collection for a wide range of end uses. Whether it be for ISO, government, aerospace or medical requirements, or for smaller shops, the need for accurate data is crucial for traceability to demonstrate qualified parts or to trace back any manufacturing errors. Accurate measurement data provides assurance for the end user and insurance for the manufacturer.
- By using wireless tools and an advanced data collection software system, the data can be efficiently integrated in ERP/ MRP programs. Also, wireless gages promote a cleaner work environment by removing the need for a log journal and pens/pencils, in step with lean manufacturing.
- Quality control is the last step when producing manufactured parts, so if a “bad part” slips by, problems can result in the assembly of the final product or the use of the part in the final product. Using wireless precision gages, inspectors can measure with confidence in order to qualify the part. With the simple push of a button, the measurement data is stored for future analysis or for history purposes. The time and money saved by going wireless and implementing a data collection system is incomparable. Online form-based digital calculators can demonstrate that.
Winning Combination: Wireless Gaging and Data Collection
Understanding the importance of achieving top data integrity, RYE reviewed its inspection and data acquisition process with Starrett. Starrett analyzed the conventional RYE data collection process and quickly determined that RYE would benefit greatly by utilizing its DataSure 4.0 (DS4) system.
“We are consistently looking for ways to improve and expedite our data collection process,” said Alex Marothy, quality control technician/ programmer & automation lead at RYE. “Machinists and inspectors were writing down some measurements in log sheets which then needed to be keyed into spreadsheets on a computer, taking time and possibly leading to errors, as operators may misread gages or write down incorrect values.”
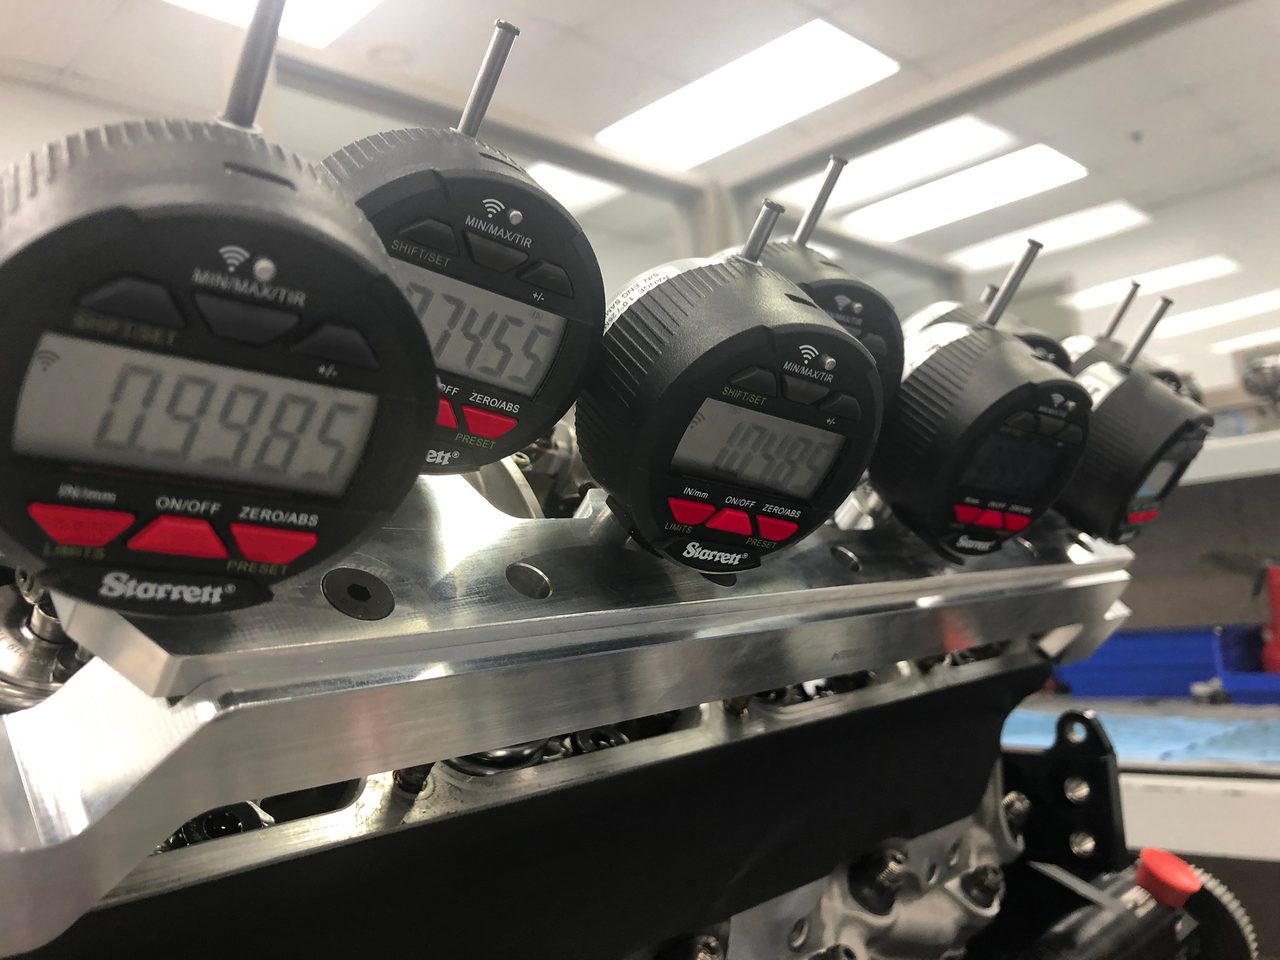
Marothy described how the concept to deploy DS4 on an engine fixture system developed. “Previously engineers used an eight-dial indicator fixture system. The new plan was to utilize eight Starrett W2900-01 electronic digital indicators along with DS4 in order to attribute and organize both values to that specific indicator so that data entry and review would be very simple.”
The results from applying DS4 to the engine fixture were impressive. “Compared to our previous methodology, we substantially improved our data collection accuracy and time, but even more importantly, the data was digitally transferred,” said Marothy. “The DS4 system effectively eliminated handwritten gage readings and the transcribing of values into spreadsheets."
On a different level, RYE evaluated DS4 another way via labor savings by determining how many seconds were saved per measurement. “We found that DS4 saved from 8 to 10 seconds per measurement, and we are doing several thousand measurements per day, thus saving over seven hours of labor every day,” said Marothy. RYMS’ Production Manager Jennifer LaFever also pointed out other systems-related benefits of DS4. “We practice continuous improvement strategies at RYE through our Kaizen program, which DS4 contributes to via its ability to help us be faster, more accurate and efficient.”
To help achieve its demanding performance and company goals, Roush Yates Engines (RYE) of Mooresville, NC, chose Starrett precision measuring tools and metrology systems to ensure that critical design specifications are being met at the level expected and required by engineering. RYE is the exclusive engine builder of Ford Performance for the top levels of NASCAR including the NASCAR Cup and Xfinity Series, as well as the IMSA Michelin Pilot Challenge. In addition, Roush Yates Manufacturing Solutions (RYMS) is a precision CNC parts manufacturing organization with expertise in multi-axis machining of metal and plastic parts with complex geometries. RYMS’ in-house production includes machined parts for the Ford FR9 V8 NASCAR programs, Ford Mustang 5.2L V8, and other motorsports, aerospace, defense and high-tech industries.

Multiple Starrett Wireless Indicators in engine-mounted fixture capture and transmit T.I.R. measurement data to computer devices. Courtesy of Roush Yates Engines
Refining Gage Design
Gage design is continually being enhanced and refined. The first gages, designed by pencil and paper, were bulky and cumbersome featuring crude heavy steel construction with rough edges. These initial gages earned low scores for operator comfort. Over time, gage design significantly improved for fit, size and maneuverability. Using advanced CAD programs with 3D models, gage designs are now generated faster with high accuracy. Improvements keep the operator experience as a top priority, and today’s gages are constructed with honeycomb aluminum and rounded contours, making them lightweight and easy-to-hold. One person can use a gage repetitively, compared to earlier times when two people might have needed to complete the same operation due to fatigue resulting from holding and maneuvering the gage.
Special Custom Gages
Even with an extremely broad range of standard precision gages available, whether mechanical, electronic or wireless, some applications require measurements that cannot be taken with a standard gage. So, for these instances unique gages can be designed and manufactured to order. In fact, as gaging technology has advanced so has all tooling and machinery – all which have made it possible to manufacture special gages. The latest advanced gages and tooling are being used to manufacture custom gages.
