xxxxxx xx
xxxxxxxxxx
Laser
NDT
NDT
Laser-based NDT methods continue to be refined and improved, with recent significant advancements in the measurement of difficult-to-inspect shiny surfaces, underwater and radiation environments. By James Doyle
Laser-Based NDT Methods
for Precise Inspection of High-Value, Safety-Critical Components
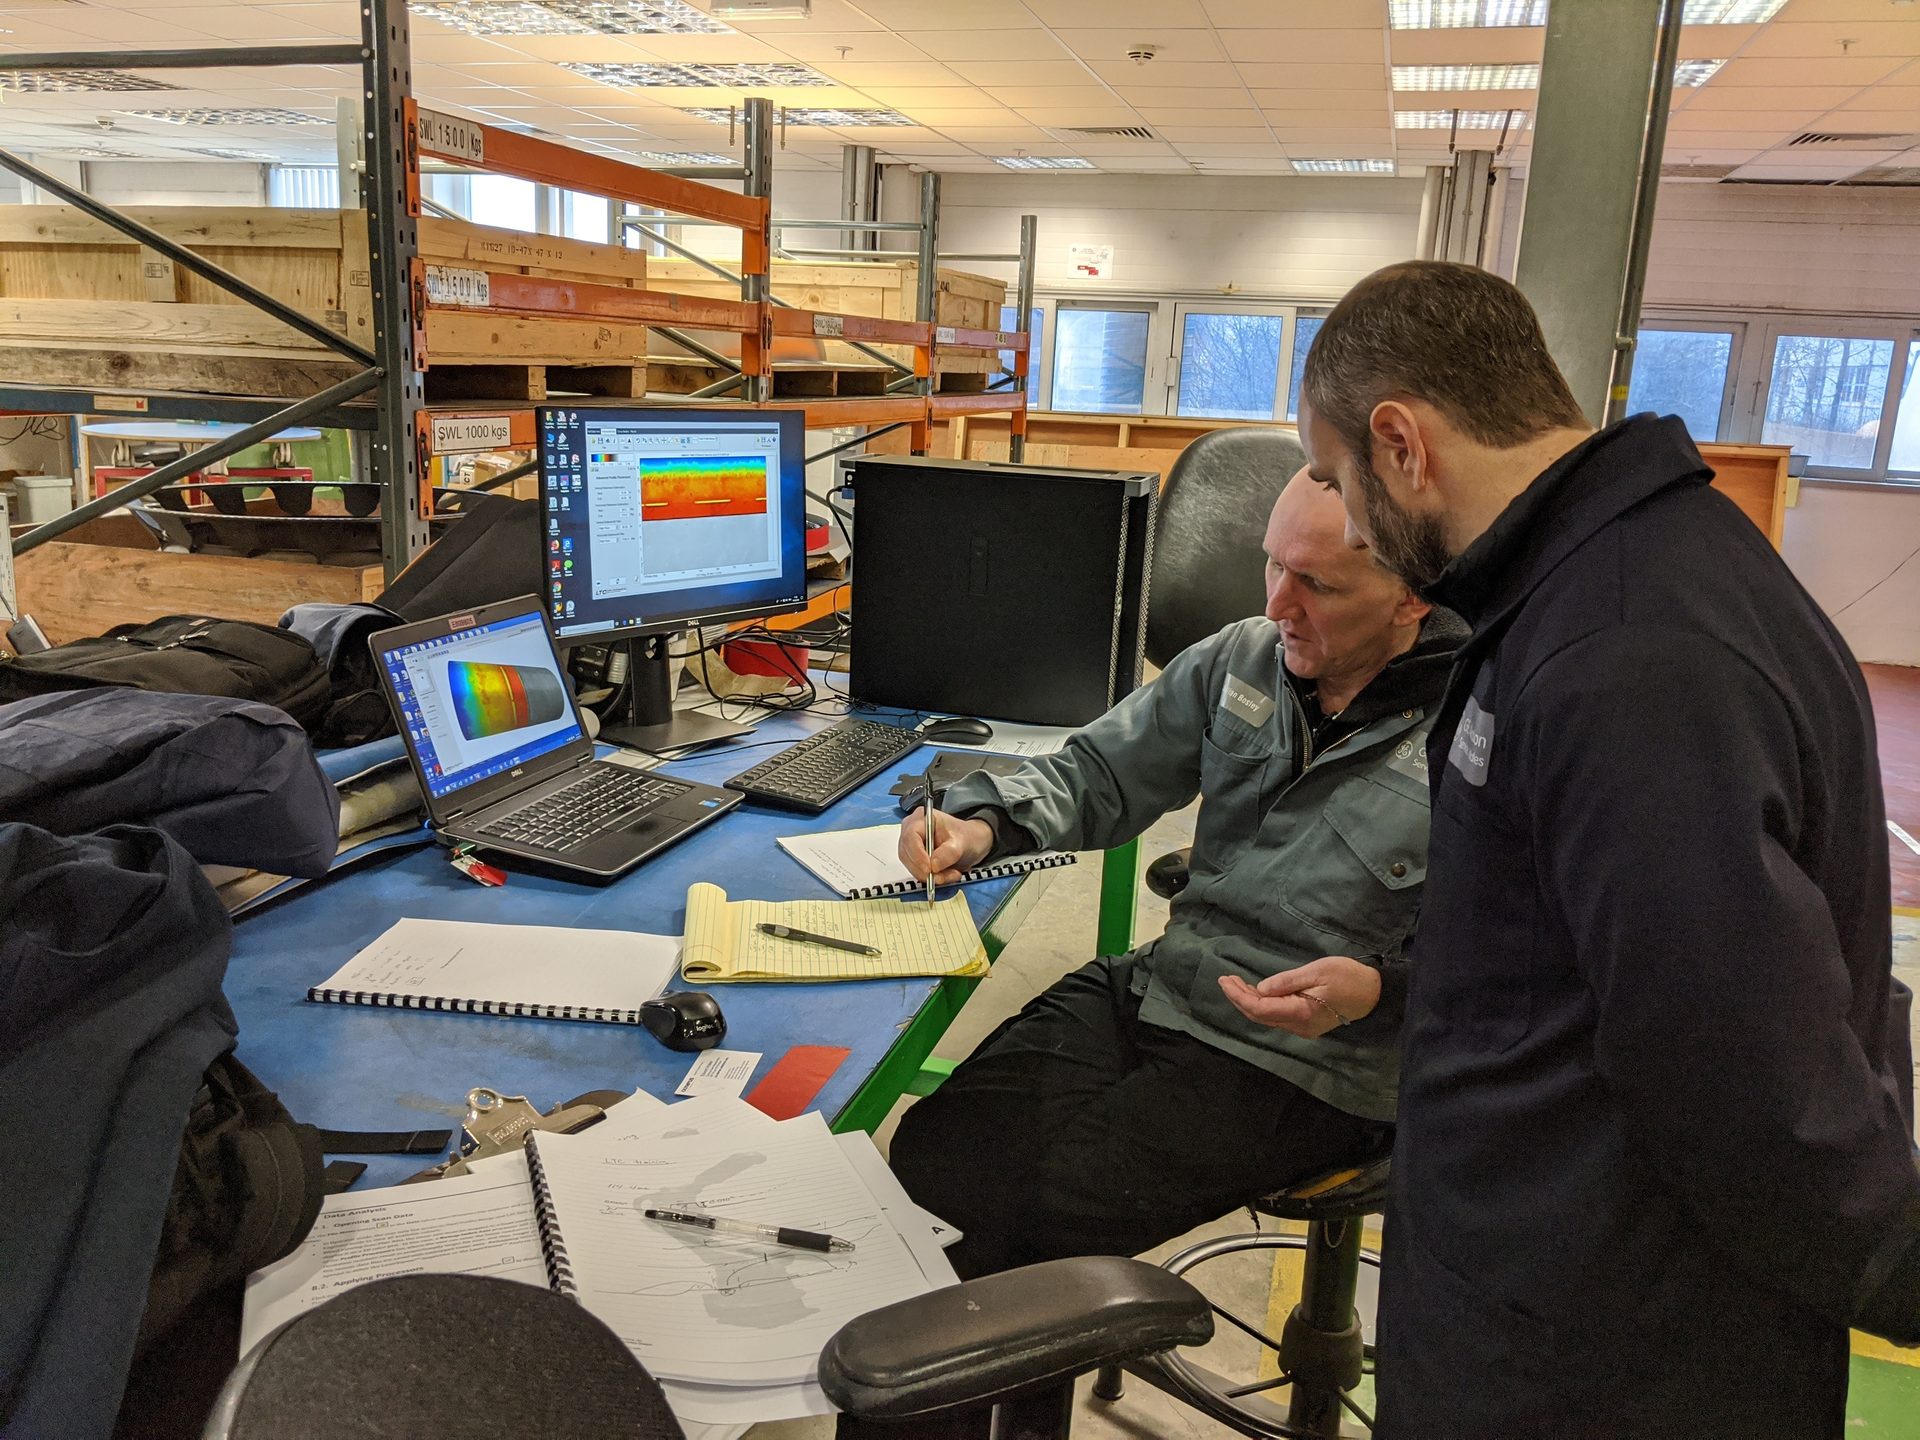
Today, more than ever, both end-users and manufacturers of high-performance components such as aircraft engine turbine shafts, artillery gun tubes and oil production tubulars need reliable and quantitative measurement and inspection tools. Unfortunately, many of the bore inspection systems that are in use today were developed quite some time ago – and have not improved much over time. Air gages, mechanical pullover gages, “star” gages and borescopes have all been used as standard methods for inspecting and verifying dimensionsof tubulars for over 60 years. Unfortunately, none of these methods are automated, and test results can be inconsistent and subject to operator experience, touch and judgment.
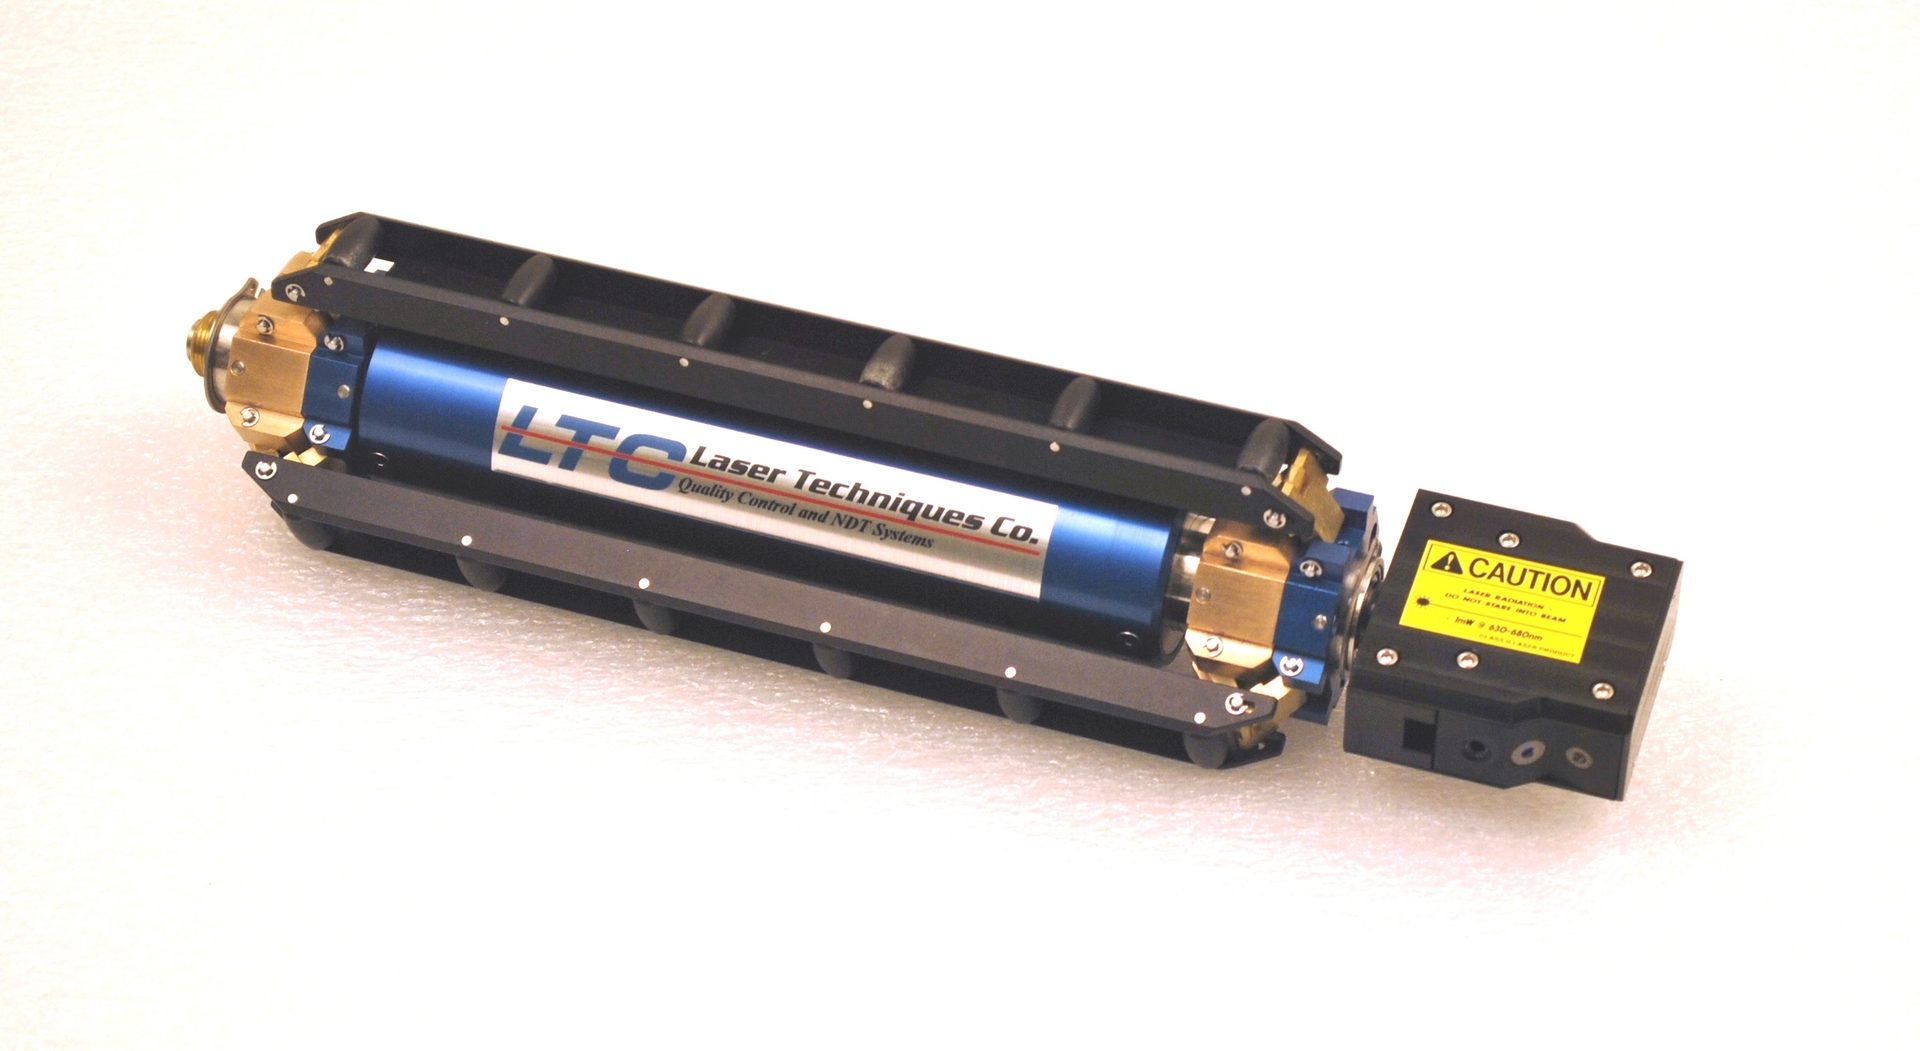
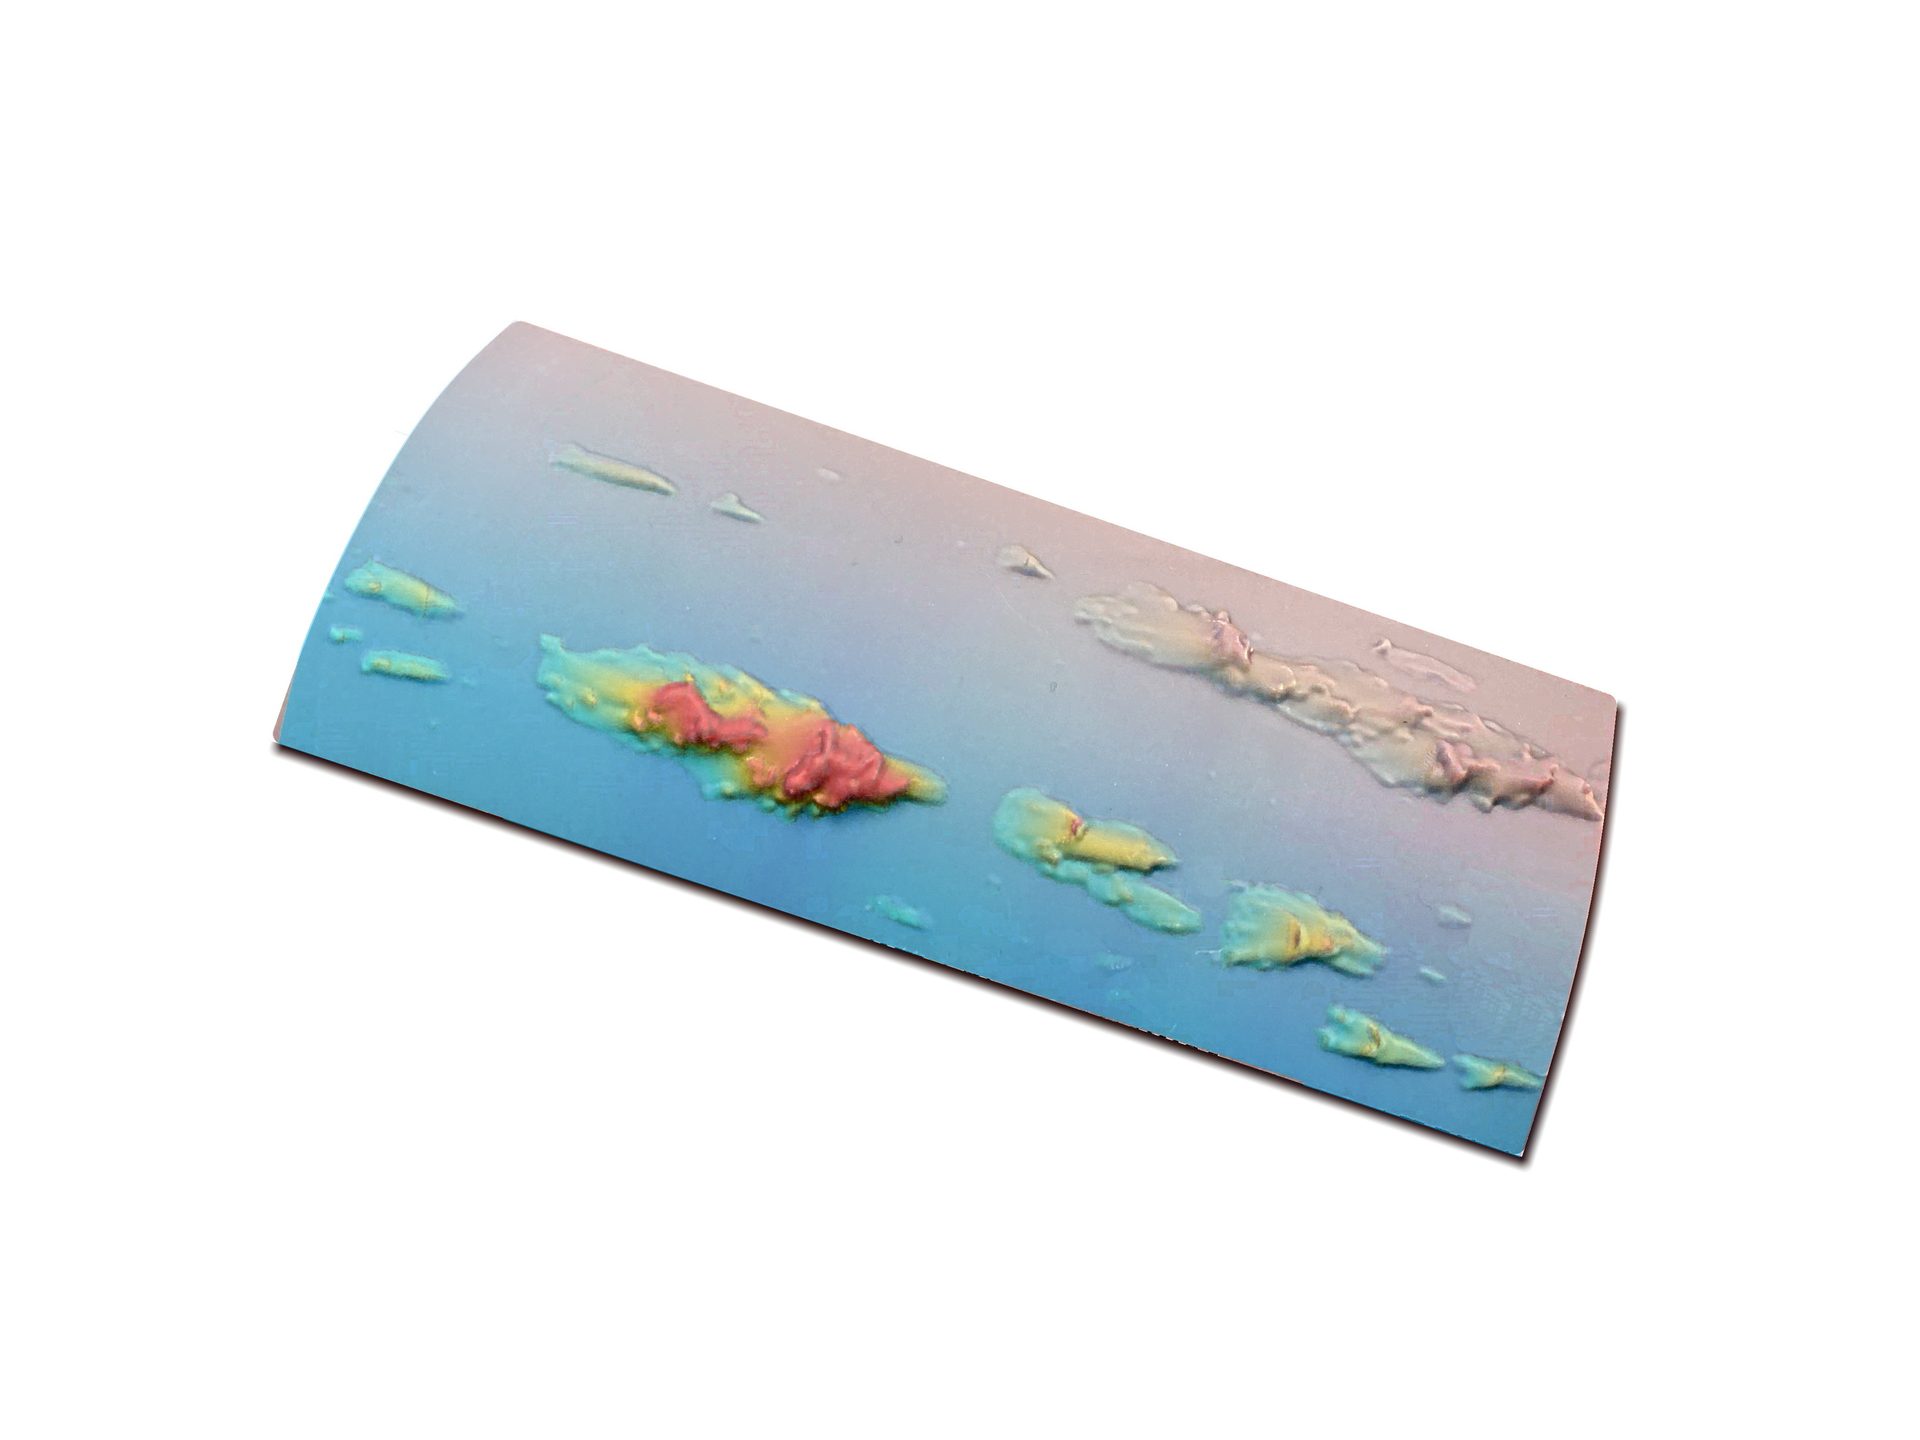
For roughly the past 25 years, a laser-based NDT method, referred to as laser profilometry (LP), has progressively become accepted as an accurate and reliable solution to many challenging NDT applications. In many cases, laser bore inspection systems provide a superior alternative to conventional mechanical gages and camera-based systems. Laser profiling sensors have significantly larger measurement ranges than air gages and mechanical star gages. They can rapidly scan the gun tube surface in a non-contact manner, generating high-resolution, three-dimensional images that are quantitative and highly accurate. These sensors project a tiny laser spot onto the part surface and operate on the principle of optical triangulation or laser interferometry. LP sensors can acquire millions of samples per scan, and data can be evaluated using any of several analysis and 3D visualization software packages. Test results can also be automatically post-processed and displayed in a graphical or tabular summary report.
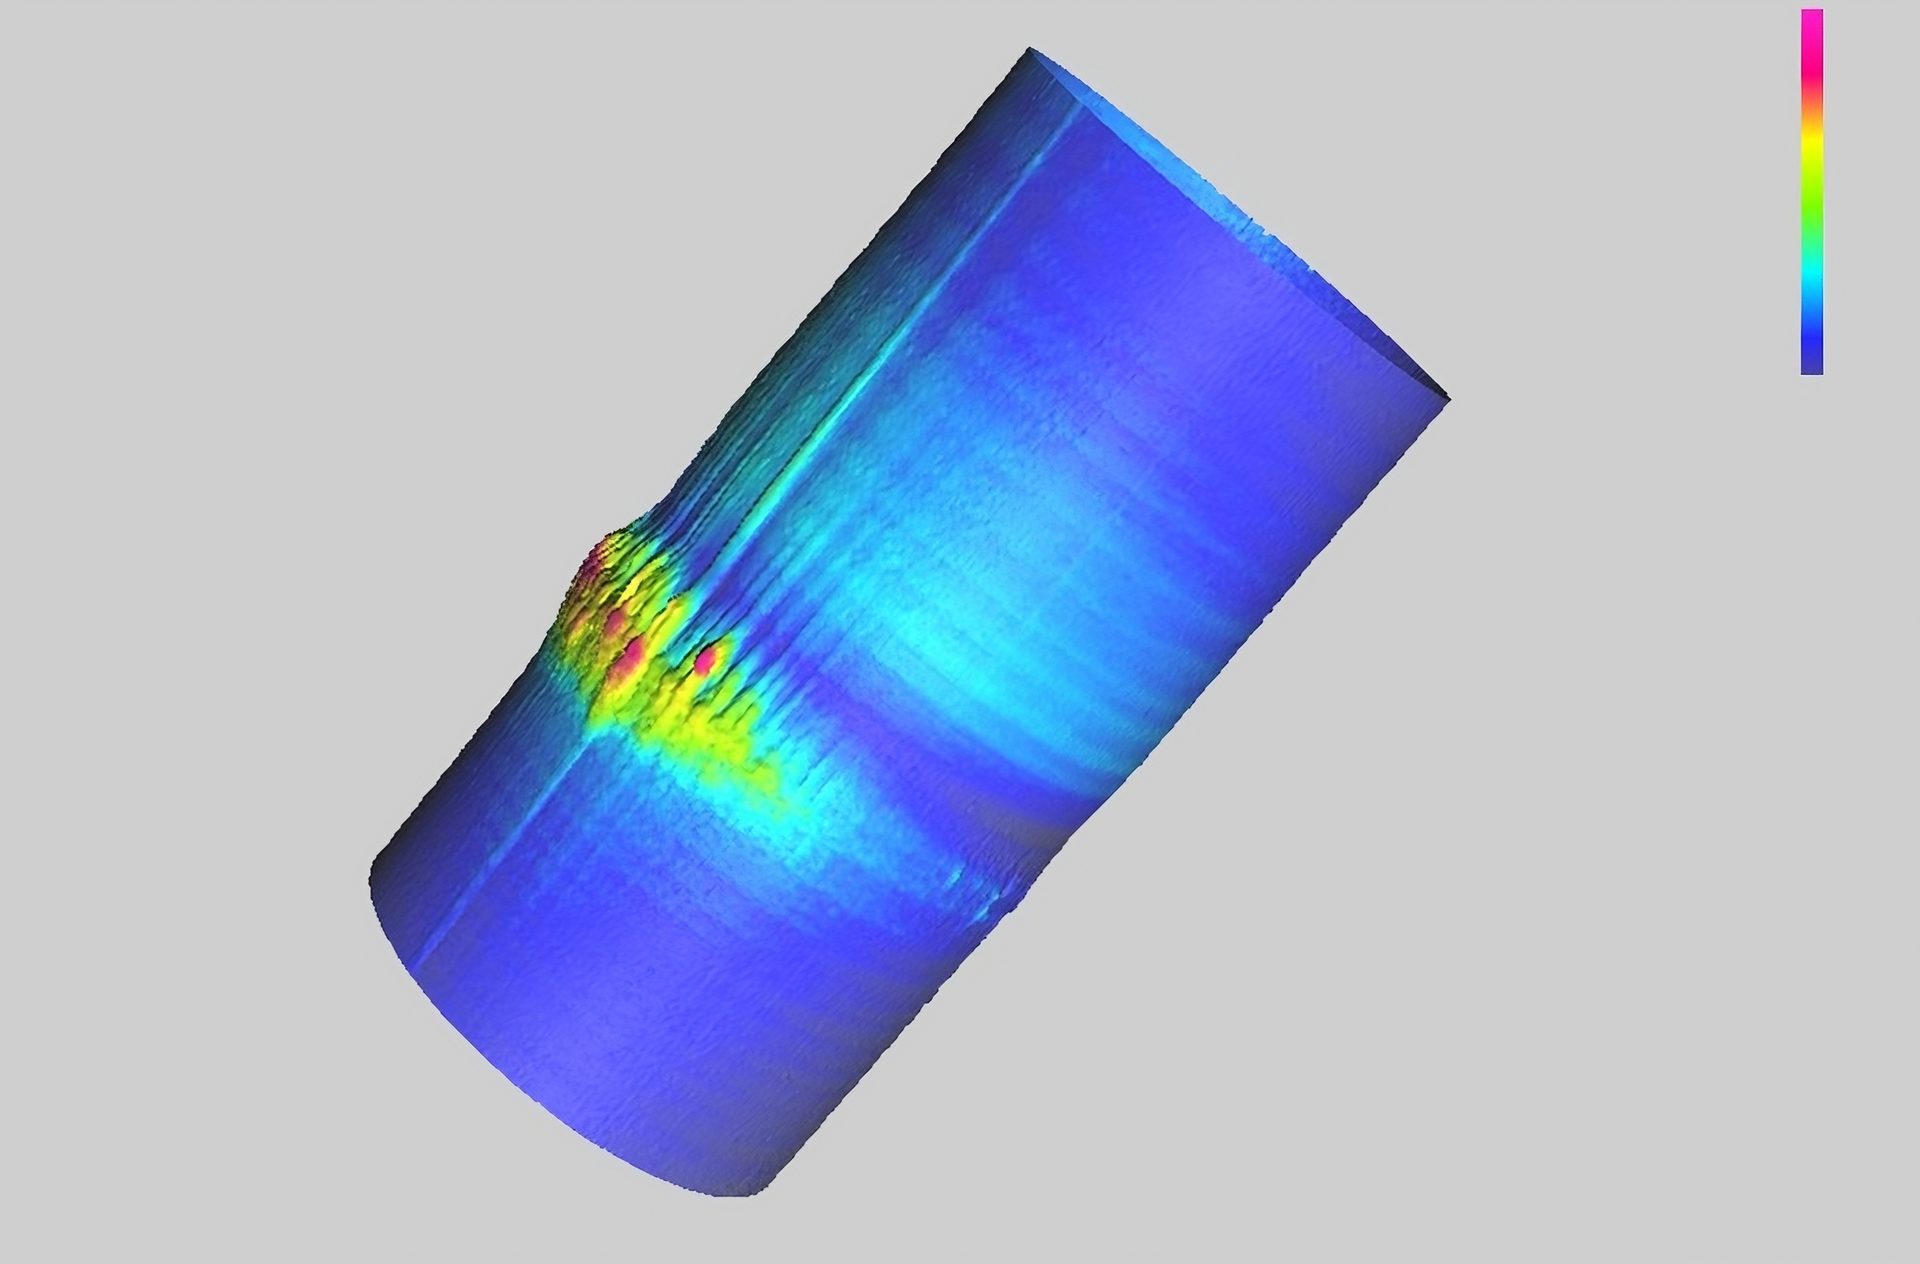
In addition to generating precise 3D surface maps of a test article, LP systems are capable of generating high-resolution visual images of the bore surface that can be, in many ways, superior to those generated by conventional borescopes. Referred to as “Laser-Video Imaging”, laser-generated images are always in focus and can be generated in the same scan as the 3D laser bore map. Whether a borescope is “forward-looking” or using a mirror to view the side wall of a bore, conventional borescopes always have some area that is out of focus. Additionally, borescopes are susceptible to shadowing and glints that can degrade the image of a feature. Because borescopes require manual operation, the inspection of a large barrel can be time-consuming and incomplete.
The following are examples of three industries that are benefitting from the development of laser-based NDT technology.
Energy Systems
Many of the initial Laser-based NDT systems were developed for the energy production industry. LP pipe testing is routinely utilized for three products in the Upstream Oil and Gas Industry:
- Top Tensioned Riser Joint Inspection: Utilized in the drilling and production of deepwater wells,
- Casing: Utilized in the drilling of wells on land and deepwater,
- Boronized Production Tubing: Utilized in the production of shale wells.
Failure mechanisms such as erosion, pitting and corrosion can shorten the life of a system and create a potentially dangerous situation for the operator. Coupling automatic feature detection software with Laser-based NDT data can allow operators to rapidly process large volumes of data and efficiently produce reliable test results.
Aerospace
Laser-based NDT methods are often used in highly challenging applications such as rocket thruster inspection, gas generator injection stems, composite overwrapped pressure vessels (COPVs) and jet engine turbine rotor bores. In these and other cases, the test article is high value and safety-critical. Because laser-based profilometry is non-contact and highly precise, it can provide solutions to extremely challenging applications.
One example of an automated, laser-based scanning system is in use by a major aircraft engine manufacturer. Until recently, operators would conduct visual maintenance inspections using a simple borescope. If operators visually located potential erosion or pitting, they would then make a rubber replica of the feature, then cut it into small sections that would be measured with an optical comparator. The detection of features greater than a few thousandths of an inch in depth could require the component to be re-worked at great expense, or condemned altogether. This process is time-consuming and subject to the operator’s judgement and visual acuity. By converting over to a laser-based profilometry method, inspection times are reduced and quantitative results are now generated that are not subject to operator judgement.
Defense Systems
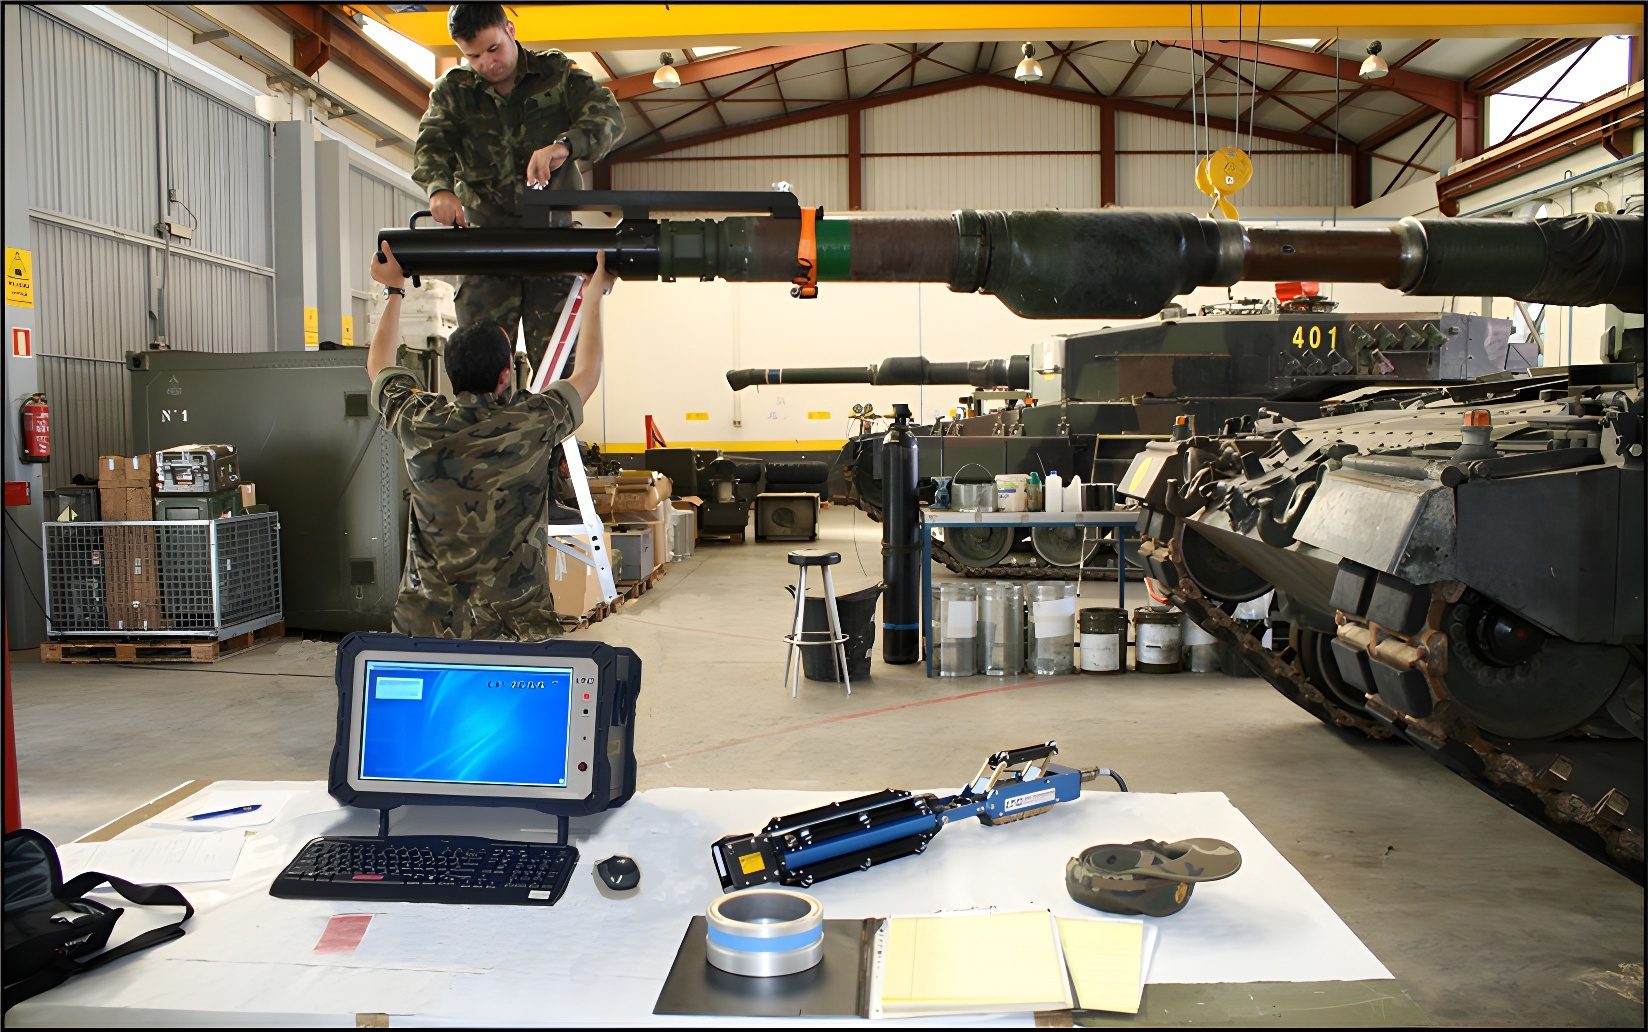
In 2003, a civilian engineer working at Yuma Army Proving Ground, Mr. David Le, became aware of the work the author was doing in the field of laser-based NDT. Mr. Le, a Level III in several NDT methods, saw the potential of applying Laser-based NDT methods to weapons inspection and virtually single-handedly drove the introduction of Laser-based NDT methods for both quality control and field maintenance applications for the U.S. Defense industry. Today, every cannon and howitzer barrel manufactured by the U.S. Army is inspected using laser testing methods, with high-resolution surface maps of the entire barrel inner surface instead of a few measurements over the barrel length. The technology is now used for small, medium, and large caliber weapon systems in the U.S. and over 22 other countries.
Summary
Key benefits of Laser Profilometry (LP) technology include its ability to generate accurate, quantitative, and high-resolution images using a non-contact sensor. It can also be integrated with other NDT methods, such as eddy current, to detect and map both ID and OD features. LP sensors are useful in detecting and accurately mapping features such as corrosion and pitting, deformation (denting), erosion, wear, and material build-up. The high volume of digital information also enables detailed tracking of surface condition over time to monitor wear and erosion, enabling a much-improved lifetime planning for critical components, improving safety and reducing cost.
Laser-based NDT methods continue to be refined and improved, with recent significant advancements in the measurement of difficult-to-inspect shiny surfaces, underwater and radiation environments. Applications are continuously expanding, improving the safe, useful life of high-value, safety-critical components.
