This Case Studies Special Advertising Section features manufacturing companies with real-world challenges using quality equipment, software and services to solve their problems and improve their processes. These problem-solving stories describe myriad manufacturing challenges and how the correct application of a supplier’s product or service made the difference, providing quantitative benefits to quality and manufacturing issues.
The suppliers in this special section present these real-world problems and solutions to help Quality Magazine subscribers who may have similar experiences.
Case Studies
— Special Advertising Section —
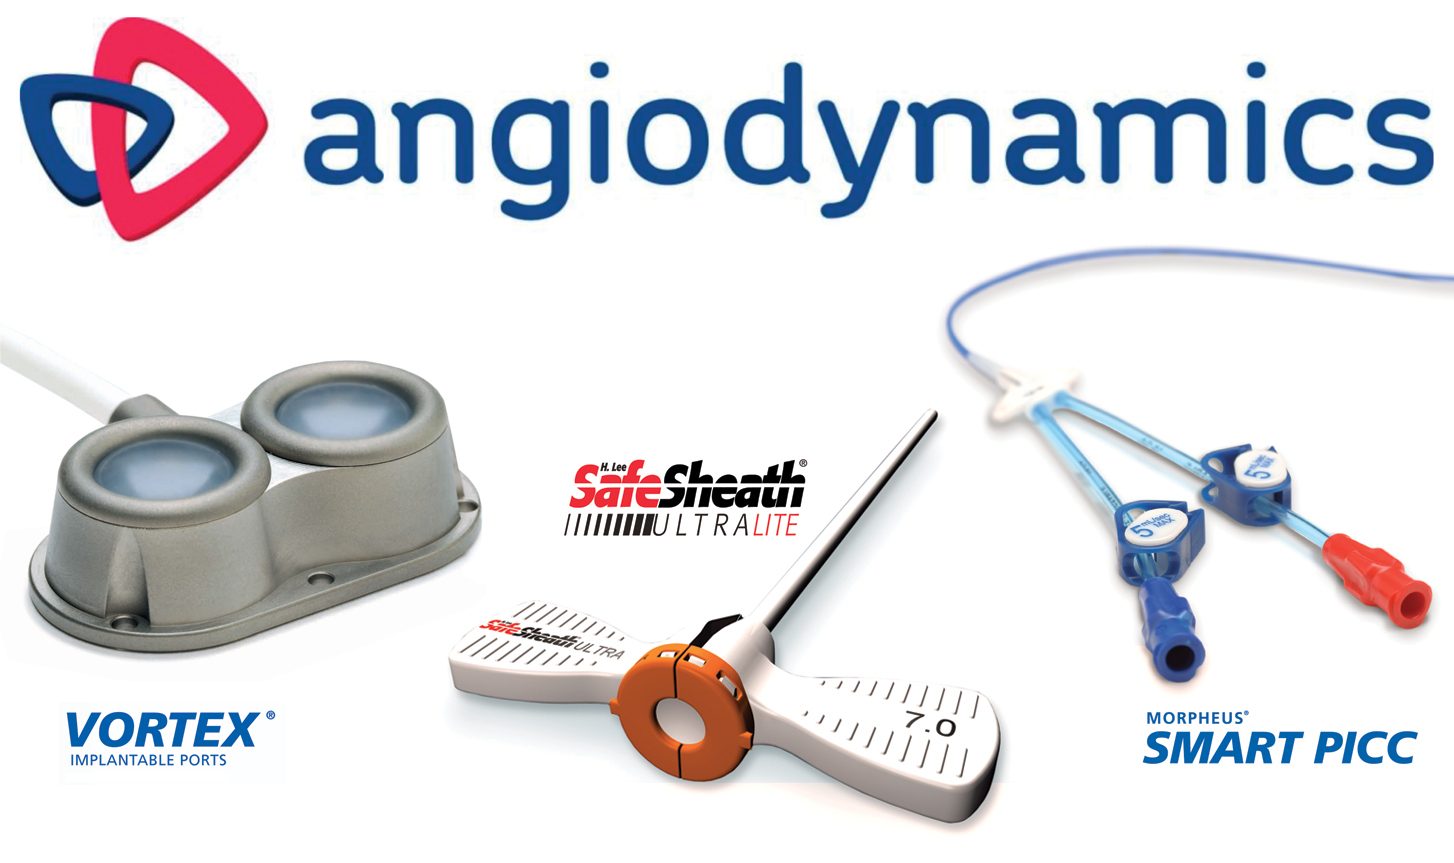
AngioDynamics uses GAGEtrak® for FDA Audit Success
Founded in 1988 in Queensbury, N.Y., AngioDynamics is a leader in the design, development and manufacturing of innovative therapeutic devices used for minimally invasive medical treatment and is selling in over 50 markets worldwide.
Prior to 2004, AngioDynamics’ Ben Gleason used Excel to manage his gages and calibrations and that worked fine for a while. However, when his responsibilities grew to tracking nearly 4,000 instruments and performing over 2,000 calibrations annually, he needed a more robust, secure system; that’s when he chose GAGEtrak.
Gleason is most impressed by GAGEtrak’s reporting features and FDA compliance. "It is so much easier to get a list of what is required at any given time and there’s a history of transactions for audits. Overall, [GAGEtrak is] a very good product. Pretty easy to use and the FDA has not been able to find fault with our process since we started using it."
Gleason also uses the GAGEtrak Calibration Label Kit to further streamline his workflow and when asked about his experience with the CyberMetrics support team, Gleason said, "Support has been absolutely fantastic! [The staff is] knowledgeable, courteous, patient and good-humored - a real pleasure to work with."
Making the leap from spreadsheets to GAGEtrak calibration management software was an easy choice for AngioDynamics and has proven invaluable for their FDA audits. It’s no surprise that GAGEtrak is consistently recommended by quality auditors. Contact us today to learn how GAGEtrak will do the same for your company.
Finding the needle in the haystack: residual dirt particle analysis
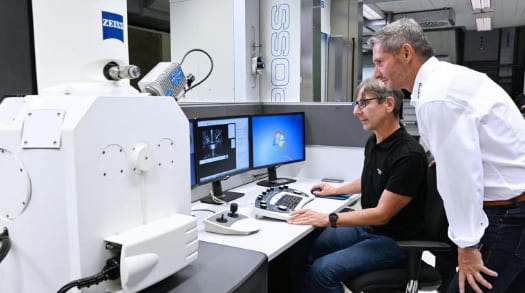
INNIO Group is a company based in Austria that develops and manufactures innovative systems for energy generation and compression. Because the large engines produced by the company are continuously becoming more powerful and the individual components subject to ever higher strains, the INNIO Group introduced technical cleanliness standards 10 years ago. To determine the source of critical residual dirt particles, the company has been using ZEISS EVO scanning electron microscope since 2015.

“Even a tiny metallic dirt particle in our powerful engines can cause enormous damage,” stresses Christian Troger, Operation Quality Leader at INNIO. If, for example, a metallic particle the size of a grain of sand were to be located inside the connecting road bearing, the oil film in the bearing could break. Insufficient lubrication increases the friction between the crankshaft and the connecting rod bearing, which can lead to substantial damage.
See how they find the needle in the haystack with the ZEISS EVO MA 25.
Renishaw AM streamlines process for rapid prototyping expert
Prototyping bureau, Innovative 3D Manufacturing, has chosen Renishaw for its metal additive manufacturing (AM) production and rapid prototyping services. Innovative 3D Manufacturing employs two quad laser Renishaw RenAM 500Q systems along with four single laser Renishaw systems at its facility in Franklin, IN, USA. Innovative 3D Manufacturing recognized that to remain competitive in a growing rapid prototyping market it had to find the technology that would deliver high quality parts to a customer's deadline. They also noticed that as well as prototyping, customers were beginning to ask for parts for production applications. As a result, Innovative 3DManufacturing wanted to invest in the latest AM systems.
“Innovative 3D Manufacturing were already familiar with other Renishaw products, such as our market-leading metrology products, and were interested to learn about our AM expertise,” explained Keith Brady, Regional Sales Manager at Renishaw Inc. “After trying the system and understanding the benefits, as well as seeing the support we offered, they decided to work with us and subsequently invested in multiple Renishaw AM systems.” By installing the Renishaw systems, Innovative 3D Manufacturing can maintain its reputation for delivering high quality parts and meet the deadlines of customers in a range of sectors. The on-board sieving and four laser system is also suited to production as well as prototyping, enabling Innovative 3D Manufacturing to take on more projects.
Driving Safety and Saving Lives: Humanetics Makes Good Use of PolyWorks®
Humanetics is the world's largest manufacturer of anthropomorphic test devices (ATDs), commonly known as crash test dummies. The group has more than 1000 employees across 26 facilities located around the world, with its global corporate headquarters in Farmington Hills, Michigan, USA.
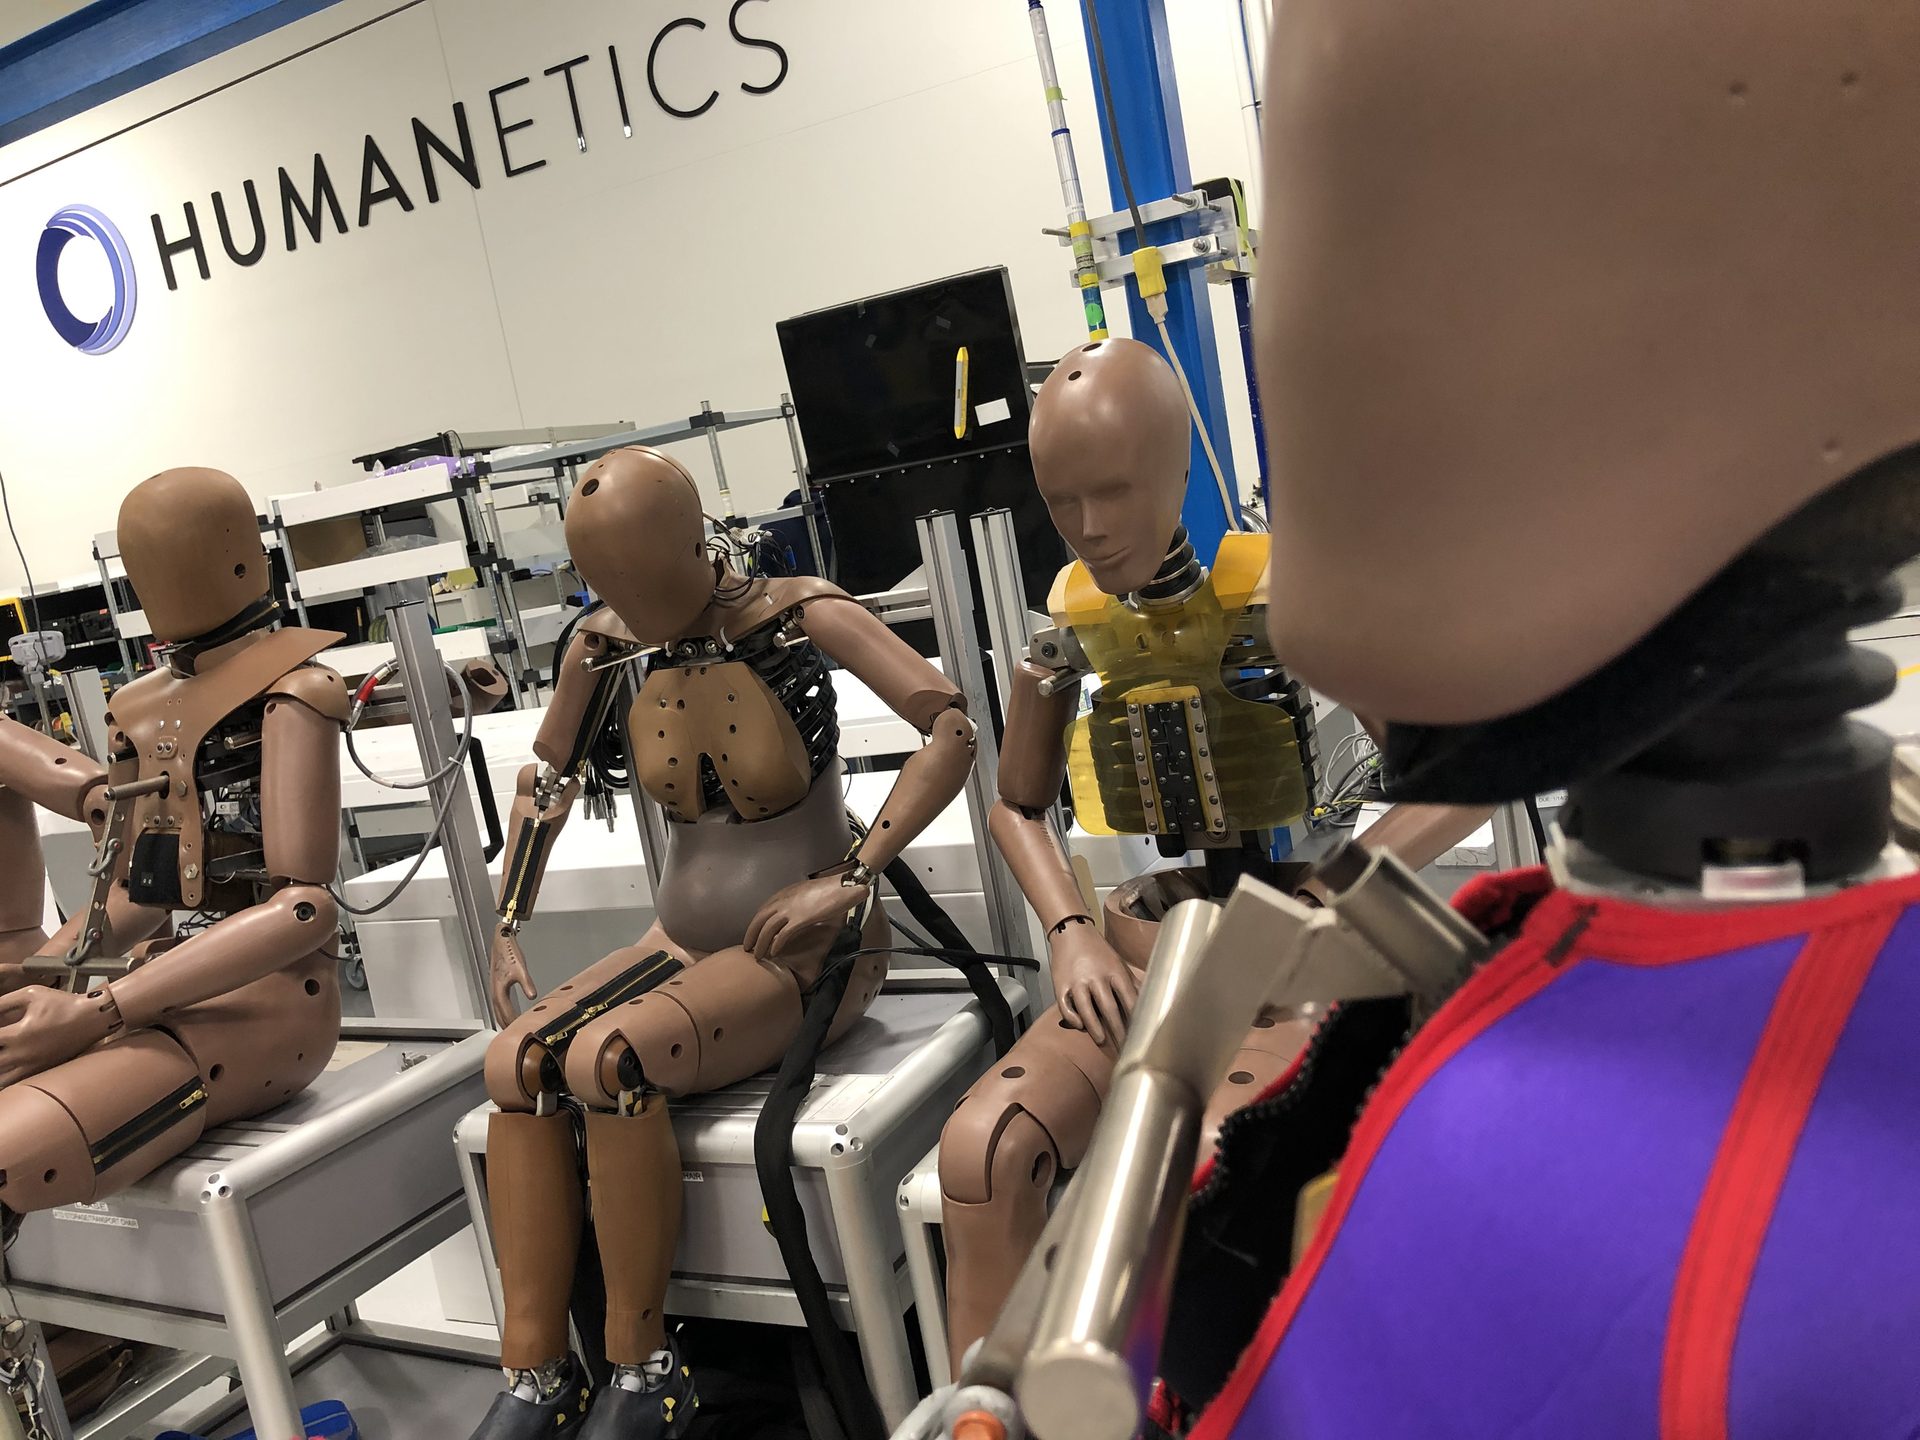
The company is experiencing tremendous organic growth as its technology-driven safety solutions are increasingly in demand by the automotive, aerospace, military, consumer products industries, and many others.
Senior Quality Manager Chad Myerick and Quality Supervisor Casey Unger share their experiences on how PolyWorks|InspectorTM allows them to overcome multiple challenges.
PolyWorks|Inspector is a universal platform that runs on Humanetics’ portable arm, CMM, and 3D scanning equipment, making sharing precise data from multiple sources more efficient.
Since using PolyWorks|Inspector, CMM programming time is 76% faster on average, and its ease of use helps Humanetics get new employees up to speed. And key is that PolyWorks|Inspector allows Humanetics to standardize reporting for all its metrology equipment. This improves their ability to interpret results, which helps with manufacturing changes on critical parts.
Discover the benefits of a universal, user-friendly metrology platform. Read the full case study to explore Humanetics' journey with PolyWorks and learn how they are setting new standards in crash test dummy manufacturing.
Use Case: Exploring the effect of scintillator choice - Best practices on DDA construction that contribute to achieving the best quality image possible.
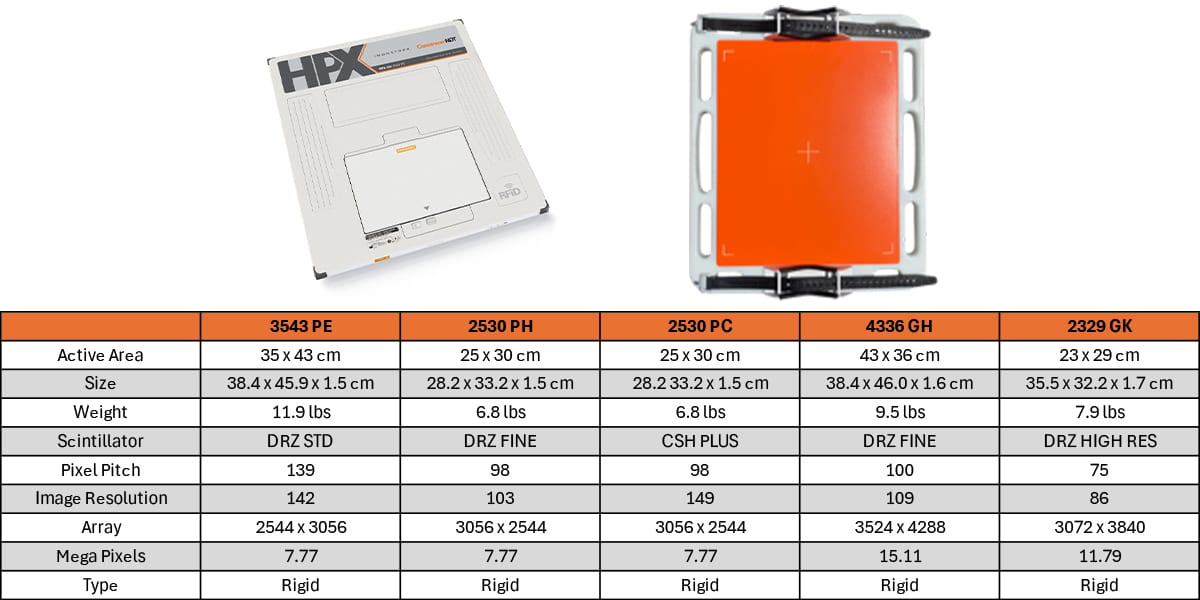
Digital detector arrays (DDAs) are prevalent in industrial digital radiography (DR) inspection processes in several industries.
A scintillator within a DDA is “a detector that converts ionizing radiation to light.”. When X-ray or gamma rays expose the scintillator, it immediately glows with visible light. Amorphous silicon detector arrays do not react by themselves to X-rays and gamma rays because they are only sensitive to visible light; therefore, the need for a scintillator and hence the importance of choosing it properly. Once a choice of scintillator is made, it can’t be substituted by a different one because it is permanently built into the DDA.
Although several factors in radiographic technique such as dose level or scatter control measures profoundly impact the radiographic process results, the scintillator type in a DDA significantly impacts the overall achievable image quality.
Description of the experiment
Four different GOS-type scintillators (DRZ Fine, DRZ Standard, DRZ Plus, and DRZ High) were investigated in combination with Carestream’s HPX-DR 3543 PE DDA. Three different X-ray beam conditions were used for each scintillator while placed in pressure contact with a TFT photodiode array. Exposures were performed and the image quality was measured.
Results Obtained and Conclusions
The DRZ Standard GOS scintillator was the best choice for the HPX-DR 3543 PE DDA. Brian White, Research Scientist at Carestream NDT, explains the result: “Most radiographers do not realize that the scintillator choice determines the image quality of the DDA, and it is often overlooked and taken for granted. Thinner GOS scintillators with smaller phosphors will produce sharper images, with reduced brightness and improved noise uniformity. The balance of sharpness and signal-to-noise ratio will determine the overall image quality. Therefore, the proper scintillator choice determines whether the DDA can meet inspection requirements. The brightness of the scintillator helps to determine the amplification or gain of the system. Brighter scintillators can result in improved image quality if all else is equal”.
Carestream NDT
https://www.carestream.com/en/us/nondestructive-testing-ndt-solutions
Phone: +1 585-627-1800
Toll Free: +1-888-777-2072
A Study on Data Collection Throughput and Accuracy
After Starrett DataSure® Wireless Data Collection Technology was developed, Starrett conducted a controlled, 100% inspection test to measure the impact of DataSure® on throughput and quality assurance. Starrett made three measurements per part and recorded the data on 500 parts.
Methods 1 and 2 involve time-consuming hand movements to pickup and put down the tool in order to record data. Also, results can be uncertain due to the measurement value changing while being inspected. The slowest method (#1) required 29 seconds per part with many errors. Measurement with the DataSure® Wireless Data Collection System (DCS) is fast and direct, nearly 5 times faster than Method #1.

Starrett DataSure® 4.0 is the industry’s most complete, scalable, secure and robust wireless measurement data acquisition solution for Industry 4.0.
Method 1: Measure, Handwrite Results, Enter Data Remotely
- 37 time/ motion elements, 28.9 seconds per part
- 62 entry errors
Factors affecting accuracy and throughput:
- Measurement must stop so that the machinist or inspector can write down results
- Illegible handwritten numbers, mistakes noted but not corrected, data written in shorthand and inspector's data misread by the transcriber
- Value can change when the gage/ tool is released
- Data entry errors at the PC
Method 2: Measure and Enter Results to PC
- 20 time/ motion elements: 15.3 seconds per part
- 4 data entry errors
Factors affecting accuracy and throughput:
- Alternating measuring and data entry caused errors
- Gage not seated correctly when released to key-in data
- Missed data entry, incorrect keystrokes, data entered into wrong cell
Method 3: Measure and Enter Results Directly with a Starrett DataSure® Wireless DCS
- 17 time/ motion elements: 6.6 seconds per part
- 0 entry errors
Factors affecting accuracy and throughput:
- Measurement technique is maintained
- No interpretation or memory errors
- Immediate, direct data entry eliminates errors

