This Case Studies Special Advertising Section features manufacturing companies with real-world challenges using quality equipment, software and services to solve their problems and improve their processes. These problem-solving stories describe myriad manufacturing challenges and how the correct application of a supplier’s product or service made the difference, providing quantitative benefits to quality and manufacturing issues.
The suppliers in this special section present these real-world problems and solutions to help Quality Magazine subscribers who may have similar experiences.
Case Studies
— Special Advertising Section —
Edelbrock Generates High Performance ISO Audits with GAGEtrak®
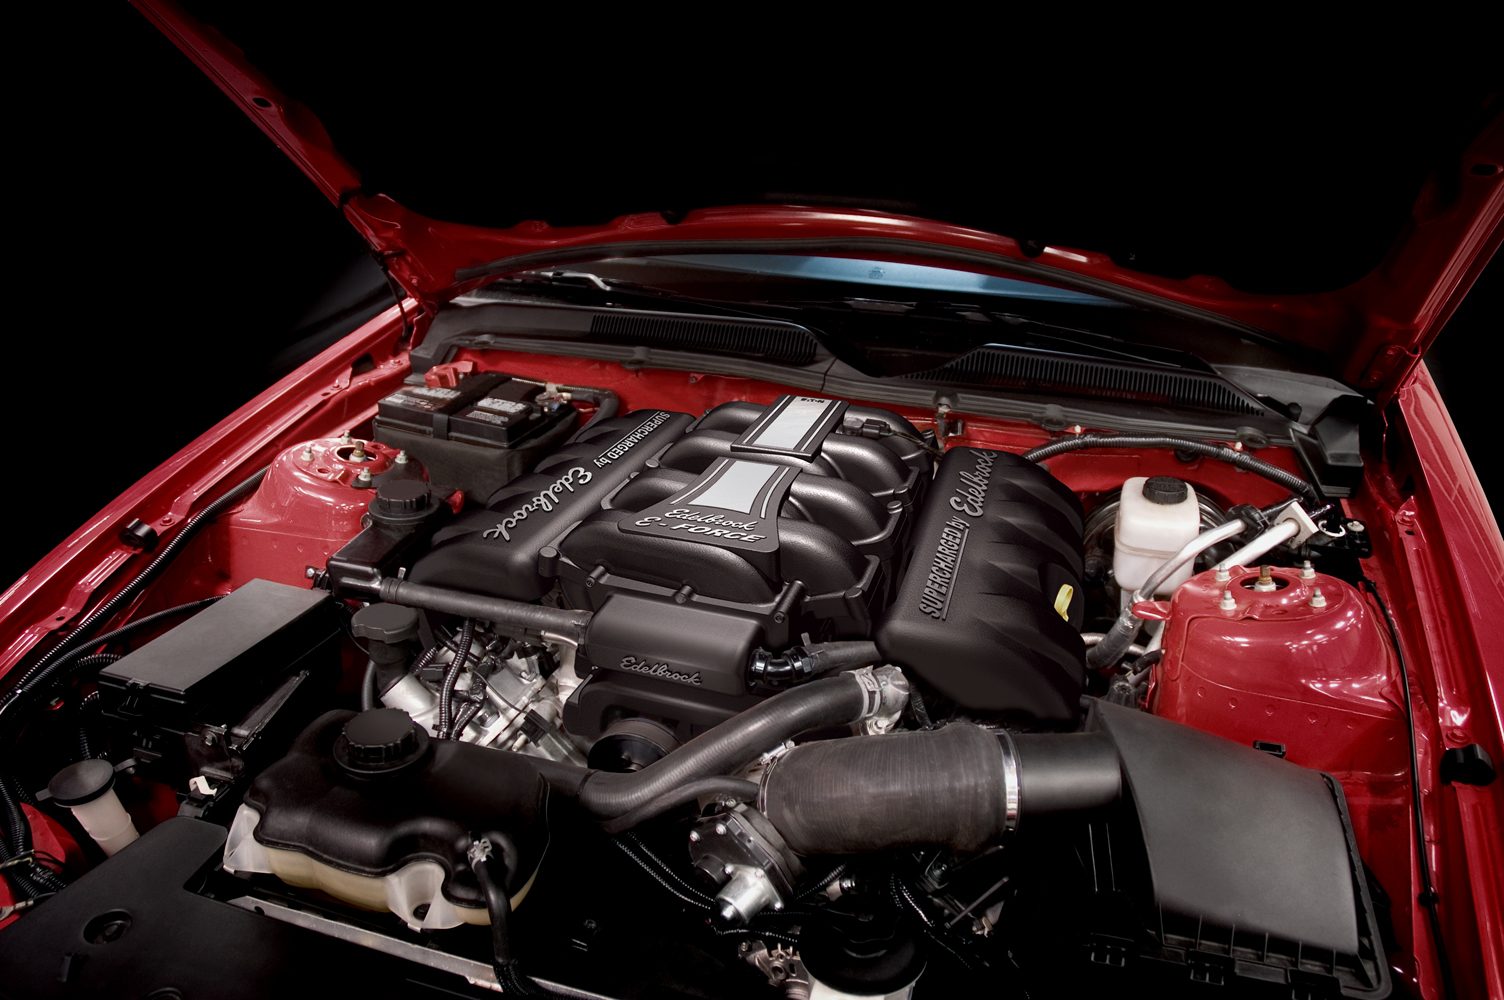
In 1938, Edelbrock started in a modest four-car repair shop in Los Angeles and today, the Edelbrock name is known worldwide for manufacturing a wide range of high-precision, high-performance engine components. Kevin Brewis, Edelbrock’s Calibration Technician, is responsible for ensuring that the company’s thousands of gages, fixtures and pieces of test equipment are properly managed, tracked and calibrated across five divisions to meet ISO 9001 certification.

While Edelbrock has used GAGEtrak since 1998, Brewis became the main user in 2008 and found right away that “GAGEtrak is very user-friendly and easy to learn.” Brewis likes that GAGEtrak allows him to track replacement costs on any gage, print monthly workload reports ahead of time and search and track tool history, allowing him to show an auditor exactly when a tool went missing as needed during an audit.
Brewis also likes that GAGEtrak can “...pull up my calibration records and print a calibration sticker [with the GAGEtrak Calibration Label Kit] in less time than it takes to boot up my computer.” Brewis estimates GAGEtrak “pays for itself ten-fold every year” and noted that “without GAGEtrak, this job would be impossible.” Brewis has also had great success with the CyberMetrics support team, commenting that “there hasn’t been a question they haven’t answered or a problem they haven’t solved.”
GAGEtrak is used at thousands of facilities worldwide to improve measurement quality, assure compliance and increase efficiency. Contact CyberMetrics today to learn how GAGEtrak will do the same for your company.
50 % shorter measuring time for medical plastics
The medical plastics sector is highly intensive in nature, since the mass production of a wide range of parts means that there is always plenty to do in the measuring lab. Manufacturers like Gerresheimer make products such as injector pens that are vital to quality of life and must therefore be produced and handled with great sensitivity.
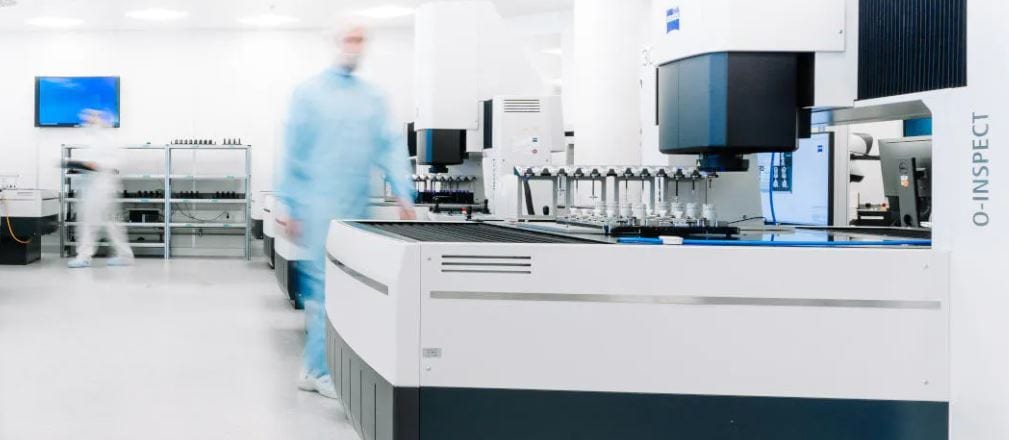
Given the need to ensure total peace of mind, the production requirements in the medical plastics sector can be challenging. Since high throughput leads to limited measuring time, ZEISS has invested significantly in boosting performance through software functions.
ZEISS Industrial Quality Solutions
info.metrology.us@zeiss.com
1-800-327-9735
Equator™ gauging system reduces inspection time of NIMS metalworking training parts by 85%
To uphold student skill levels to current manufacturing industry standards, many trade schools in the USA have aligned their training with certification from the National Institute of Metalworking Skills (NIMS). Tailored directly to this initiative, global engineering technologies company, Renishaw, has developed an Equator™ gauging system package which significantly improves the inspection of NIMS parts. Renishaw ensures that the system is easy to use and that users are well supported every step of the way.
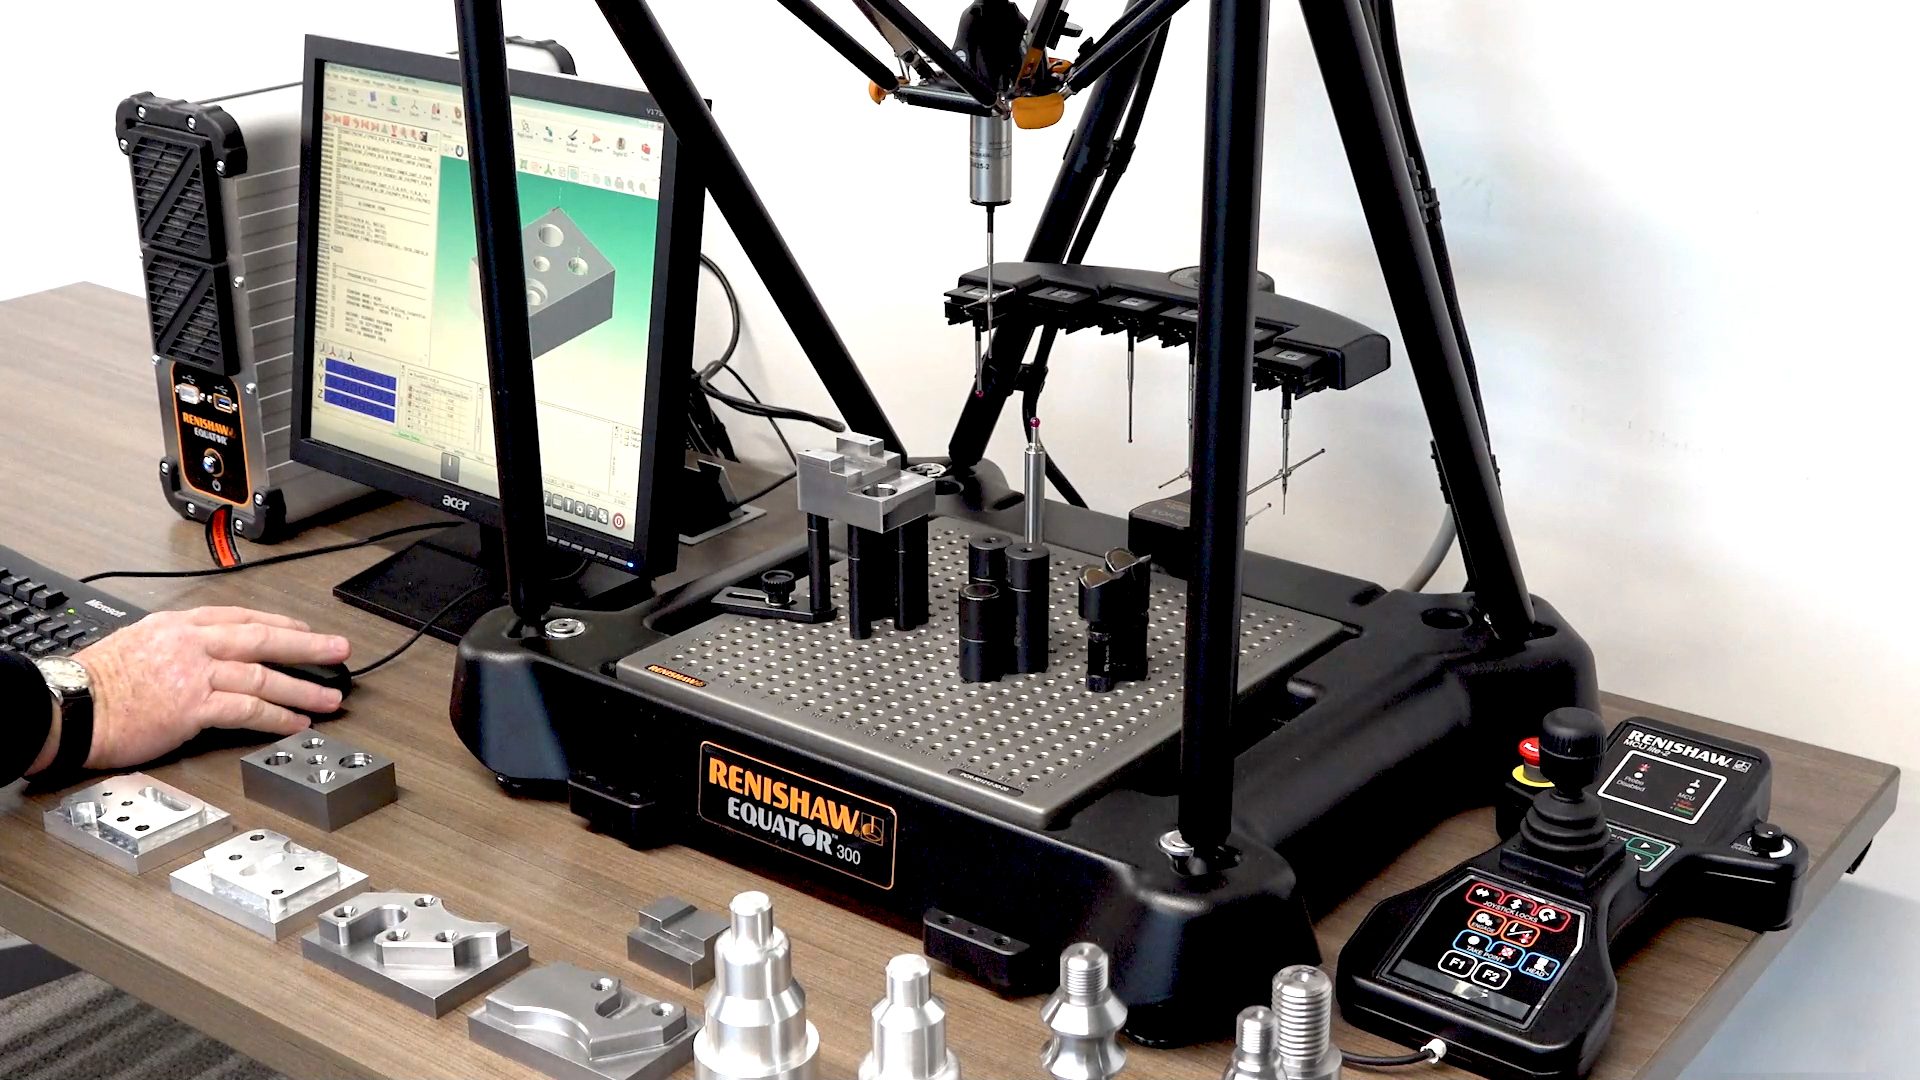
“Using the Equator gauge to measure NIMS parts has been hugely beneficial. Previously, if a student brought me a part to check it might take me 20 minutes to inspect in-house if there are no interruptions. Now, by using the Equator, I can check a part in three minutes – a massive 85% inspection time decrease per part… Renishaw has offered outstanding support. We once had a problem with the system that I couldn't resolve, so I phoned the Renishaw team for help. The engineers made sure we were back up and running as quickly as possible.” - Spencer Black, Instructor at the Enoree Career Center.
847-286-9953
Wire Terminal Testing Made Easy
A wire harness manufacturer needed a flexible and operator-friendly solution to test the pull-off forces of crimped wire terminals. After consulting with Mark-10 product specialists, it was determined that an F305 test frame with EasyMESUR® would provide the configurability and ease of operation that were required for the application.
For the upper grip, a G1076 turret style wire terminal grip was utilized to accommodate the wide range of wire gauges and terminal types that the manufacturer needed to test. For the lower grip, a G1103 bollard style grip was utilized for its 200 lbF capacity and non-destructive testing capabilities.
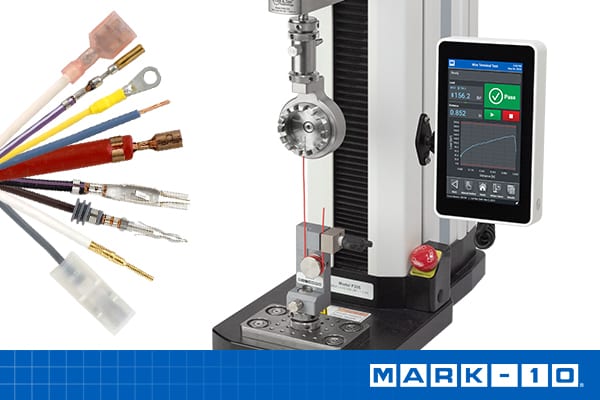
The manufacturer worked with Mark-10 product specialists to configure their EasyMESUR® control panel with optional functions to accommodate the different test types that were required for their application, including break limit, load limit, load hold, and cycle testing.
Individual tests for specific wire types were configured via intuitive test creation wizards within EasyMESUR®. The simplified run screen enabled the manufacturer to quickly integrate EasyMESUR® into their quality control workflow with minimal training required for operators.
HPX-DR Non-Glass DR Detectors – Leveraging Technology to Meet Customer Needs
Today’s DR technology offers major speed and productivity improvements for testing operations. And non-glass panels take that productivity one step further out in the field. Carestream NDT addresses the unique needs of NDT imaging by continuously working in the field side-by-side with customers to learn how to leverage technology and materials to provide products that address those needs. The result – replacing glass with a tougher material in HPX-DR panels for extreme durability in harsh environments without losing image quality.
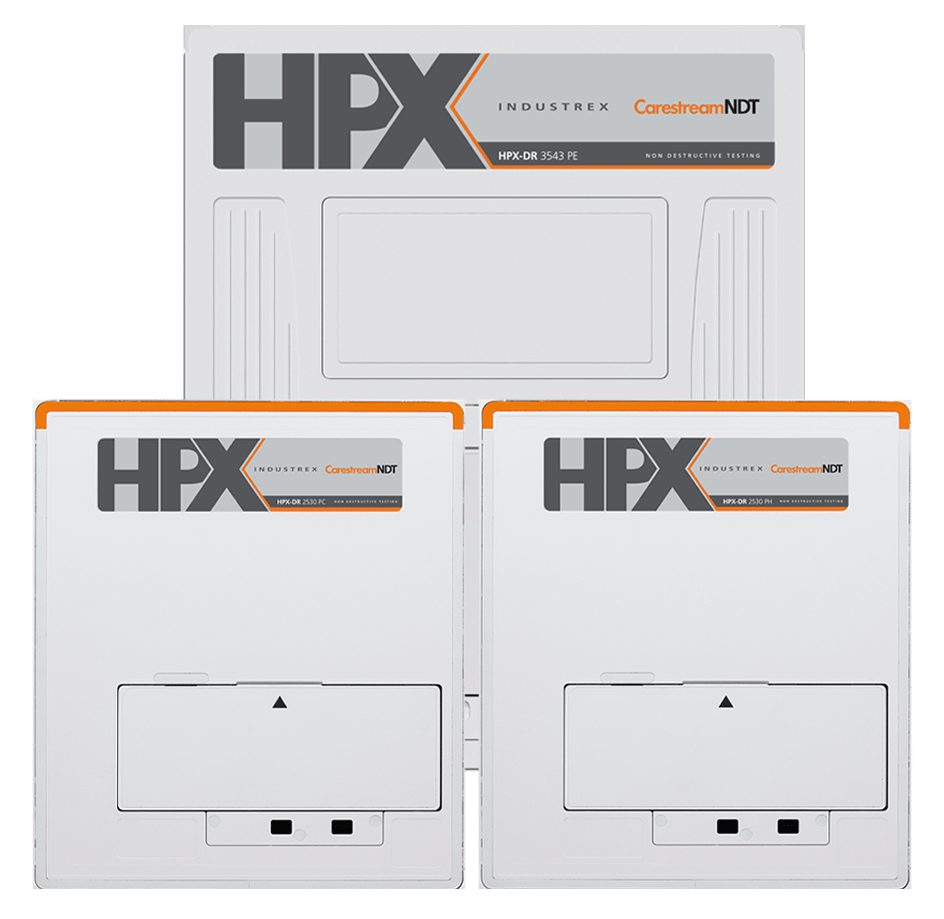
The benefits of non-glass are most apparent during demanding imaging procedures in difficult environments. This is especially true for pipeline, refinery, and heavy industrial applications, because Carestream NDT’s non-glass HPX-DR panel provides a more reliable option in a detector. By incorporating a tougher material instead of glass, these detectors can withstand the rigors of NDT field work. They virtually eliminate downtime and repair costs because of glass-related damages from pressure, accidental drops, and transportation mishaps. They also include tungsten shielding for high exposure NDT applications and a protective, weatherproof enclosure for remote locations in inclement weather.
Carestream NDT offers a full line of durable, non-glass detectors to fit unique application needs including the large format (350 x 430mm) HPX-DR 3543 with a 139 μm pixel pitch and two compact (250 x 300mm) options; the HPX-DR 2530 PH with 98 μm resolution and HPX-DR 2530 PC with 145 μm resolution. All the HPX-DR Detectors include close to edge imaging capability. The image area is slightly offset making it especially well-suited for profile (corrosion) work through pipe racks and bridges. And the smaller detectors are ideal for applications that require imaging in tight spaces.
Carestream NDT HPX-DR Detectors run on INDUSTREX Digital Viewing Software so customers can easily add a non-glass detector to their tool set of imaging equipment without having to purchase and learn new software.
Transforming GE Appliances With Digital 3D Measurement Data
GE Appliances and its leadership relate how improving access to 3D measurement data drives innovation and entrepreneurial spirit across the company.
Having 3D part data in the hands of those who need it makes for faster and more efficient decision-making in design, production, quality assurance, and service areas, among others.
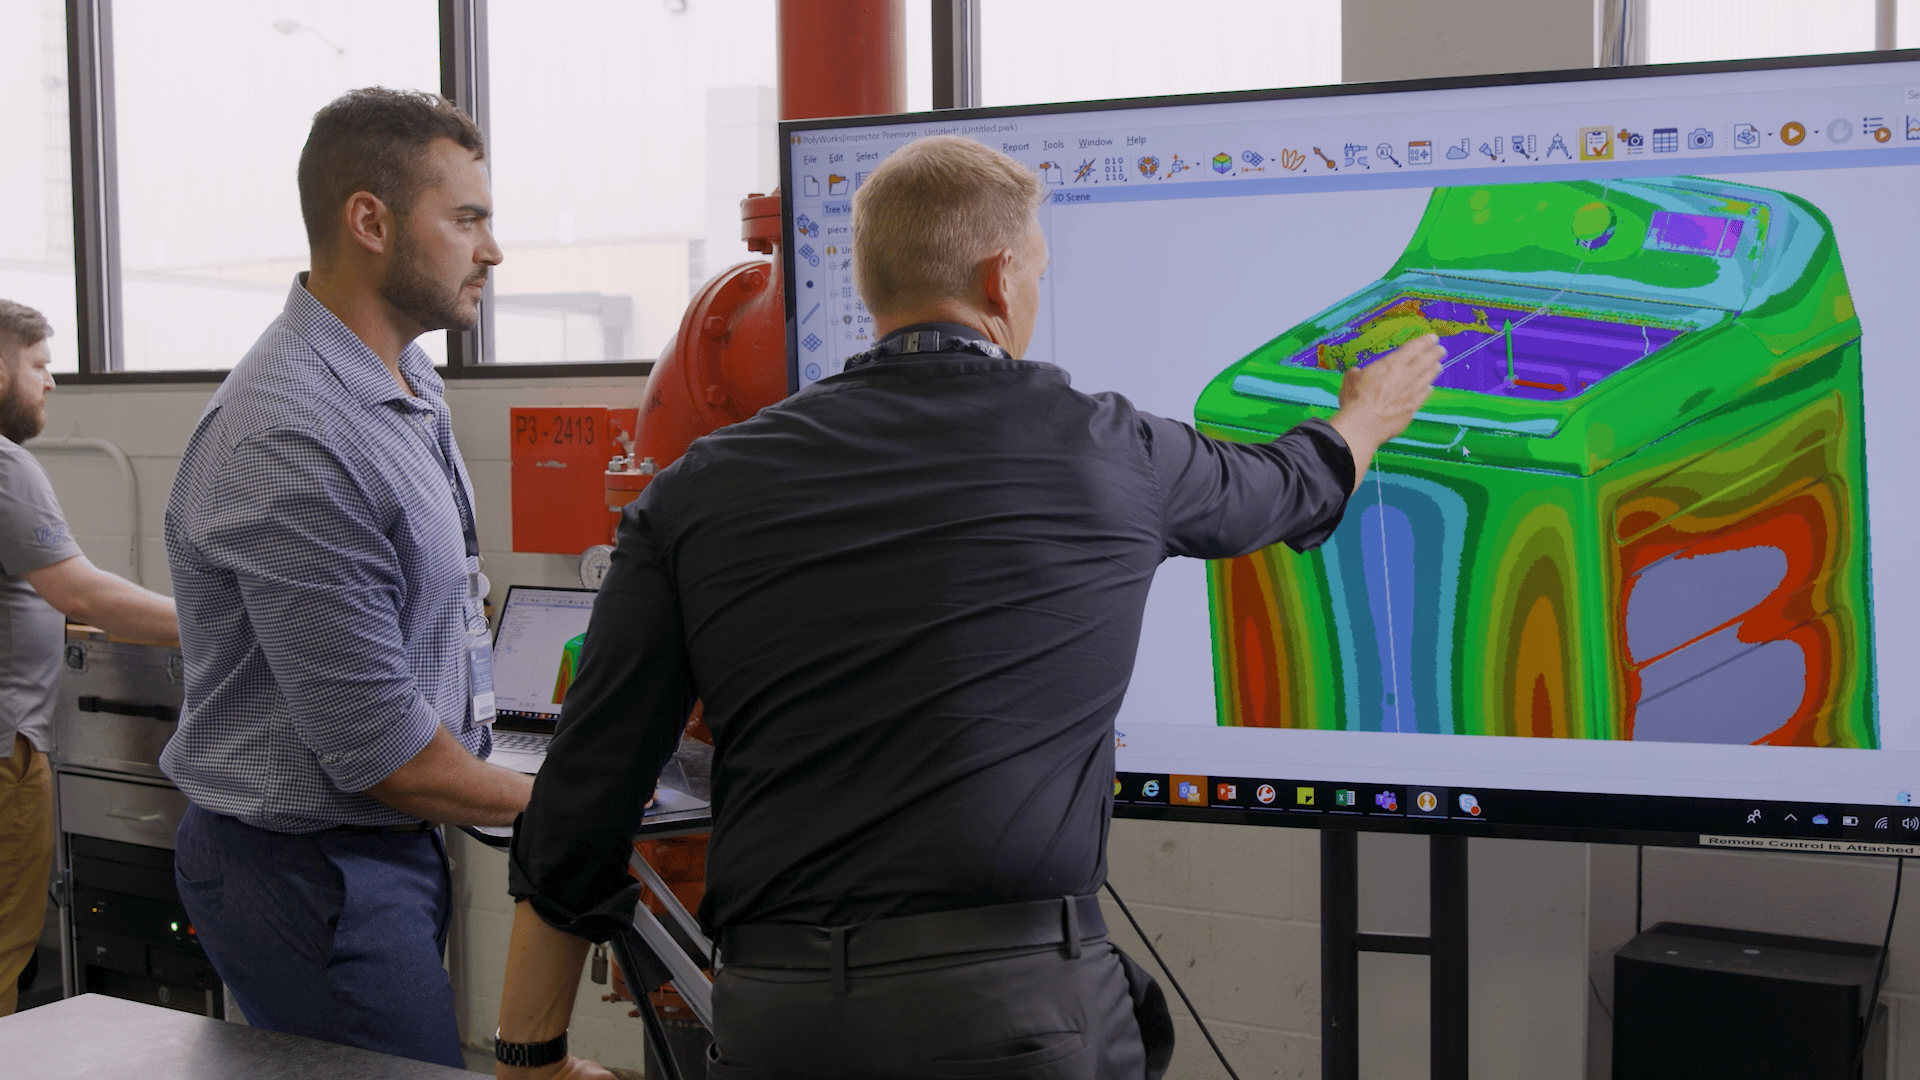
Sharing data in real-time has taken identifying, understanding, and solving product problems from a matter of days and weeks to hours. Product assessments, simulations, and analyses can all happen digitally before making significant investments in prototyping and production, not only accelerating efficiencies but improving quality.
In addition, having a web-based streaming data management solution required no installation of proprietary software that would require specialized training, making access to 3D models and measurement data easy for hundreds of users across the company.
Breaking down barriers and silos and interconnecting everyone who can benefit from digital 3D measurement data is the promise of PolyWorks|DataLoop™. This scalable data-management solution can handle vast amounts of data produced by multiple measuring sources (CMMs, laser scanning, etc.) and make it available to engineers and decision-makers across your organization. Teams can measure parts, review results, troubleshoot issues, and proactively adjust manufacturing processes simultaneously, a force multiplier in productivity and product quality.
See and hear how GE Appliances’ transformational experience can benefit your business.
InnovMetric Software
info@innovmetric.com
1‑888‑688‑2061
www.innovmetric.com
Manufacturer Saves Over $1,000,000/yr. With QI Macros
One aluminum manufacturer was having trouble with excess scrap. While there was significant, unavoidable startup scrap, other opportunities to reduce scrap became obvious after some analysis.
While many pounds of finished material were inspected and found wanting before shipment, roughly 40,000 pounds of finished metal was returned each month. Shipping and return costs ate into profitability. Finished metal cost about one dollar per pound. Returned metal had to be chopped up and fed back into the furnace for remanufacture.

Using QI Macros for Excel, it was possible to use PivotTables to analyze and chart ongoing scrap. Control charts showed a stable process producing consistent levels of monthly scrap. Drilling down into the data, Pareto charts showed that one machine out of many was producing most of the scrap. A few hours of root cause analysis with operators of that machine identified simple ways to reduce scrap just by changing the setup and ongoing adjustment process.
Annual savings amounted to over $1,000,000 after only a few hours of analysis.
Million-dollar opportunities lay hidden in data about defects, mistakes, errors, scrap, waste and rework. Using Excel and QI Macros it is possible to mine and find those opportunities—the invisible low-hanging fruit in any company. QI Macros Improvement Project Wizard automates this analysis, creating improvement projects in just minutes.
This analysis works in manufacturing, healthcare, telephony, banking and any industry that tracks waste and rework. Haven’t you waited long enough to find your hidden, low-hanging fruit?


