For certain parts and products, roundness measurement is a critical part of the quality assurance process. By Christopher Lee
Roundness Measurement Technology Drives Quality and Productivity
Measurement
For certain parts and products, roundness measurement is a critical part of the quality assurance process. By Christopher Lee
Factory automation is changing the face of the shop floor. Automated and artificial intelligence (AI)-driven technology for parts measurement is evolving rapidly and its adoption is making it easier for manufacturers to meet quality control requirements for advanced medical devices, electronic vehicles, and more. However, despite advances in technology, significant challenges remain.
In the area of roundness measurement – measuring the roundness of a part to confirm that it does not deviate from the known specifications on the blueprint – complexity has increased as parts become more complicated with tighter tolerances. External forces, such as the COVID-19 pandemic, are also adding to the quality challenges for manufacturers. Over the past two years, manufacturers have had to deliver parts and products that maintain the same high level of quality but do so faster than ever to satisfy pent-up demand and more recently, ramp up post-pandemic production.
COVID-19 has also impacted the workforce with many older, more experienced employees choosing to retire or not work for a variety of reasons. To make up the labor shortfall, a new and often inexperienced post-pandemic workforce has to be trained quickly. No surprise then manufacturers are seeking a roundness measurement solution that is not only easy for workers to use, but also capable of delivering high-precision measurements at high volume.
The importance of roundness measurement
For certain parts and products, roundness measurement is a critical part of the quality assurance process. For example, if a rotational wheel bearing is measured and found to deviate from blueprint specifications, it will likely make noise or may fail well before expectations. Leakage, vibration, and other poor quality performance issues are also common in defective parts and could be catastrophic in the case of small, complex components for medical devices.
Perhaps most important, a defective part can be pulled from production much earlier in the process before it reaches the final assembly stage. This can save countless headaches later on and significantly reduces the costs associated with remediation and recalls, not to mention the damage to a company’s reputation.
Fortunately, emerging advances in roundness measurement machines and software today are making it possible to not only improve quality control and reduce human error, but also save time and potentially reduce initial investment in measurement technology. The future also holds the promise of further evolutions in metrology that will help raise the bar of quality control in factory automation environments.
Streamlining the measurement process
Faster production times mean that manufacturers expect parts to be measured for quality control as quickly as they are made. But the roundness measurement process itself cannot be rushed or quality will suffer. Because precise on-contact measurement is required, roundness measurement machines have a stylus that physically touches the part or product. Using machines that automate this process helps to increase the level of precision while also significantly reducing the possibility of human error, which can save time by minimizing production delays and rework.
However, the primary time savings benefits of advanced roundness measurement machine technology come from faster set-up of the part to be measured. That includes speeding up the process of putting the part on the table, orienting it correctly, and moving it back to the production line after measuring to stay on track with time-to-market goals. When equipped with an automatic adjustment table and advanced centering table architecture, today’s next-generation roundness measurement machines can significantly reduce the inspection process on a typical production run.
In addition to hardware innovations, the software that controls the automated functions of roundness measurement machines has evolved to become just as robust. However, the key challenge is that no matter how complex the process, the software must be relatively easy for operators to use, especially those that have just entered the workforce. Because the computation of calibration values for each measurement is performed within the automation software, the possibility of human error is dramatically reduced. Human error, however, will always be a factor since operators sometimes may need to manually input certain measurement values. But as roundness measurement automation software continues to add new capabilities such as AI-driven functionality, the risk of manual operator errors should continue to decline and have minimal impact on quality control.

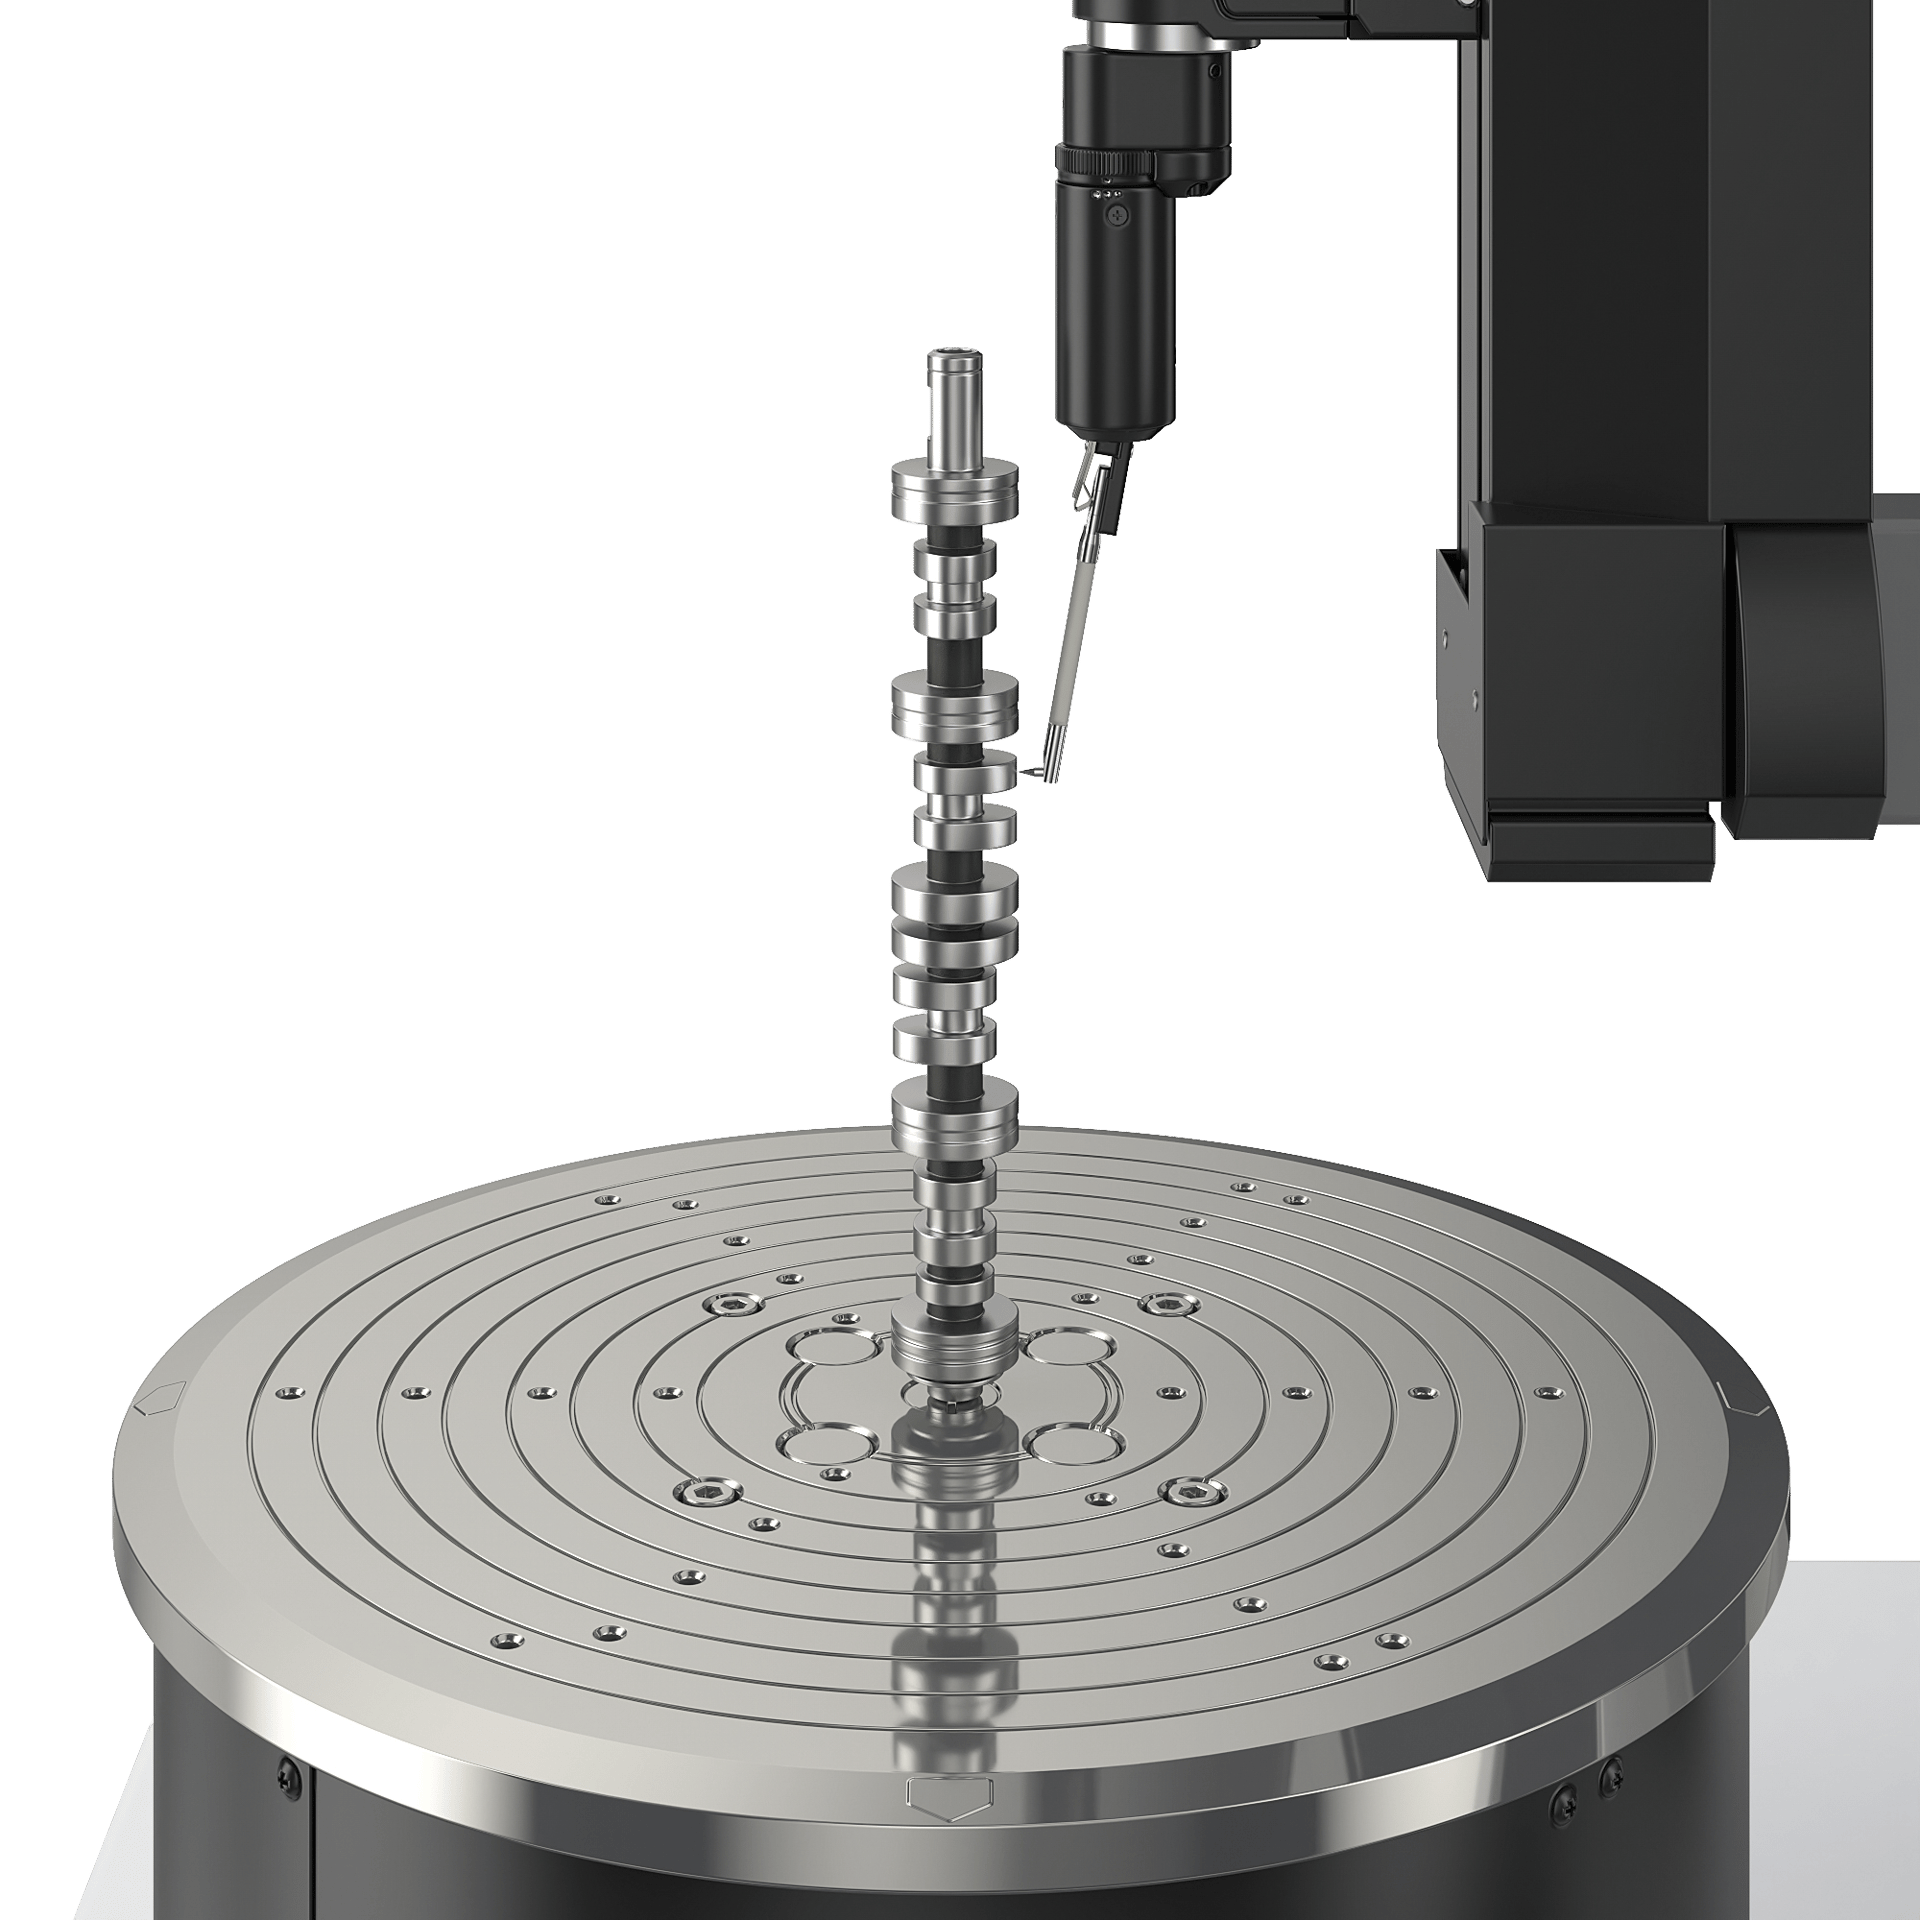
Camshafts require high-precision measurement because they control the opening and closing of inlet/outlet valves that improve the combustion efficiency of engines. Measurement of cam shape, surface roughness, and roundness, which previously required multiple measuring instruments and setup, can now be efficiently conducted using a single measuring machine.
One machine. Multiple ways to measure.
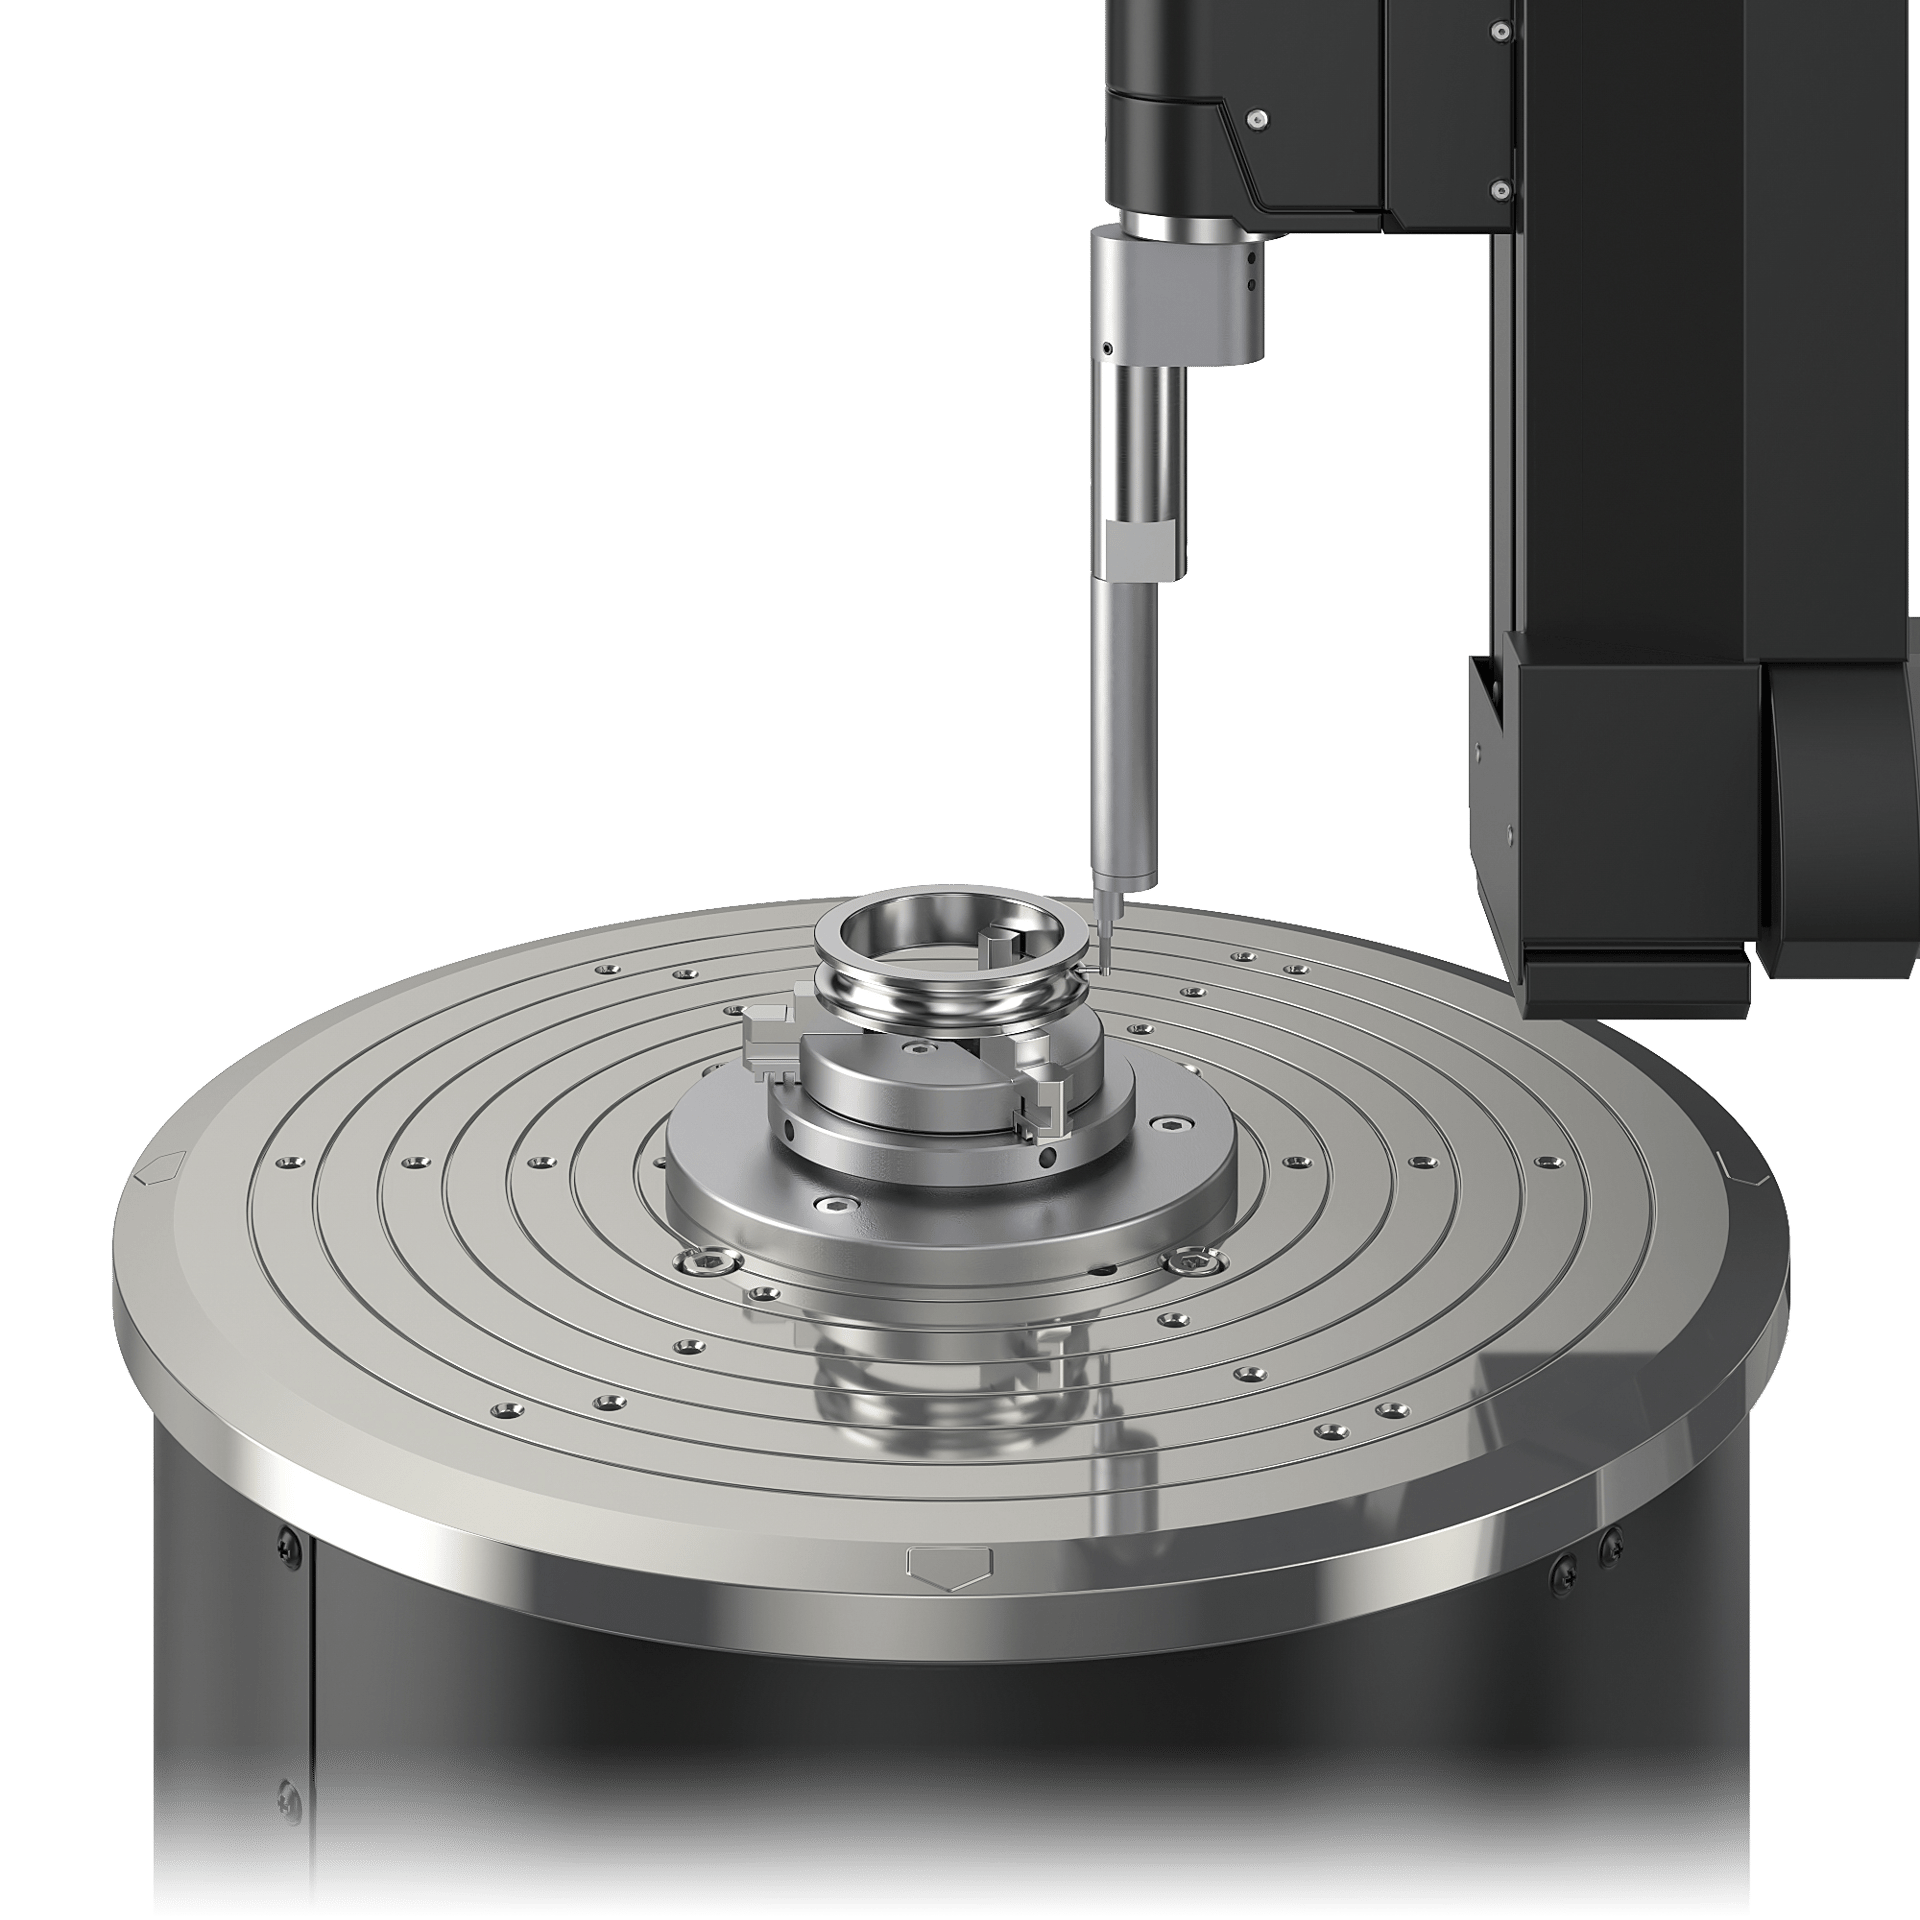
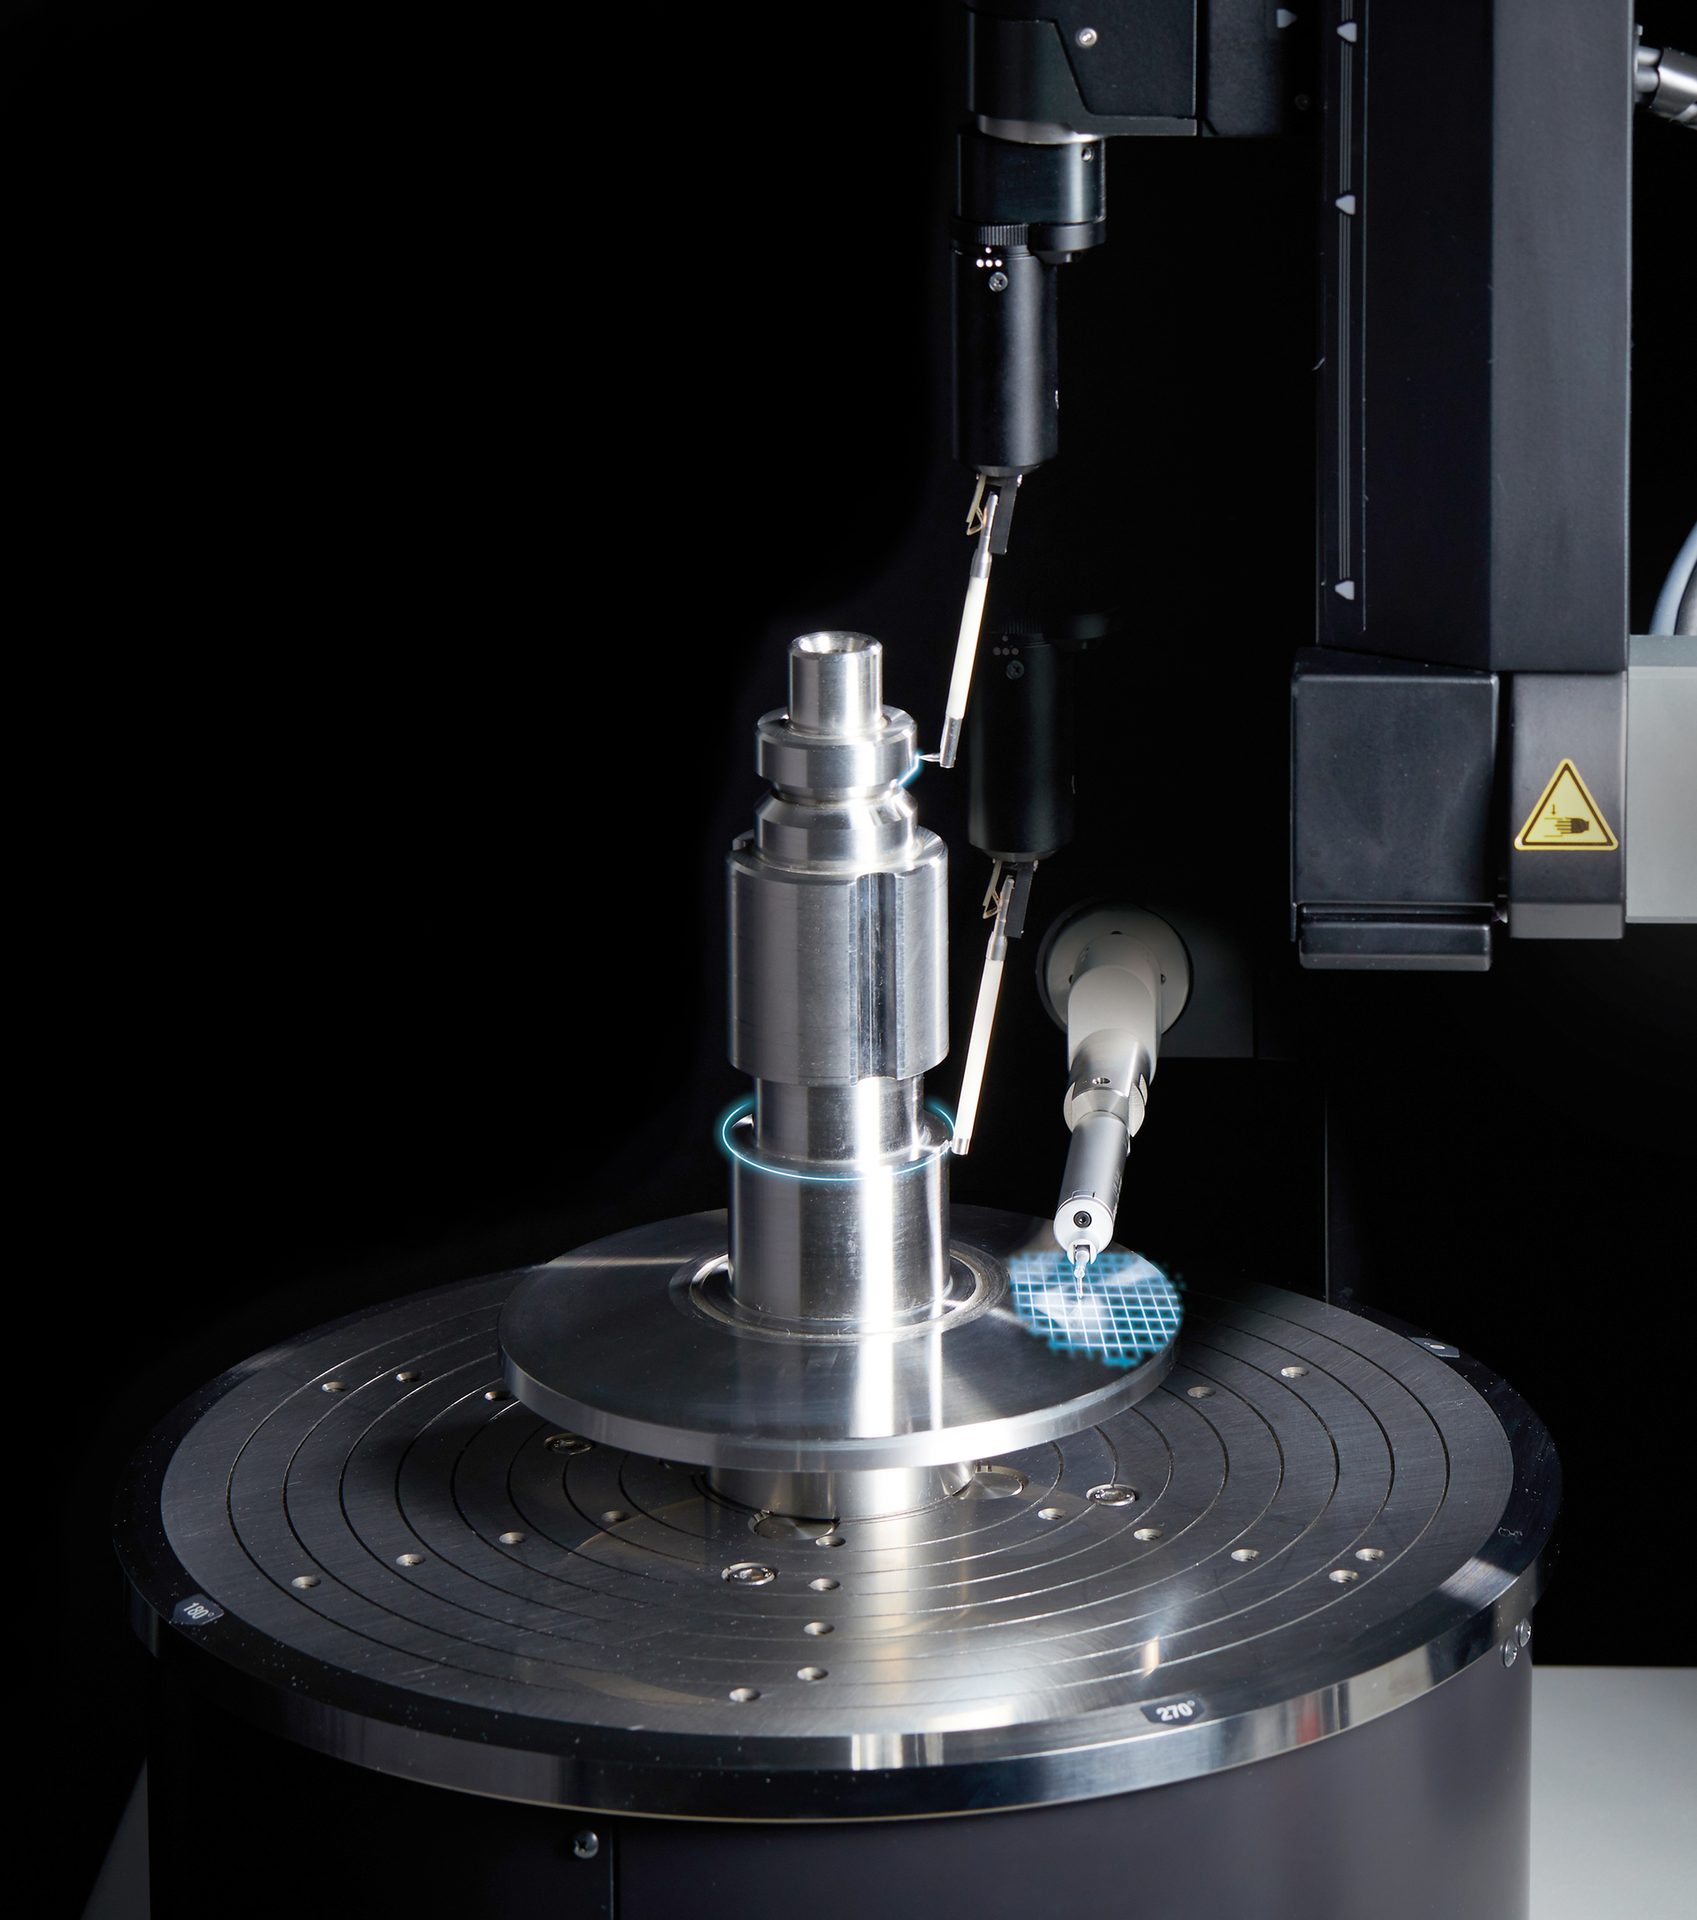
One example of the latest advances in roundness measurement available today is a “3-in-1” solution that integrates the measurement of form contour as well as surface roughness, for example, in addition to roundness. Essentially, three disciplines of measurement can be provided on just one machine that can be fitted with different peripherals, software and measuring tools. As such, these advanced CNC machines can measure a wide variety of workpieces with various geometries, such as camshafts and bearings.
These multi-discipline machines offer the flexibility to measure roundness and other characteristics of both small and large parts on a single platform. Outfitted with a motorized sliding axis, detector and detector holder, it is possible to change the stylus angle, making it easier to perform inside diameter measurement of thick workpieces while avoiding interference. Increased positioning speeds up to 100mm/sec and improved positioning accuracy on moving axes compared with conventional modes can help increase throughput and productivity while maintaining quality.
In the automotive industry, for example, manufacturing electronic vehicles (EVs) with fewer but more complex parts and components requires different ranges of precision measurement. And as auto manufacturers ramp up EV production due to skyrocketing demand, they are making thousands of these parts every day. Designed to run alongside the manufacturing process to measure parts quickly and accurately at high volume, these more advanced 3-in-1 roundness measurement machines are ideal for EV parts, as well as many other industries.
While the application of these multi-disciplinary roundness machines may differ, the cost benefits are consistent from industry to industry. Besides the obvious benefit of the lower upfront investment of purchasing one machine versus three, manufacturers also save space by having only one measurement machine on the shop floor. That extra space can be used to add additional capacity, a new quality control process, or additional revenue-generating capabilities.

New technology in machines and software allow for faster, more accurate roundness and surface measurements to keep pace with ever-increasing manufacturing speeds and processes.
Planning for today and tomorrow
Today’s marketplace for roundness measurement machines offers a wide choice of solutions from basic measurement functions all the way to the advanced 3-in-1 functionality. How can manufacturers choose the right one for their needs?
Companies that produce just one or two components with simple areas of roundness and do not have immediate plans to expand production may do well with an entry-level machine with conventional functionality for roundness measurement. However, an investment in an advanced multi-discipline roundness machine may be best for companies planning to produce additional types of parts and components in the future.
In either case, any type of roundness measurement machine with automated features that can speed the measurement set-up process is an investment to consider now.
In the future, you can expect to see more all-virtual, AI-driven noncontact solutions for measurement technology overall. Although contact inspection is still considered the gold standard to achieve precision and accuracy, noncontact roundness measurement technology is likely to follow suit as virtual noncontact methods become more refined and sophisticated. This may seem visionary and decades away, but the reality is much closer than most realize.

