Case Study
Miltera has built up a reputation as a specialist in producing everything from racecar parts to mold components, consumer electronics, turbine compressors and turbochargers for the aerospace industry By ZEISS Industrial Quality Solutions
Miltera Achieves Success with ZEISS Industrial Quality Solutions
How has Miltera Machining Research Corp. become an industry-leading producer of prototype and high-tech, ultra-precision parts? The company chalks up a large part of its success to its enduring relationship with ZEISS Industrial Quality Solutions.
Miltera utilizes four ZEISS coordinate measuring machines (CMMs) to qualify machine tools. This mutually-beneficial collaboration has been ongoing since Miltera was founded in 2007, in the Waterloo Region — the innovation capital of Canada. The expansion of the metrology line with ZEISS has facilitated automated cells with computer numerical control (CNC), optimization of resources and also achieving accuracy and reliability that has kept them ahead of the competition.
How Do You Know It’s a Good Part?
Miltera has spent the last 15 years providing five-axis machining services for manufacturers and machine tool builders looking to test, validate or perfect new technologies. Rather than focusing on any one industry, Miltera works on parts that fall into three main categories:
- Extreme-tolerance parts
- Complex geometries requiring 5-axis or multi-axis machining
- Exotic and difficult-to-cut materials that require novel metal removal technologies
Miltera has built up a reputation as a specialist in producing everything from racecar parts to mold components, consumer electronics, turbine compressors and turbochargers for the aerospace industry. Miltera also routinely helps with consultation and implementation of turnkey solutions at manufacturers across the nation.
Michael Blackburn, president of Miltera, says one critical question informs all of his and his company’s work:
“How do you know it’s a good part?”
His CNC machinists used hand gages in the early days, but Blackburn knew powerful metrology systems were necessary to provide the best possible parts, especially extreme-tolerance parts. He started a search for the best measurement machines on the market. He asked tool builders around the world. And their answers?
“ZEISS,” says Blackburn. “It was unanimous. Everyone recommended ZEISS.”
Blackburn reached out to Jeff Reid, national product manager at Elliott Matsuura Canada, a supplier of machine tools and metrology equipment for the metal cutting industry. Reid works closely with customers to support their metrology efforts by performing needs analyses and providing machine recommendations.
“Miltera had very strict requirements for tight tolerances, accuracy and abundance of data as many of their parts require 100% inspection,” says Reid. “I knew ZEISS was the only company that could meet all their needs.”
AdCreative Missing.
(double-click to add)

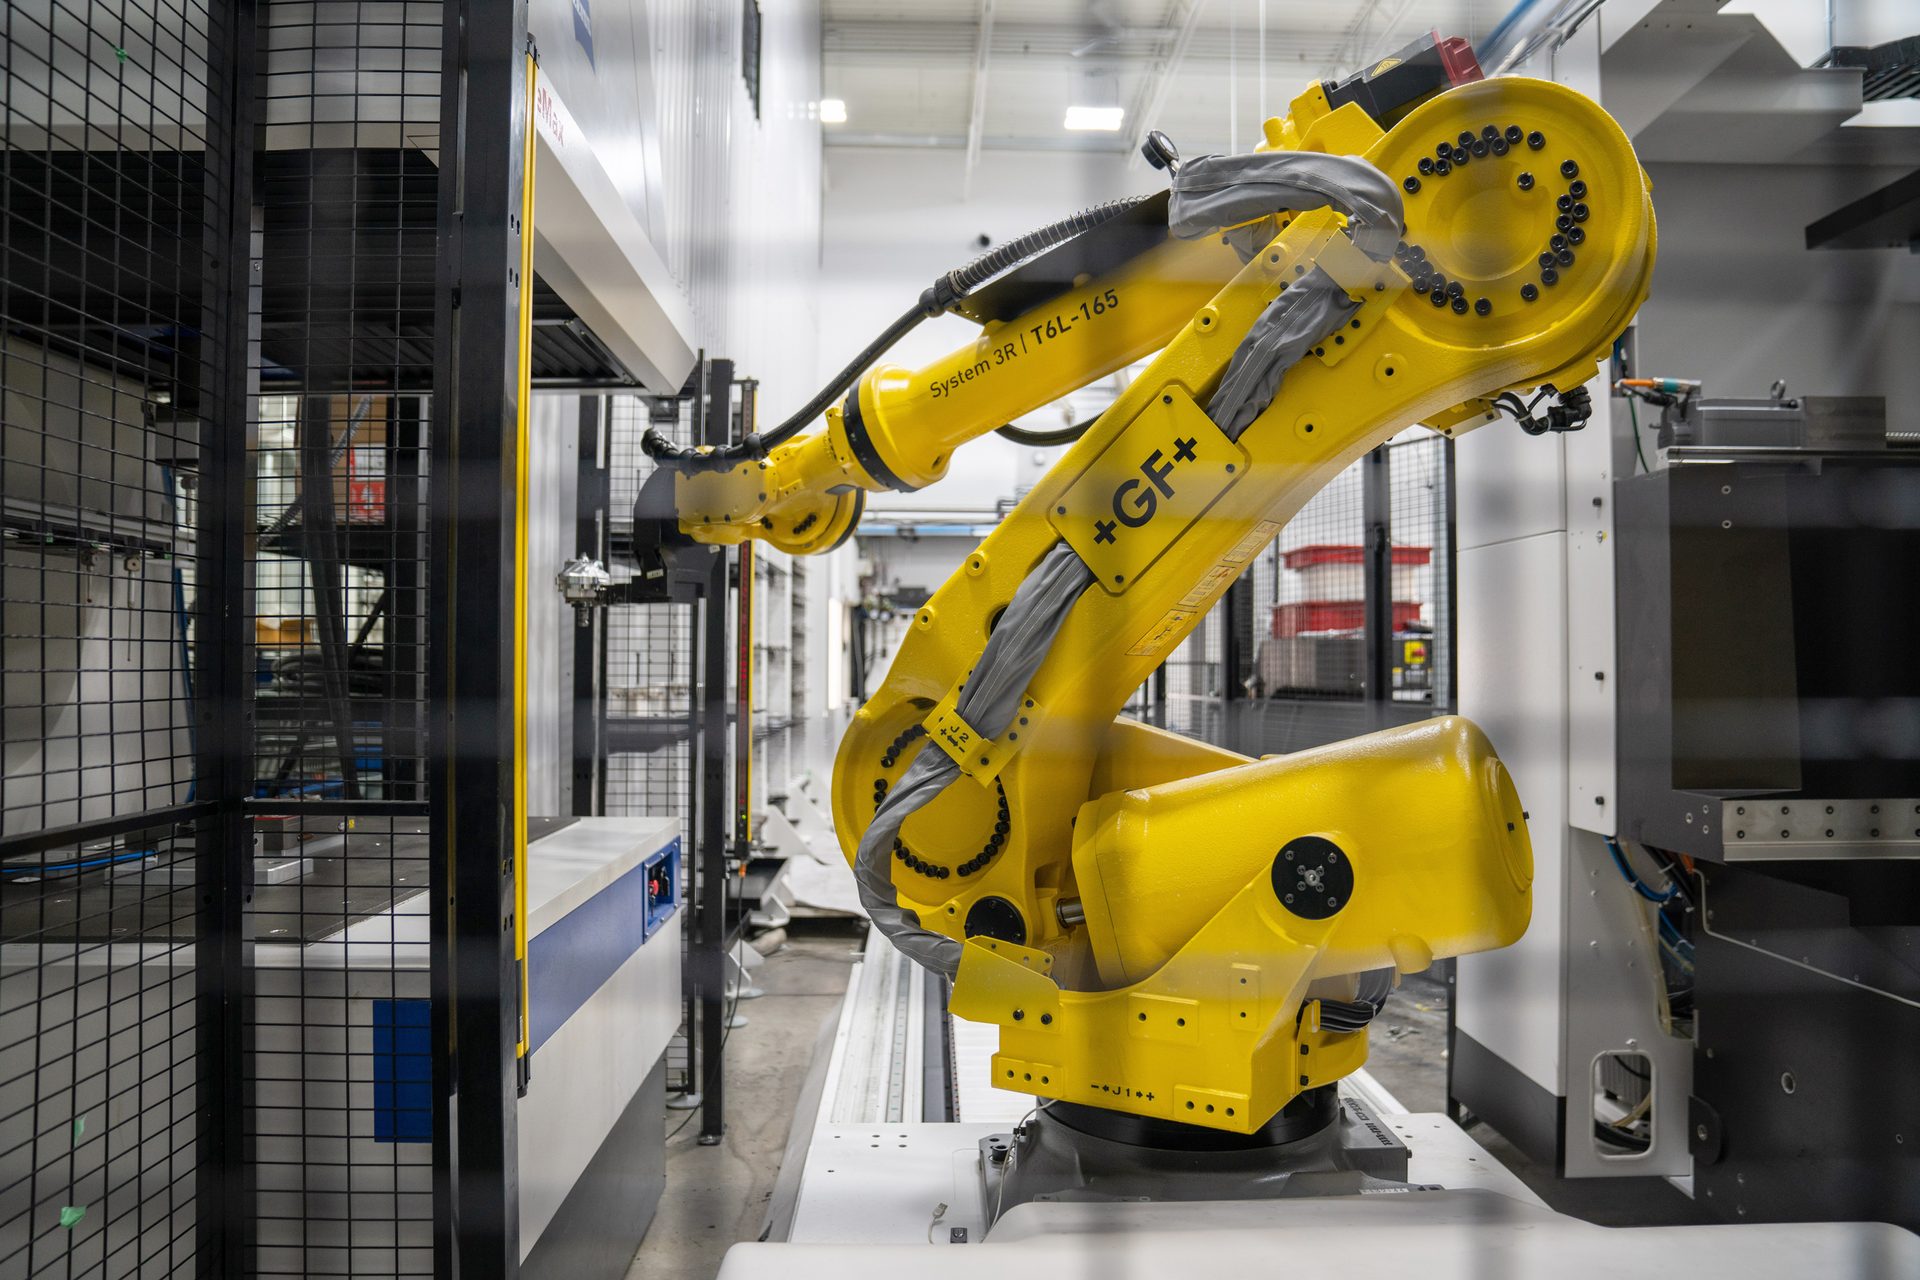
The ZEISS GageMax CMM is integrated directly into fully-automated robot production cells.
Measurements in the Lab and On the Shop Floor
Elliott Matsuura first supplied Miltera with a ZEISS CenterMax, a CMM designed with a vibration dampening structure and variable workpiece base that makes it incredibly stable and reliable. In the years since they’ve added another ZEISS CenterMax, a ZEISS GageMax and a ZEISS MICURA.
“Today all measurements are performed on these CMMs, in both the measuring lab and on the shop floor,” says Blackburn.
Miltera's ZEISS MICURA is stationed in their quality lab, an air-locked, HEPA-filtered, thermally isolated inspection room. This CMM has been calibrated to provide sub-micron accuracy and repeatability of under 0.3 microns — making it an extremely accurate tactile scanning CMM.
While one of the ZEISS CenterMax CMMs is located on Miltera's shop floor, the other is in the quality lab along with the ZEISS MICURA. As ZEISS CenterMax is designed for the shop floor, its temperature stability from +15ºC to +40ºC, along with dynamic pneumatic vibration insulation and full dust and contaminant isolation, ensure a high accuracy that is increased even more by being in the lab.
The second ZEISS CenterMax operates in the Micron-Precision Manufacturing Lab. This ZEISS CenterMax performs mid-process measurements on CNC turning centers and electrical discharge machining (EDM) systems.
The ZEISS GageMax is integrated directly into fully automated robot production cells. Pallet changers connect the CMM to processing centers, eliminating time-consuming trips and enabling lights-out production monitoring and optimization.
This automation is empowered by ZEISS FACS, a module for ZEISS CALYPSO measuring software. The editable automation program allows routine measurement applications to be incorporated into automated processes. As well, ZEISS CALYPSO PRESET offers a collection of all standard measurement plans that let operators quickly and efficiently measure offset and rotation when exchanging erosion electrodes. And one of ZEISS CALYPSO’s most helpful functionalities is its documentation and reporting capabilities.
“Being able to present a summary report to OEMs is extremely useful,” says Blackburn.
Further Enhancing Customer Understanding
One of Blackburn’s goals when consulting and working with customers is using ZEISS CMMs to convey the importance of quality assurance.
“There’s a big misunderstanding in the manufacturing industry that a CMM is a guarantee of quality,” he says. “People fall into the trap of not considering the CMM and its environment and working conditions. What we do at Miltera is try to enhance the customer’s understanding of a part's tolerance in drawings and how it relates to the measurement results of our ZEISS machines in practice.”
Another important factor with Miltera’s CMM accuracy is consistently having equipment calibrated by Elliott Matsuura. All four CMMs are calibrated to standards that are traceable to National Institute of Standards and Technology through calibration laboratories accredited to ISO 17025. All results are reported in units of measure as defined by the International System of Units (SI).
Partnering with ZEISS
Blackburn looks forward to partnering with ZEISS Industrial Quality Solutions into the future.
“We’re going to keep moving into more automation and refining our processes with the most robust inspection equipment and software on the market,” he says.
