Quality assurance is critical for manufacturing electrical connectors. By ZEISS Industrial Quality Solutions
How to Measure the Intricate Components of
Electrical Connectors
Measurement
How to Measure the Intricate Components of
Electrical Connectors
Manufacturers have big expectations for electrical connectors — they want devices with even smaller, more complex and custom-tailored features. Why has this transformation accelerated over the last decade? Customers are demanding tighter tolerances, gadgets and gizmos are everywhere, and regulatory requirements continue to tighten up.
“Industrial electrical connectors have consistently faced the challenge of being ‘smaller, faster, safer, and easier’ in the modern manufacturing era. Those four keywords have been one of the manufacturing trends in the automation industry with the following implicit requirement, ‘The components and connectors are required to be small and compact while being waterproof and resistant to vibration to withstand in rugged environments,’” says Robotics Tomorrow magazine.
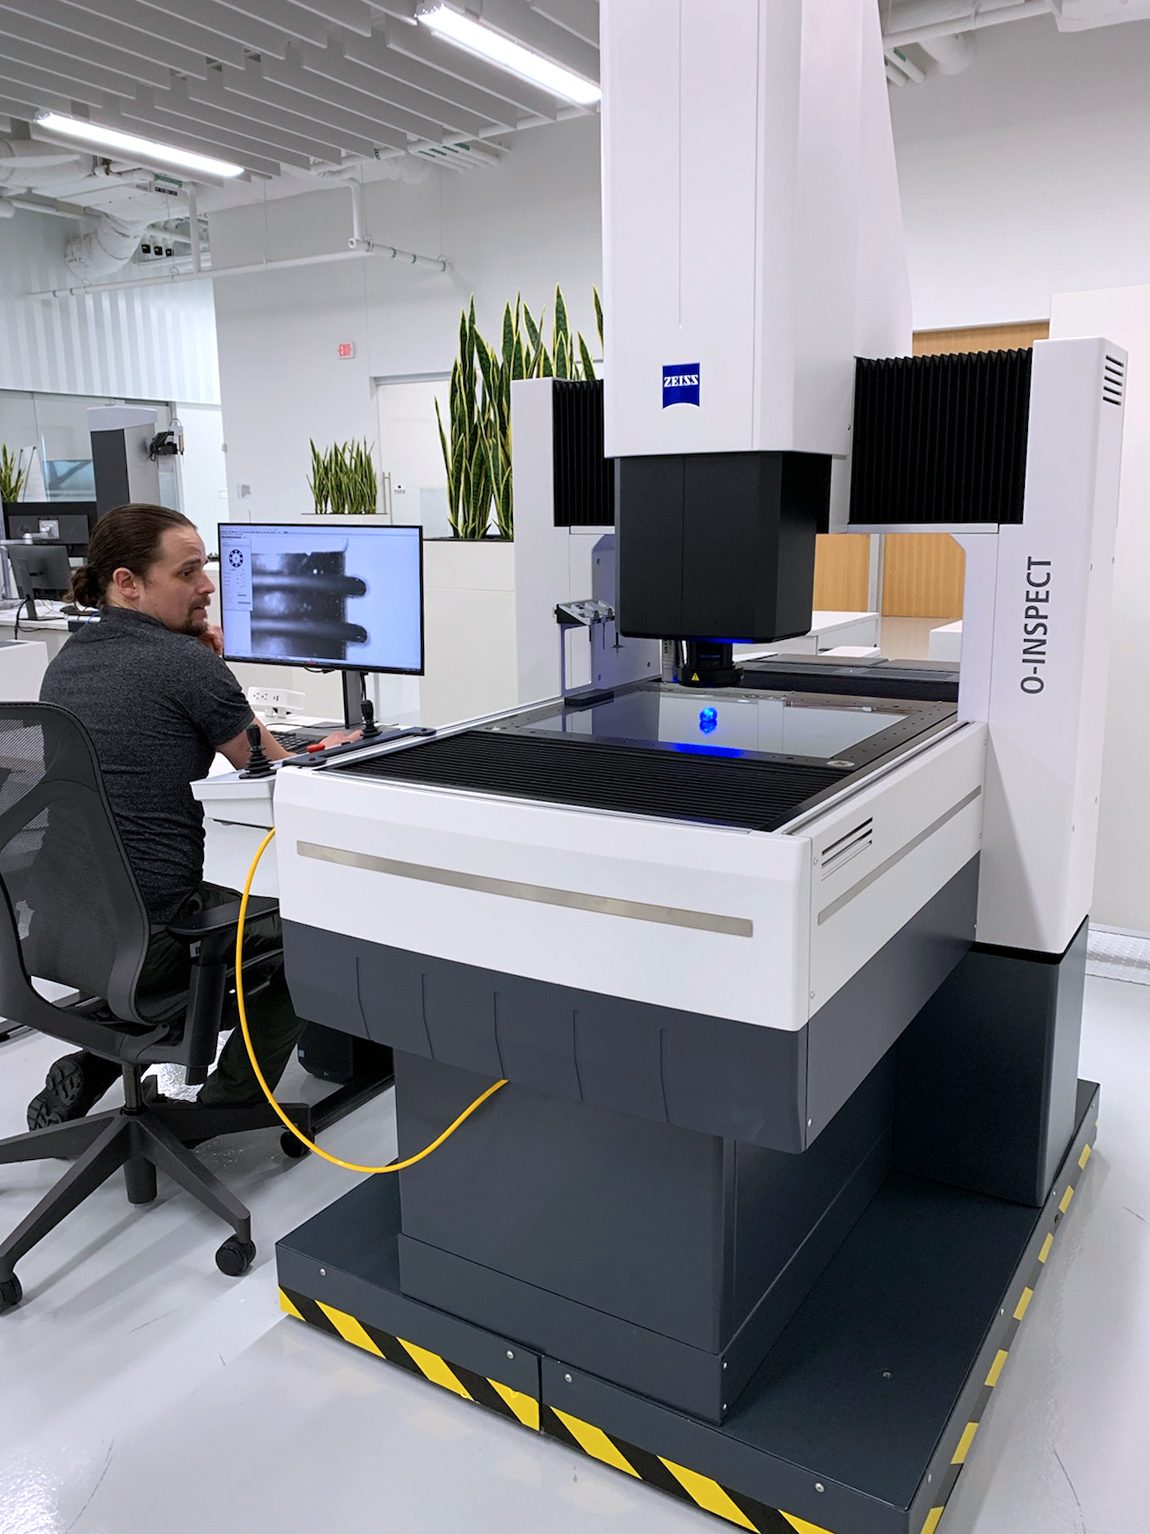
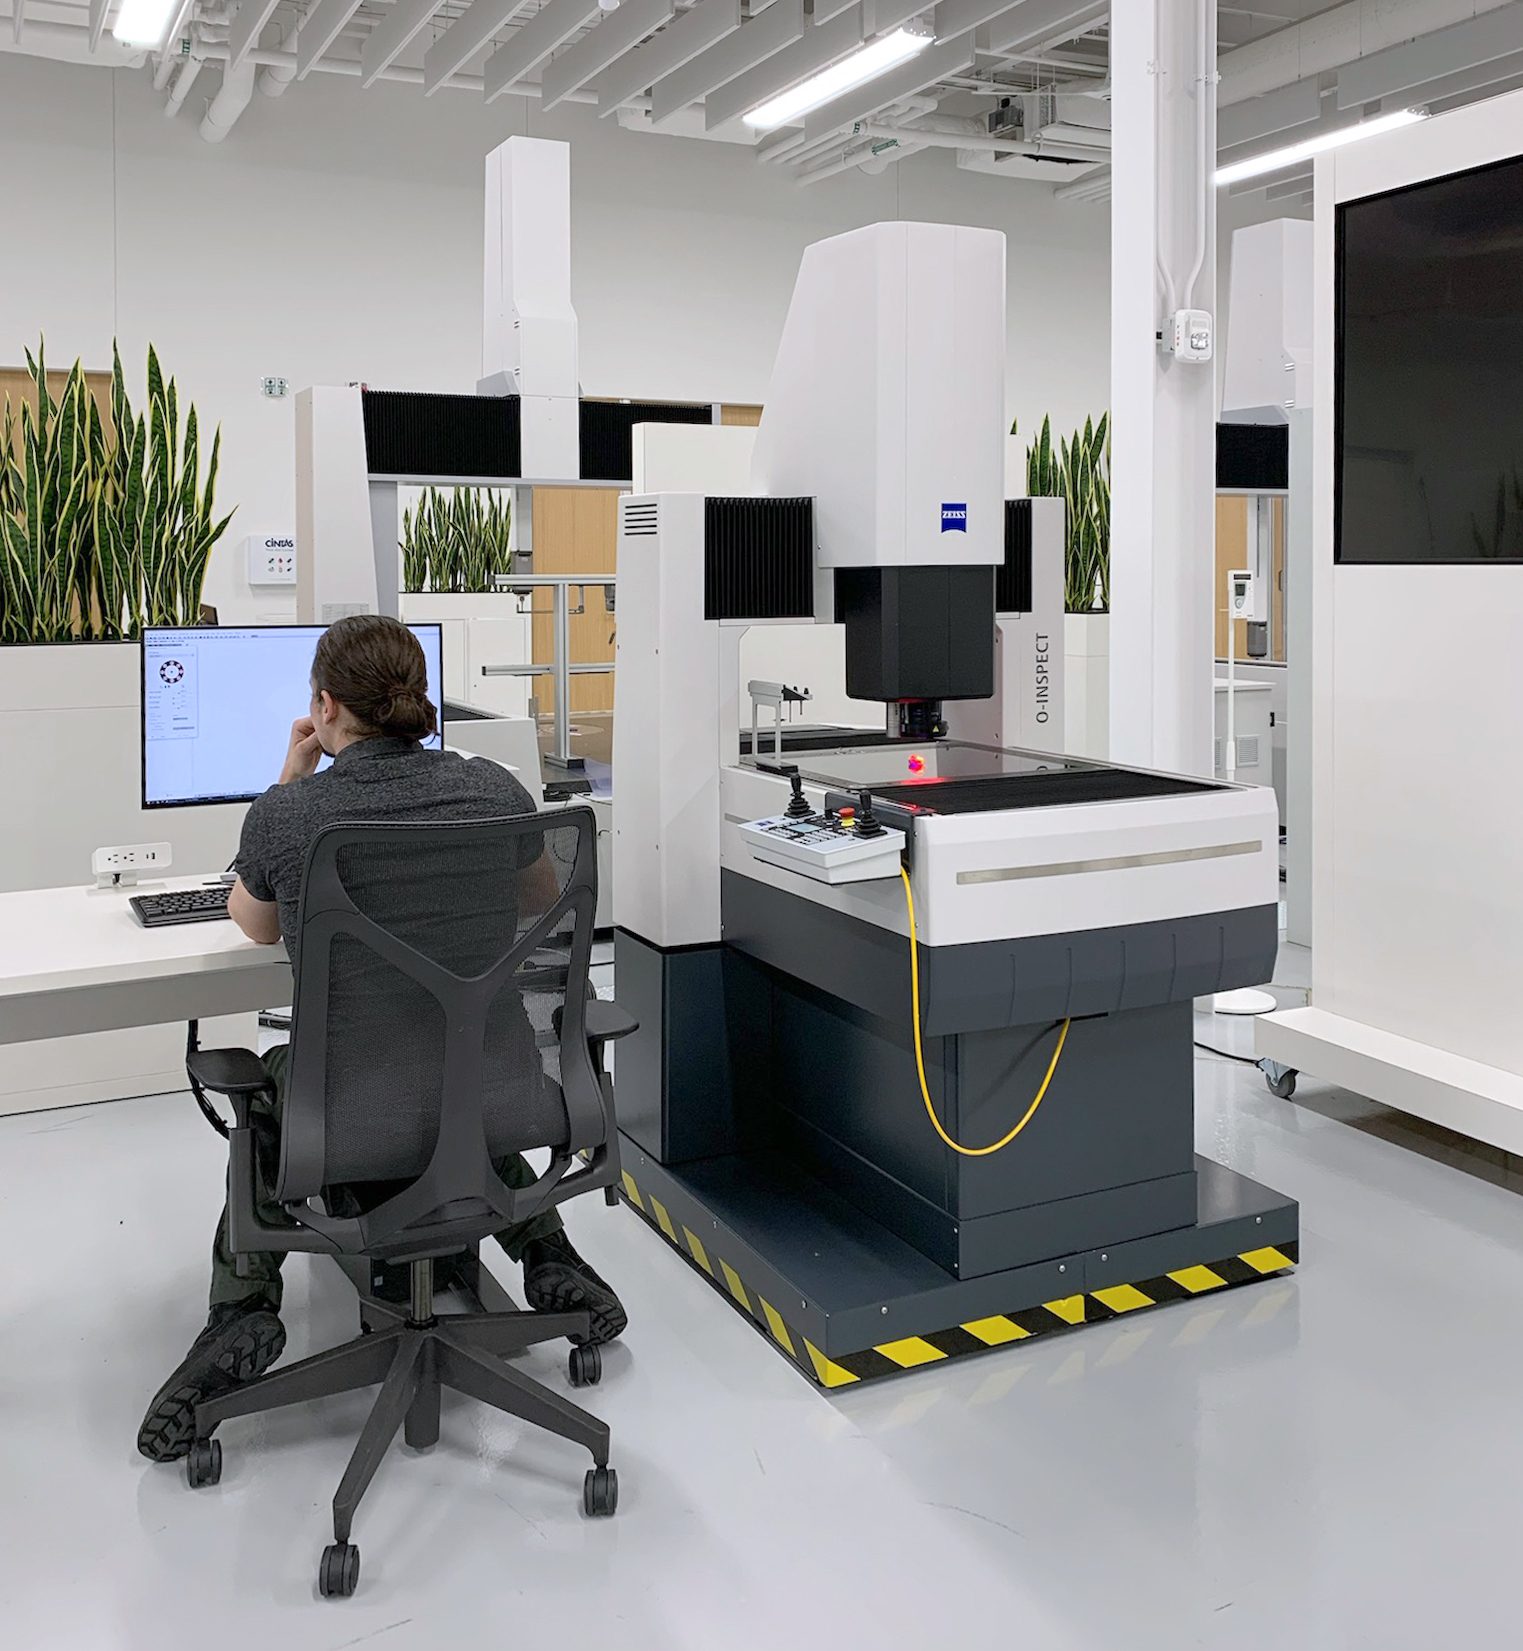
To meet evolving customer and regulatory requirements, manufacturers need the best inspection systems to handle a range of components on connectors. Multi-sensor coordinate measuring machines are your best bet. These one-stop systems can verify all quality gates for electrical connectors through a combination of tactile contact probes, optical sensors with low to high magnification capabilities and confocal white light noncontact sensors for scanning.
Keep up with a rapidly shifting ecosystem. Adopt multi-sensor CMMs into your quality program and open up your sensor choices for every application. In no time, you’ll see lowered costs of quality in the production without compromising the highest-quality electrical connector components and assembled product.
Electrical Connectors Across a Variety of Industries
Manufacturers across the industrial automation, medical technology, military, automotive, telecom, aerospace industries and more must ensure these modern electrical connectors have reliable mating components that result in safe operations. These connectors are used for consumer, general and special purposes, including:
- Wiring harnesses in automobiles that have increasingly electronically-controlled components
- Semiconductors, electrical pathways, and connectors within smartphones and solid-state hard drives
- Plastic injection-molded connectors such as the ones found in cars, refrigerators or computers
Fault-free electrical connectors can also prevent injuries. Non-conforming parts can be costly and inefficient, but more importantly their failure can be dangerous for aircraft, automobiles and medical devices. Quality assurance must be a priority in your electrical connector production process.

Each characteristic of an electrical connector can be measured in compliance with ISO-10360 utilizing a tactile probe, optical sensor and chromatic white light sensor.
Challenges in Electrical Connector Quality Assurance
Stay on top of pin orientation, tooling design, assembly process control and inspection to succeed as an electrical connector manufacturer. Precision mating components must fit and function perfectly straight off the assembly line and throughout a part’s entire lifespan. Plan ahead for future manufacturing challenges, such as support for intelligent functions, deployment in greater numbers and higher operating speeds.
Consider the following when measuring and inspecting electrical connector components and finished products:
- Dimension and contour measurement
- Housing and the contact pin components must undergo thorough analysis for wear monitoring and quality assurance; speed and productivity must be maintained with accuracy and repeatability
- Precise measurement, inspection and visualization of the final assembly
- Managing data from multiple machines that do different tasks to identify root cause of upstream defects
- The ability to measure parts with sensitive surfaces (lenses, transparent, mirrored, highly reflective, various surface properties)
What’s the best solution to handle these tasks? You need a CMM with multi-sensory capabilities.

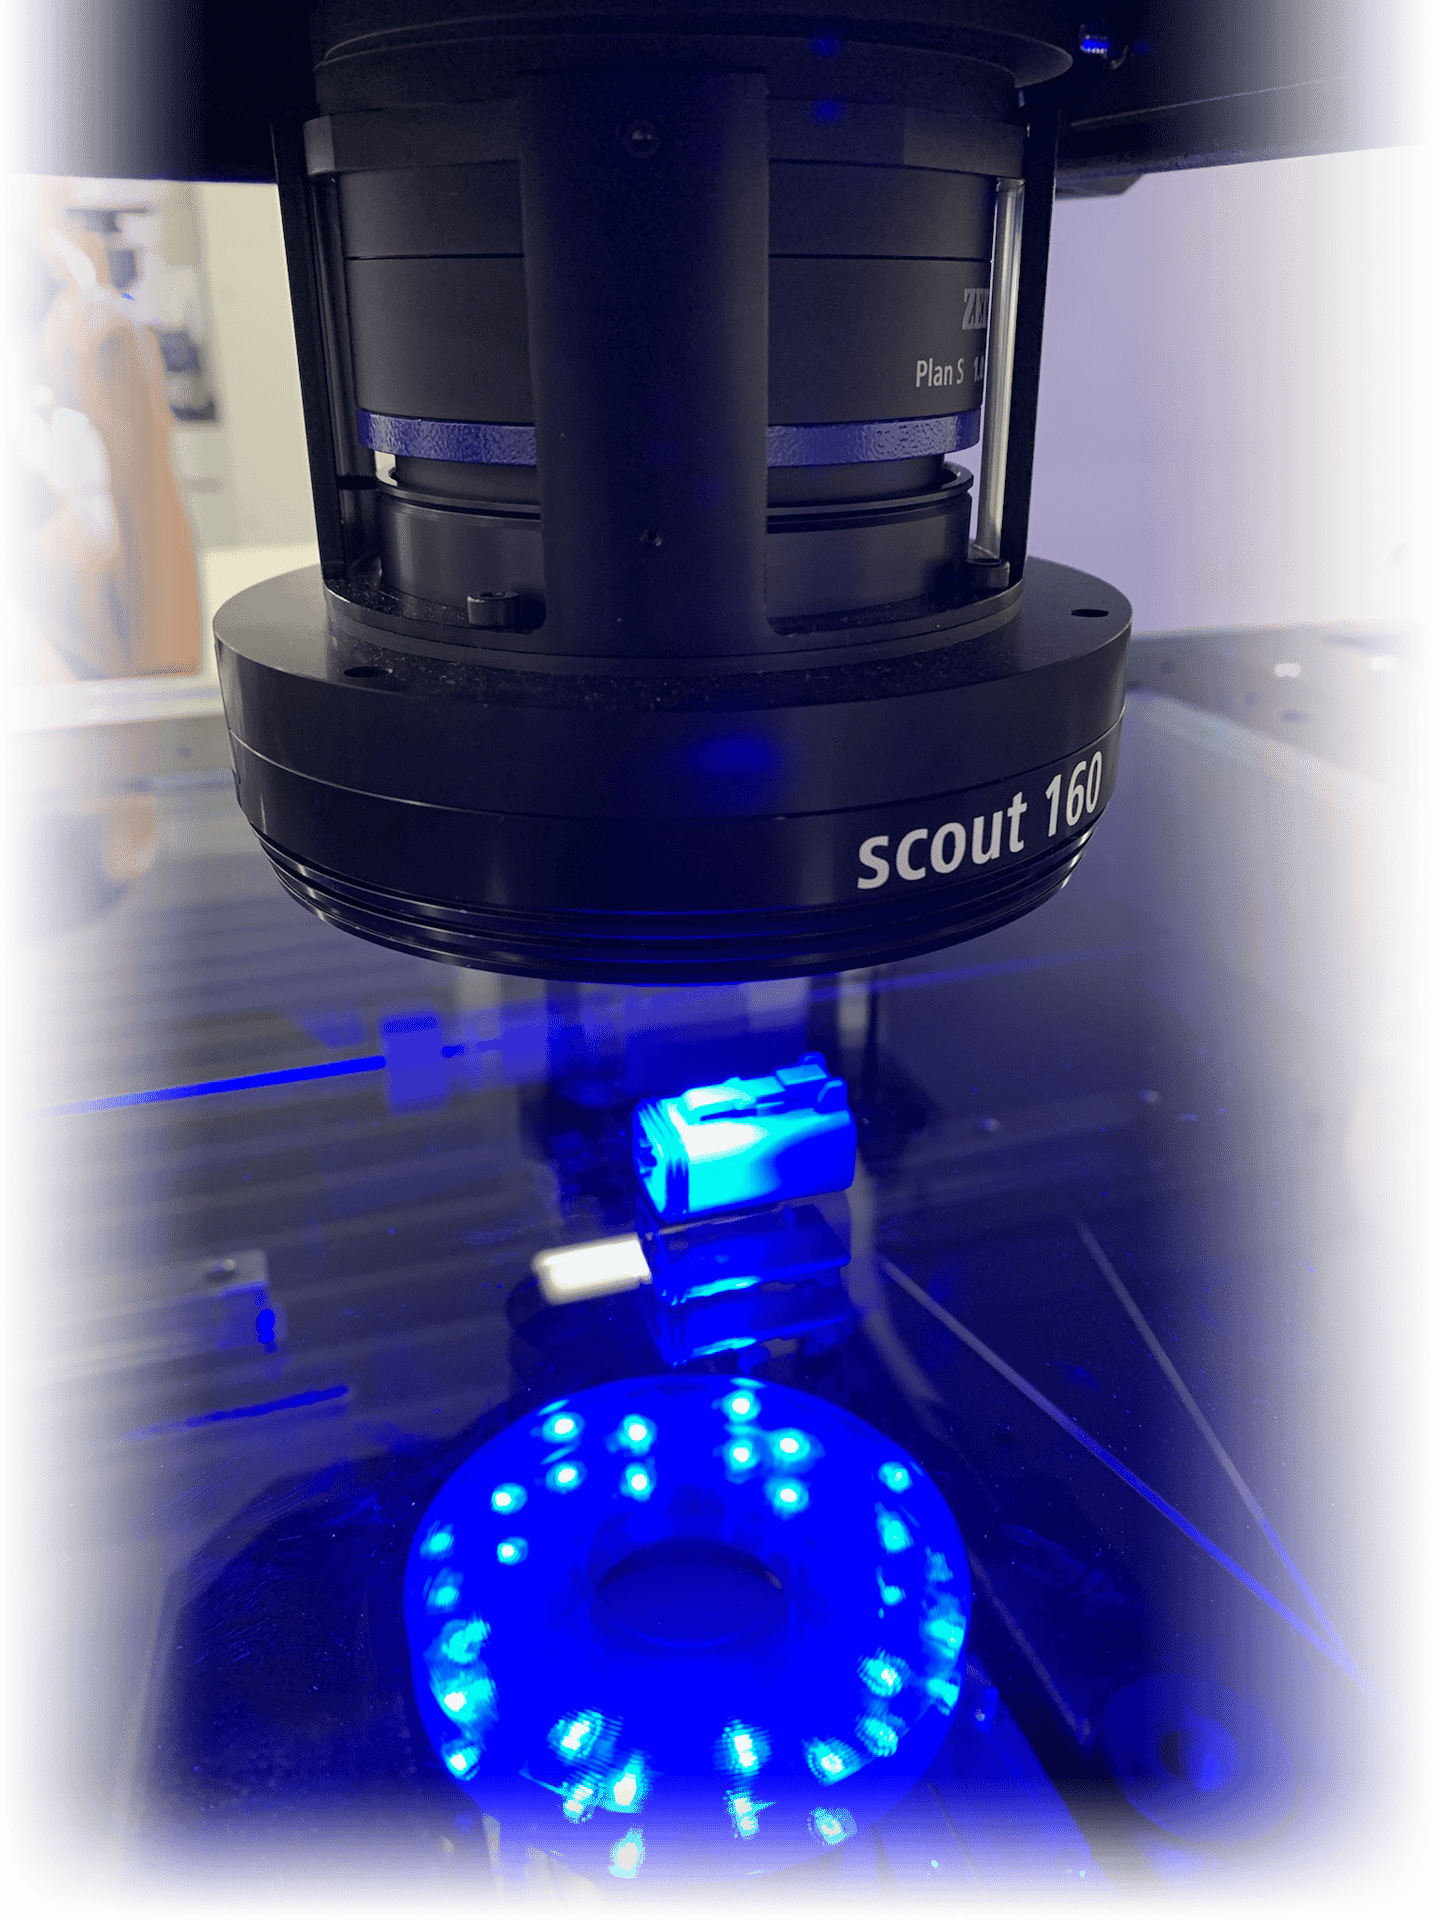
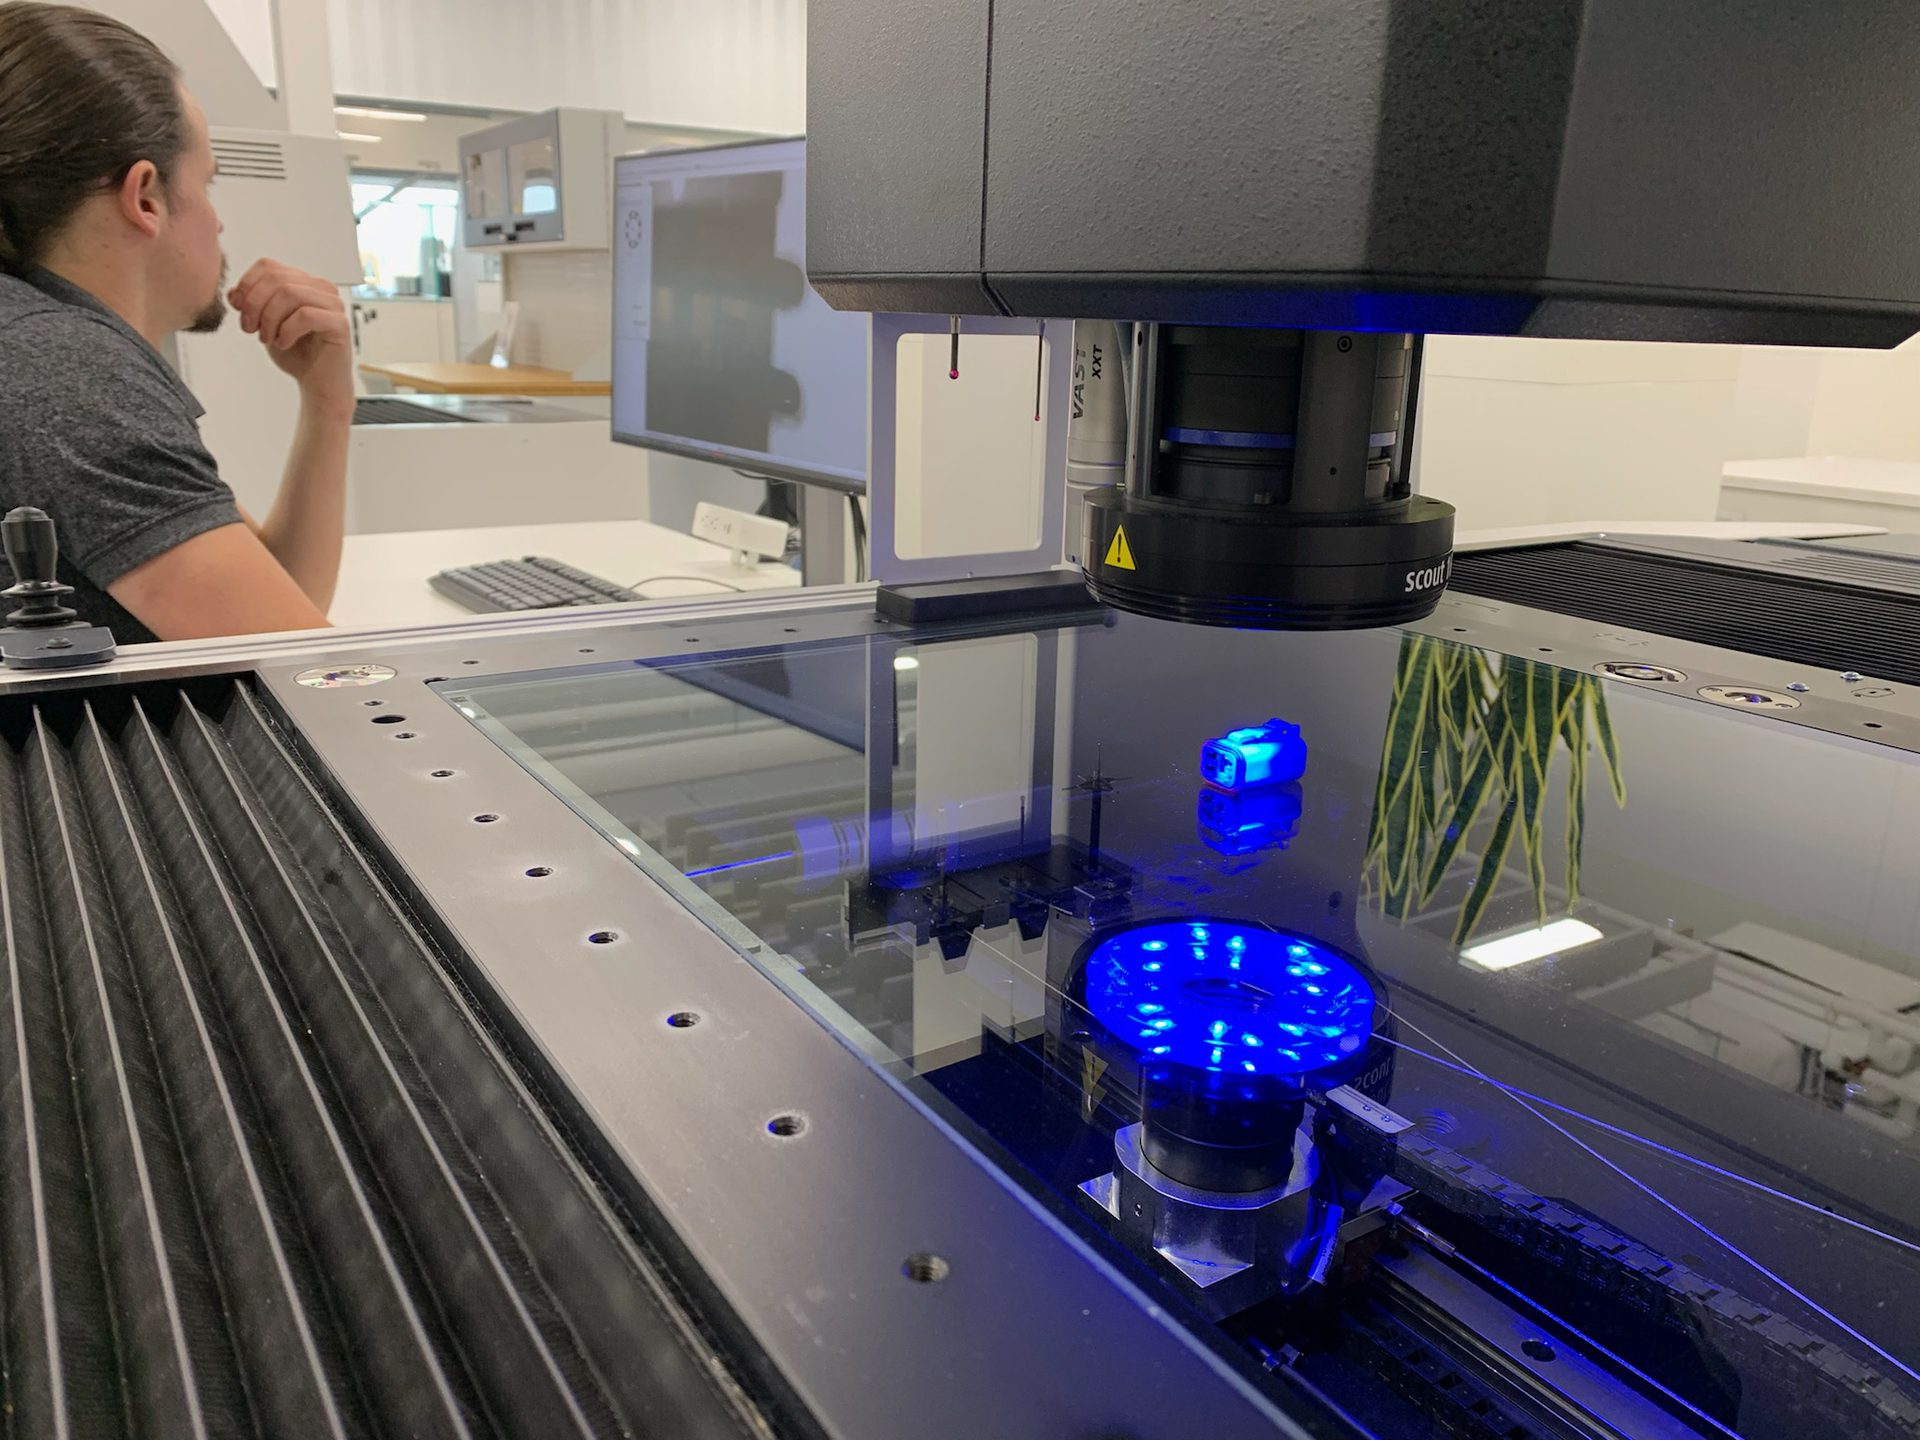
Component inspection of housings usually have small features that require an optical sensor.
Multi-Sensor CMMs Capture 100% Part Geometry in a Single Measuring Cycle
CMMs are still the “go-to” dimensional inspection tool for high-precision manufactured parts. The problem is multiple metrology machines with specific focuses can slow down the production process.
What multi-sensor CMMs deliver is a single measuring station with multiple sensing technologies. These types of systems are the preferred solution for many applications as they can ensure the capture of 100% of part geometry in a single measuring cycle.
“Customers trust CMMs,” says Dylan Coutelle, product sales manager for ZEISS Industrial Quality Solutions. “The allure of multi-sensor CMMs is their efficiency and speed. Manufacturers are embracing multi-sensor technology as measurement becomes more automated, and integral to manufacturing, in the smart factory.”

Multi-sensor CMMs perform high repeatability, single-run multi-part sampling and defect identification for incoming inspection of small features of electrical connectors with tight tolerances that can bottleneck productions.
Quality Assurance Throughout the Product Lifecycle
Get ready for the ideal — multi-sensor CMMs can achieve every specification and design objective for verifying and inspecting electrical connectors. This ultimate quality assurance is achieved throughout the electrical connector product lifecycle:
Mold Development
Tactile probes leave little uncertainty by reaching into parts to perform dimensional measurement that ensures efficiency, accuracy and repeatability.
Confocal white light sensors are the most accurate noncontact sensors and can be used to verify mold flatness.
Housing
- Multi-sensor CMMs perform high repeatability, single-run multi-part sampling and defect identification for incoming inspection of small features of electrical connectors with tight tolerances that can bottleneck productions.
- Component inspection of housings usually have small features that require an optical sensor.
- Confocal white light sensors can measure along flexible rubber seals that would be manipulated by contact probes.
Contact Pins
- Multi-sensor CMMs can handle small features, palletize large numbers of pins and perform fast measurement analysis when large-volume sampling of parts and high-accuracy measurements are required.
- Component inspection of contact pins also usually have small features that require an optical sensor.
Final Assembly
- Multi-sensor CMMs can optically measure pin alignment between male and female connectors to verify achievement of electrical specifications.
- While cameras and sensors are locked in a 2D fashion, a rotary table can be used for a full 3D measurement plan, especially if it is a round connector.
- Final assembly will require both tactile and optical sensors.
What Can We Conclude?
Quality assurance is critical for manufacturing electrical connectors. Any finished part’s performance must be verified before being sent to an OEM.
Multi-sensor CMMs grease the wheel of production, making for the best possible electrical connectors. Add this powerful metrology technology to your quality assurance program and see defects disappear and costs go down!
